Free Shipping on Domestic Orders $75+

Framework Laptop 12 Webcam Removal

Prerequisite Only
This is a prerequisite-only guide! This guide is part of another procedure and isn’t meant to be used alone.

What you need

    1. Framework Laptop 12 Webcam Removal, Power down your laptop: step 1, image 1 of 3 Framework Laptop 12 Webcam Removal, Power down your laptop: step 1, image 2 of 3 Framework Laptop 12 Webcam Removal, Power down your laptop: step 1, image 3 of 3
      • Before you begin repairs, unplug your laptop and shut it down from the operating system. This ensures that the laptop isn't in standby/suspend mode.

      • The indicator LEDs along the edges should be unlit. The laptop should be silent.

      • If you accidentally turn on the laptop during repair, hold the power button down for 10 seconds to shut it down.

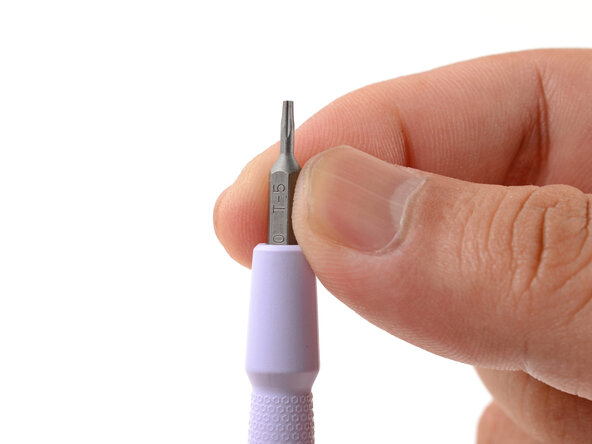
      • Make sure your Framework Screwdriver has the T5 Torx bit (labeled as T-5) facing outwards. If it's not, pull the bit out and flip it.

      Ask FixBot

      Add Comment

    1. Framework Laptop 12 Webcam Removal, Open your laptop: step 2, image 1 of 2 Framework Laptop 12 Webcam Removal, Open your laptop: step 2, image 2 of 2
      • Open the laptop lid so that both the screen and the base lie flat on your work surface.

      Ask FixBot

      Add Comment

    2. Framework Laptop 12 Webcam Removal, Remove the Display Cover: step 3, image 1 of 2 Framework Laptop 12 Webcam Removal, Remove the Display Cover: step 3, image 2 of 2
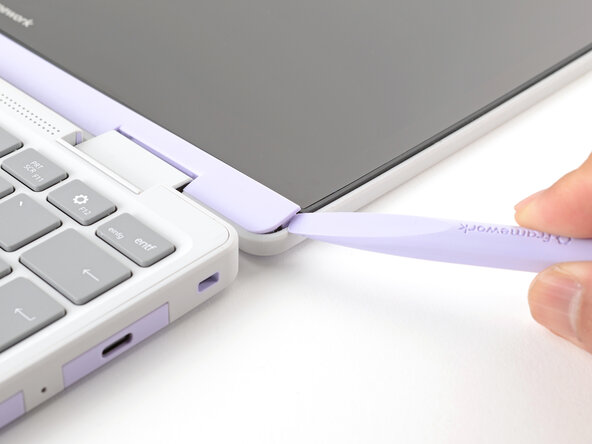
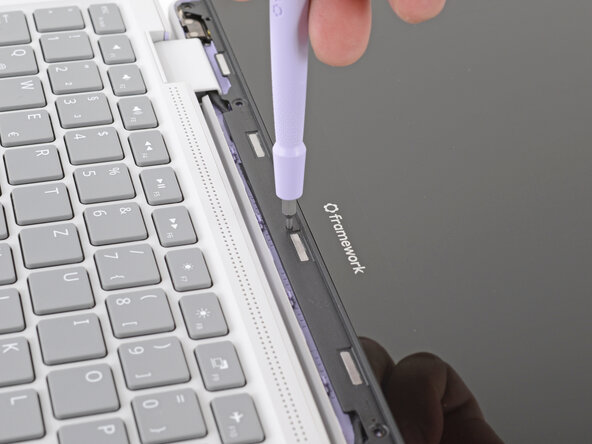
      • The Display Cover is held in place with magnets along the top edge and clips along the remaining edges.

      • Use the flat end of your Framework Screwdriver to pry up the right edge of the Display Cover.

      Ask FixBot

      Add Comment

    3. Framework Laptop 12 Webcam Removal: step 4, image 1 of 3 Framework Laptop 12 Webcam Removal: step 4, image 2 of 3 Framework Laptop 12 Webcam Removal: step 4, image 3 of 3
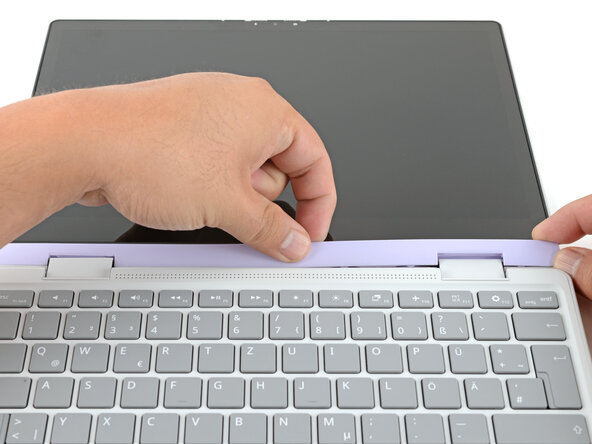
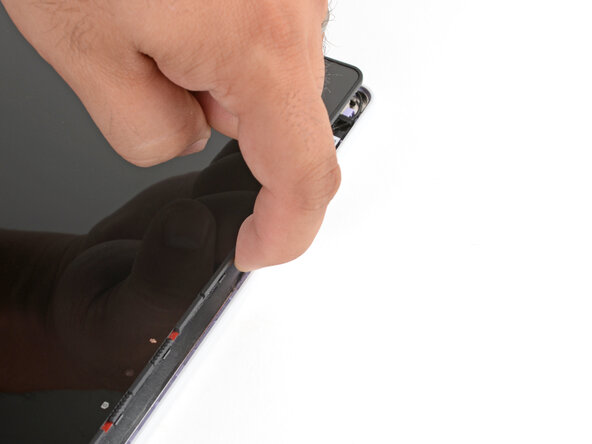
      • Slide your fingers under the top edge of the Display Cover to release it from the laptop.

      Ask FixBot

      Add Comment

    4. Framework Laptop 12 Webcam Removal: step 5, image 1 of 2 Framework Laptop 12 Webcam Removal: step 5, image 2 of 2
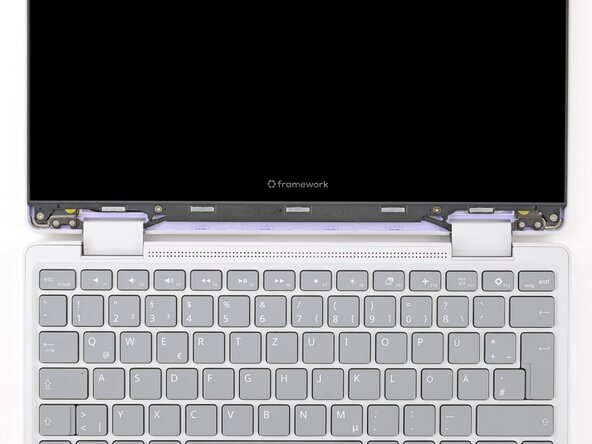
      • Remove the Display Cover.

      Ask FixBot

      Add Comment

    1. Framework Laptop 12 Webcam Removal, Remove the display screws: step 6, image 1 of 2 Framework Laptop 12 Webcam Removal, Remove the display screws: step 6, image 2 of 2
      • Use your Framework Screwdriver to remove the four 3.3 mm‑long T5 Torx screws securing the display to the Top Cover.

      • These screws are not captive. Store them in a safe location for reassembly.

      Ask FixBot

      Add Comment

    2. Framework Laptop 12 Webcam Removal, Slide the display down: step 7, image 1 of 3 Framework Laptop 12 Webcam Removal, Slide the display down: step 7, image 2 of 3 Framework Laptop 12 Webcam Removal, Slide the display down: step 7, image 3 of 3
      • Insert the bit end of your Framework Screwdriver into the small hole on the display, below the Framework logo.

      • Slide the display down towards the hinge edge to release the tabs holding the top edge of the display in place.

      Ask FixBot

      Add Comment

    3. Framework Laptop 12 Webcam Removal, Lift the display: step 8, image 1 of 2 Framework Laptop 12 Webcam Removal, Lift the display: step 8, image 2 of 2
      • Use your fingers to lift the top edge of the display from the Top Cover.

      Ask FixBot

      Add Comment

    4. Framework Laptop 12 Webcam Removal, Swing the display over: step 9, image 1 of 3 Framework Laptop 12 Webcam Removal, Swing the display over: step 9, image 2 of 3 Framework Laptop 12 Webcam Removal, Swing the display over: step 9, image 3 of 3
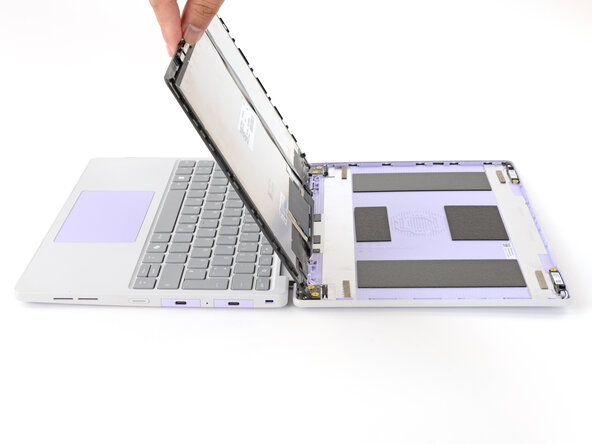
      • Use your fingers to carefully swing the display over so it lies on top of the keyboard.

      Ask FixBot

      Add Comment

    1. Framework Laptop 12 Webcam Removal, Remove the webcam bracket: step 10, image 1 of 1
      • Use your Framework Screwdriver to remove the two 3.3 mm‑long T5 Torx screws securing the webcam bracket on the top edge behind the display.

      • These screws are not captive. Store them in a safe location for reassembly.

      Ask FixBot

      Add Comment

    2. Framework Laptop 12 Webcam Removal: step 11, image 1 of 2 Framework Laptop 12 Webcam Removal: step 11, image 2 of 2
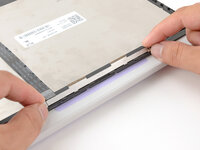
      • Lift and remove the webcam bracket.

      Ask FixBot

      Add Comment

    3. Framework Laptop 12 Webcam Removal, Disconnect the webcam: step 12, image 1 of 3 Framework Laptop 12 Webcam Removal, Disconnect the webcam: step 12, image 2 of 3 Framework Laptop 12 Webcam Removal, Disconnect the webcam: step 12, image 3 of 3
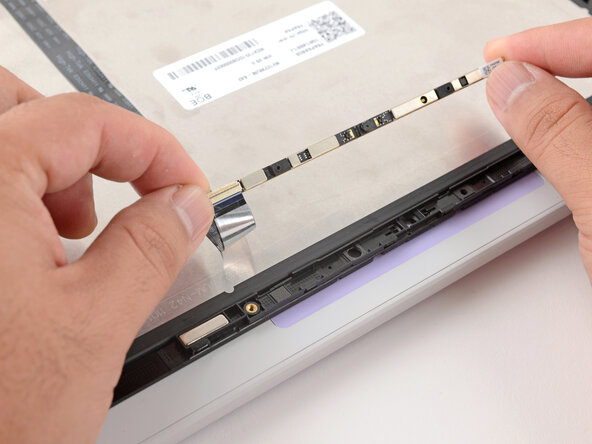
      • Use the flat end of your Framework Screwdriver to lift the webcam out of its recess.

      • Avoid touching the black camera module near the center of the webcam.

      • Flip the webcam over and gently hold it down with your fingers.

      Ask FixBot

      Add Comment

    4. Framework Laptop 12 Webcam Removal: step 13, image 1 of 3 Framework Laptop 12 Webcam Removal: step 13, image 2 of 3 Framework Laptop 12 Webcam Removal: step 13, image 3 of 3
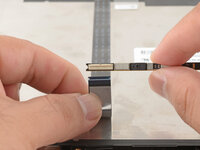
      • Use the flat end of your Framework Screwdriver or a fingernail to gently pry up the locking tab on the webcam cable ZIF connector.

      Ask FixBot

      Add Comment

    5. Framework Laptop 12 Webcam Removal, Remove the webcam: step 14, image 1 of 3 Framework Laptop 12 Webcam Removal, Remove the webcam: step 14, image 2 of 3 Framework Laptop 12 Webcam Removal, Remove the webcam: step 14, image 3 of 3
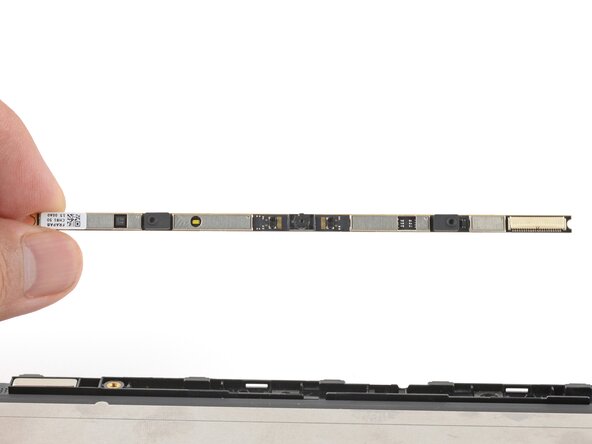
      • Slide the webcam cable out of its connector.

      • Remove the webcam.

      Ask FixBot

      Add Comment

Finish Line

Cancel: I did not complete this guide.

Arthur Shi

Member since: 01/03/18

350,804 Reputation

938 Guides authored

0 Guide Comments

Add Comment

View Statistics:

Past 24 Hours: 1

Past 7 Days: 3

Past 30 Days: 11

All Time: 118