Introduction
Congratulations on getting the Framework Laptop 12 Pre-built Edition! Follow this quick start guide to get your laptop set up and running in just a few minutes.
If you got the Framework Laptop DIY Edition, follow this quick start guide instead.
-
-
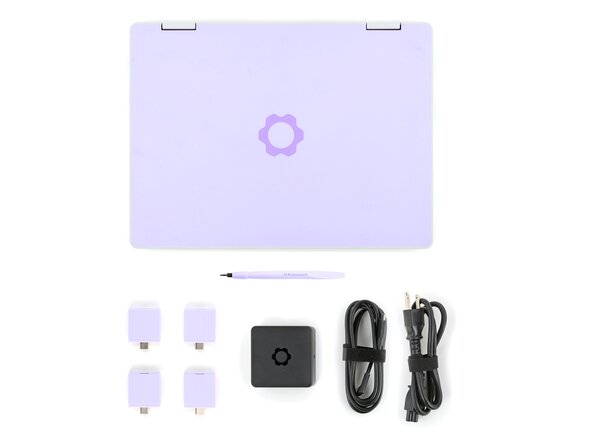
Framework Laptop 12
-
Framework Screwdriver
-
Expansion Cards you selected during purchase
-
Framework Power Adapter, USB-C Cable, and AC Cable
 Ask FixBot
-
-
-
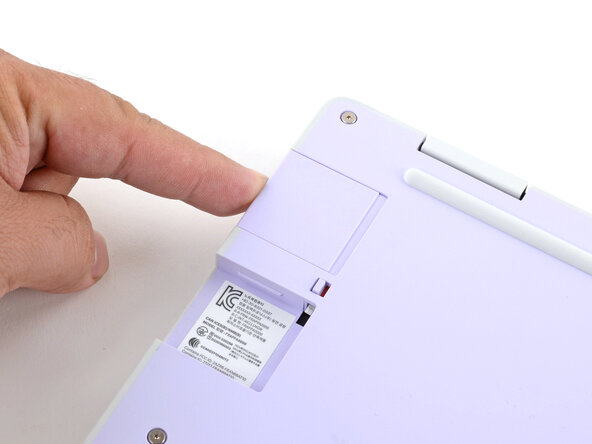
Set your Framework Laptop face-down on a clean work surface.
-
-
-
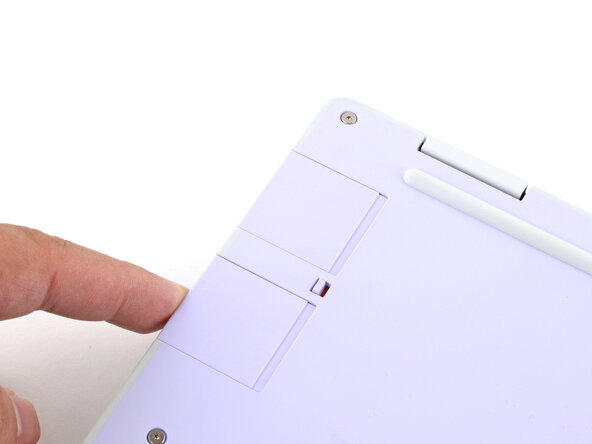
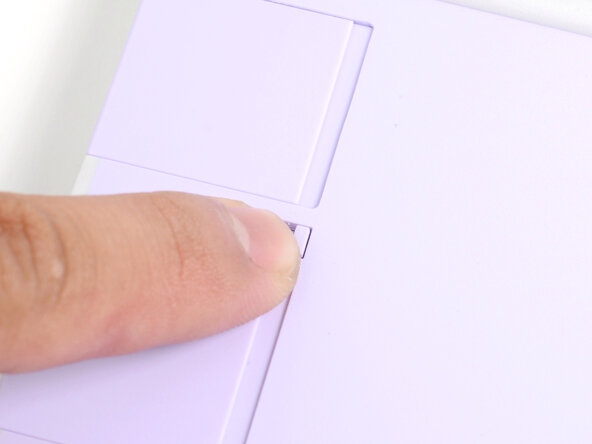
Slide an Expansion Card into the Expansion Card slot.
-
Repeat the procedure with the remaining expansion cards.
-
-
-
-
Plug the AC Cable into the Power Adapter.
-
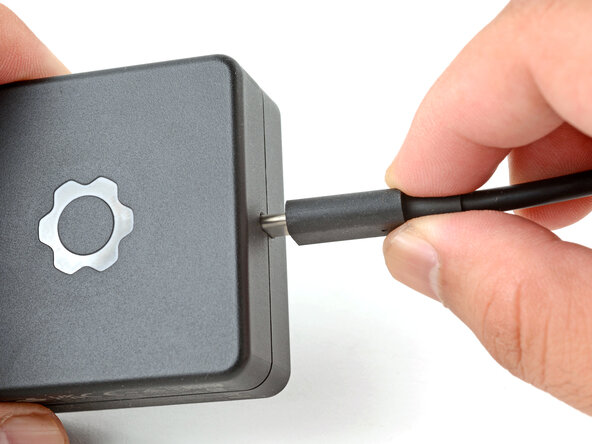
Plug the USB-C Cable into the Power Adapter.
-
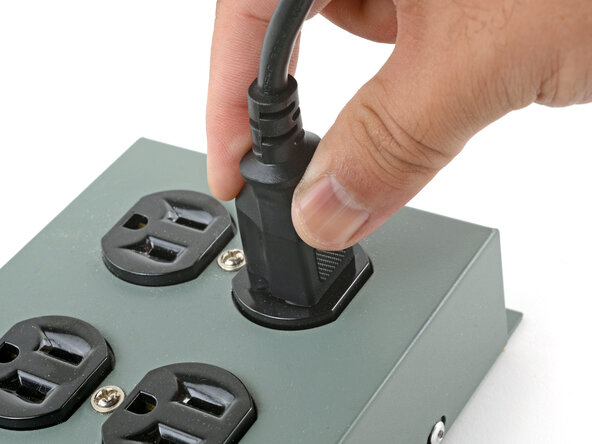
Plug the AC Cable into a power outlet.
-
-
-
Your Framework Laptop is ready for use! Open the lid and press the power button along the right edge of the laptop.
-


For drivers, firmware, and software updates, check out this page.
If you need help, contact Framework support.

