Free Shipping on Domestic Orders $75+

Framework Laptop 12 Input Cover Installation (With Expansion Cards)

Views: 114

View statistics:

Past 24 Hours:
0
Past 7 Days:
4
Past 30 Days:
13
All Time:
114
Comments: 0

No one has left comments on this guide. Will you be first?

Go to guide comments
Completed: 0

No one has marked this guide "completed." Will you be the first?

Favorites: 0

No one has favorited (and subscribed to) this guide. Will you be the first?

Time Required: No estimate
Difficulty: Moderate
Framework Laptop 12 Input Cover Installation (With Expansion Cards)
Prerequisite Only This is a prerequisite-only guide! This guide is part of another procedure and isn’t meant to be used alone.

Introduction

Go to step 1 ↓

Input Cover installation with Expansion Cards installed.

What you need

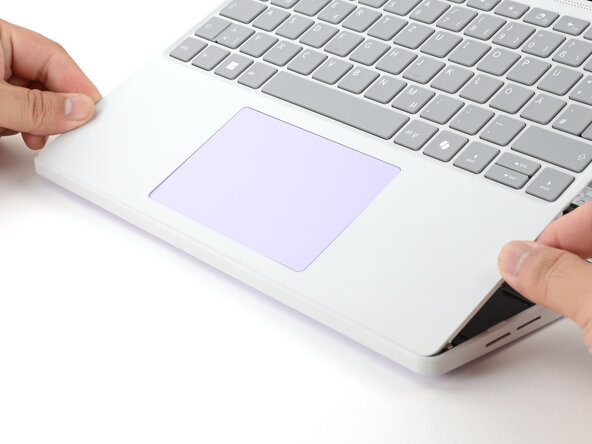
    1. Framework Laptop 12 Input Cover Installation (With Expansion Cards), Install the Input Cover: step 1, image 1 of 3 Framework Laptop 12 Input Cover Installation (With Expansion Cards), Install the Input Cover: step 1, image 2 of 3 Framework Laptop 12 Input Cover Installation (With Expansion Cards), Install the Input Cover: step 1, image 3 of 3
      • Angle the bottom edge of the Input Cover towards the base of the laptop.

      • Align and insert the bottom edge of the Input Cover into the base of the laptop.

      • Make sure the slots along the bottom edge of the Input Cover slide into the tabs in the base.

      • Lower the Input Cover's top edge onto the laptop until the magnets snap it in place.

      • Make sure the Input Cover sits neatly within the laptop frame and no corners are popping up.

      Ask FixBot

      Add Comment

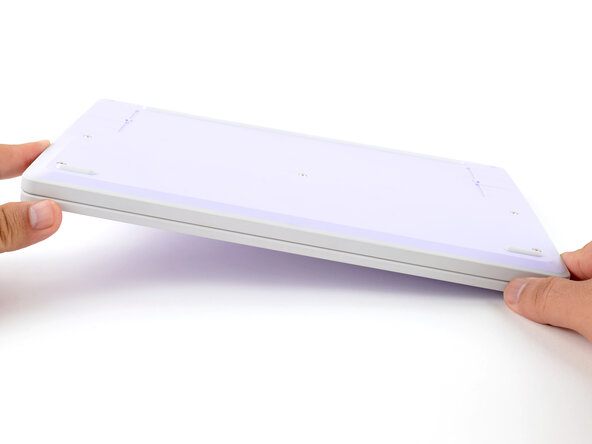
    2. Framework Laptop 12 Input Cover Installation (With Expansion Cards), Close and flip your laptop: step 2, image 1 of 2 Framework Laptop 12 Input Cover Installation (With Expansion Cards), Close and flip your laptop: step 2, image 2 of 2
      • Close the laptop lid.

      • Flip your laptop face-down on a clean work surface.

      Ask FixBot

      Add Comment

    3. Framework Laptop 12 Input Cover Installation (With Expansion Cards), Tighten the bottom screws: step 3, image 1 of 2 Framework Laptop 12 Input Cover Installation (With Expansion Cards), Tighten the bottom screws: step 3, image 2 of 2
      • Use your Framework Screwdriver to tighten the eight captive T5 Torx screws on the bottom of your laptop.

      • Tighten the screws until they're snug. Don't over-tighten them, or you may strip the screws.

      Ask FixBot

      Add Comment

Finish Line

Cancel: I did not complete this guide.

Arthur Shi

Member since: 01/03/18

351,512 Reputation

937 Guides authored

0 Guide Comments

Add Comment

View Statistics:

Past 24 Hours: 0

Past 7 Days: 4

Past 30 Days: 13

All Time: 114