Free Shipping on Domestic Orders $75+

Framework Desktop Case Installation

Prerequisite Only
This is a prerequisite-only guide! This guide is part of another procedure and isn’t meant to be used alone.
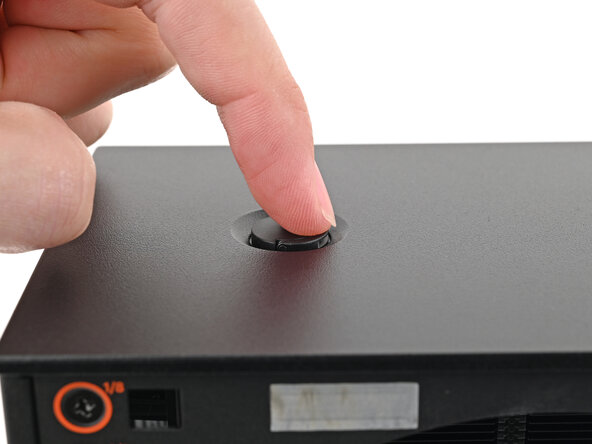
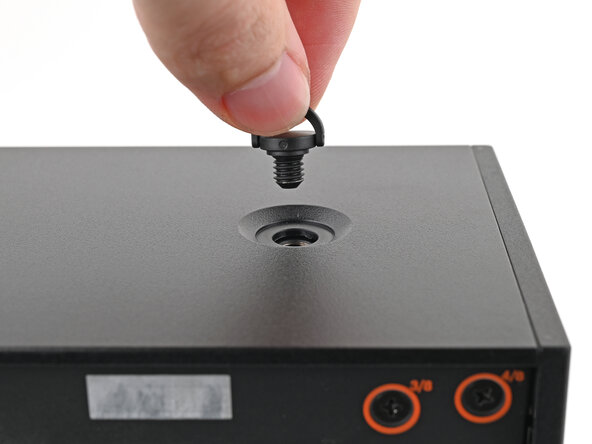
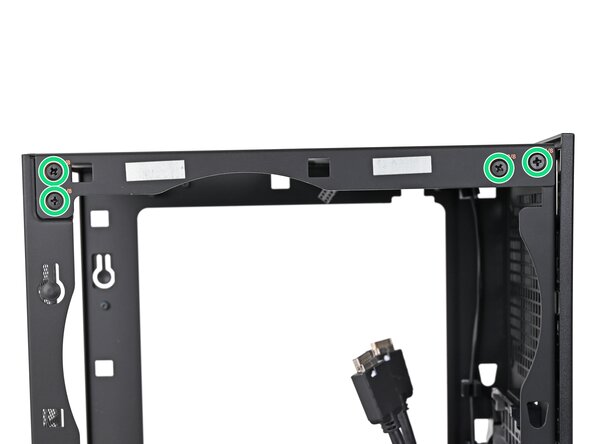
    1. Framework Desktop Case Installation, Remove the Top Panel screws: step 1, image 1 of 3 Framework Desktop Case Installation, Remove the Top Panel screws: step 1, image 2 of 3 Framework Desktop Case Installation, Remove the Top Panel screws: step 1, image 3 of 3
      • Your replacement case requires some disassembly before transferring the internals. The next 12 steps will show how to disassemble the case.

      • Use your finger to lift up the two D-rings on the Top Panel screws.

      Ask FixBot

      Add Comment

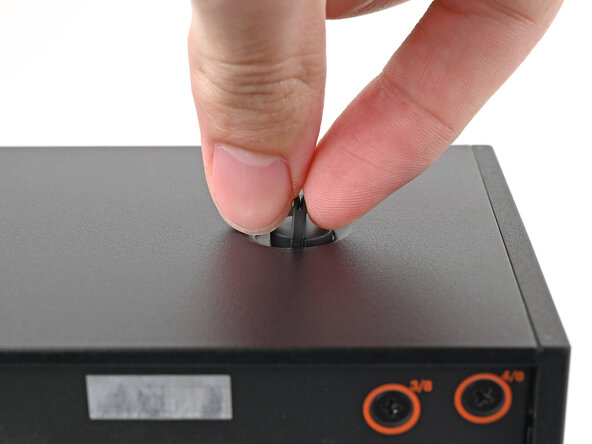
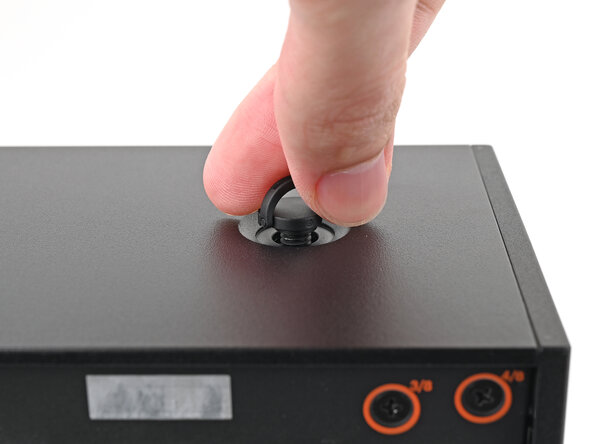
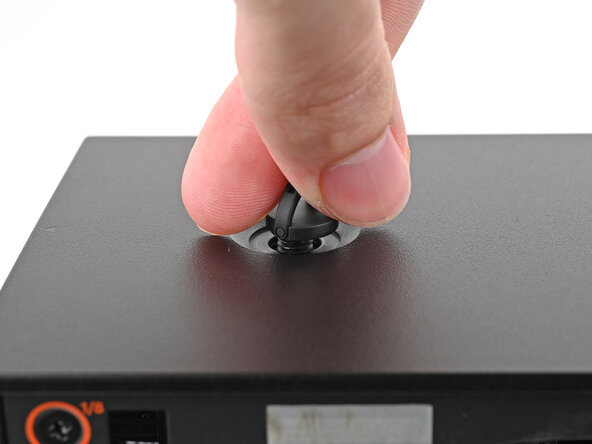
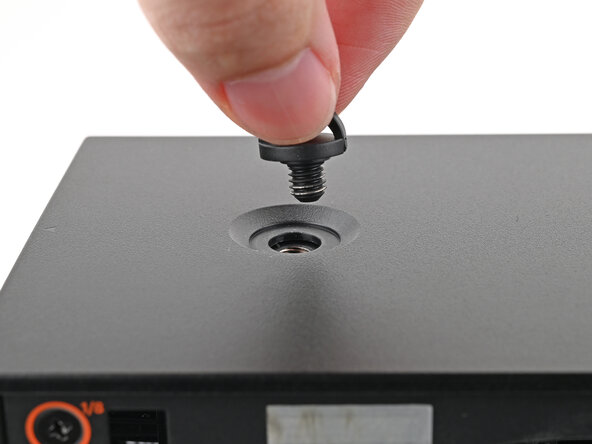
    2. Framework Desktop Case Installation: step 2, image 1 of 3 Framework Desktop Case Installation: step 2, image 2 of 3 Framework Desktop Case Installation: step 2, image 3 of 3
      • Use your fingers to twist the screw counter-clockwise and loosen it.

      • Remove the Top Panel screw.

      Ask FixBot

      Add Comment

    3. Framework Desktop Case Installation: step 3, image 1 of 3 Framework Desktop Case Installation: step 3, image 2 of 3 Framework Desktop Case Installation: step 3, image 3 of 3
      • Repeat the same procedure for the other Top Panel screw.

      Ask FixBot

      Add Comment

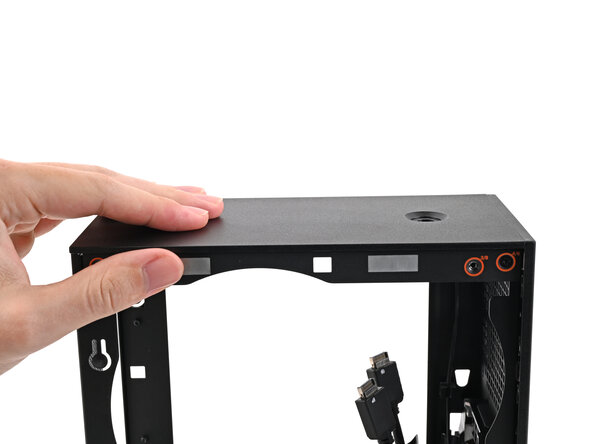
    4. Framework Desktop Case Installation, Remove the Top Panel: step 4, image 1 of 3 Framework Desktop Case Installation, Remove the Top Panel: step 4, image 2 of 3 Framework Desktop Case Installation, Remove the Top Panel: step 4, image 3 of 3
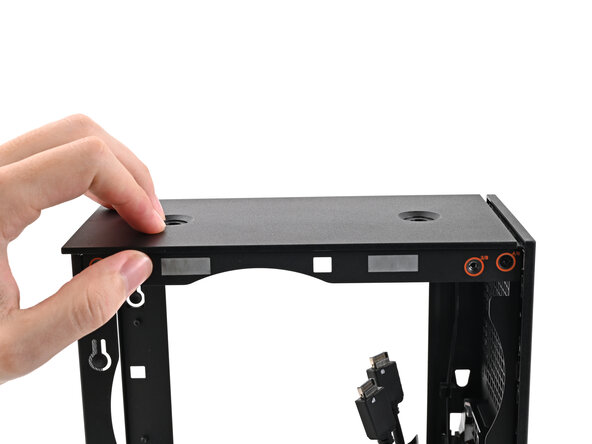
      • Slide the Top Panel towards the rear of the computer to release the clips securing it to the chassis.

      • If you're having a hard time gripping the Top Panel, use the screw holes to get a better handhold.

      • Lift the Top Panel off the chassis and remove it.

      Ask FixBot

      Add Comment

    5. Framework Desktop Case Installation, Remove the Right Panel: step 5, image 1 of 3 Framework Desktop Case Installation, Remove the Right Panel: step 5, image 2 of 3 Framework Desktop Case Installation, Remove the Right Panel: step 5, image 3 of 3
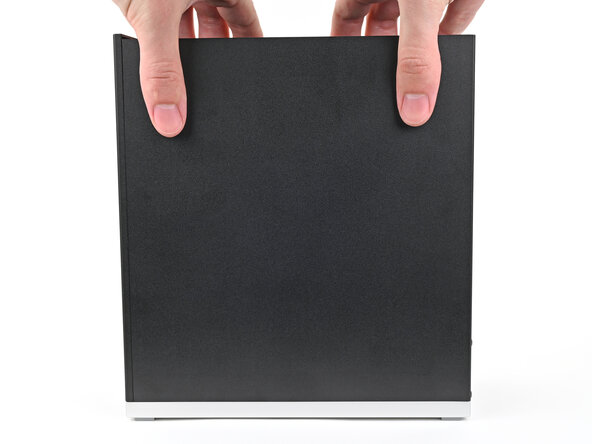
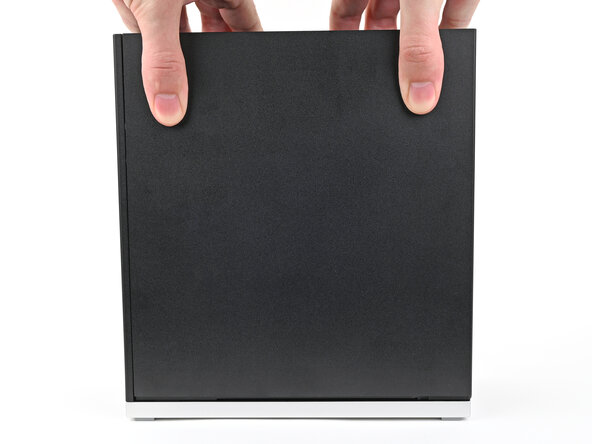
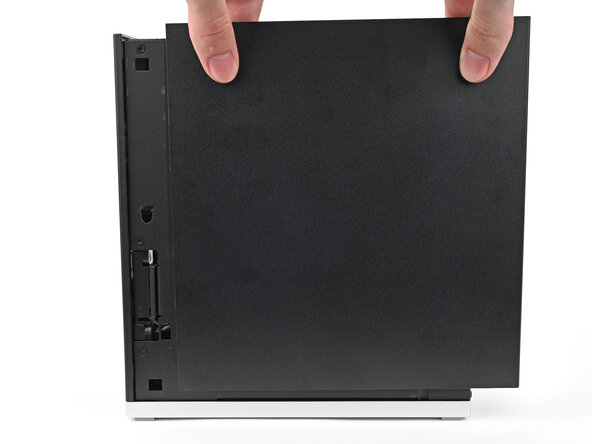
      • Use your fingers to grip the top of the Right Panel and slide it upward to release its clips.

      • Remove the Right Panel.

      Ask FixBot

      Add Comment

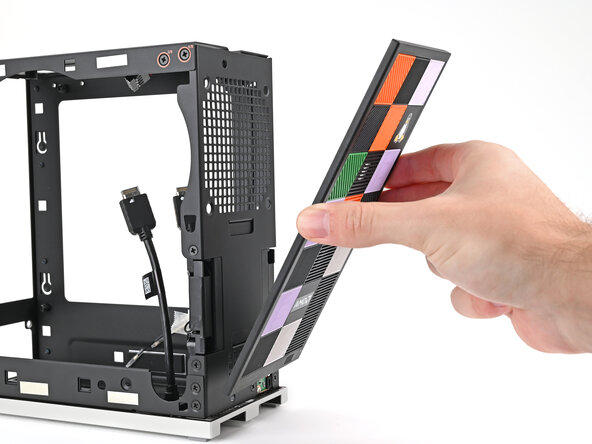
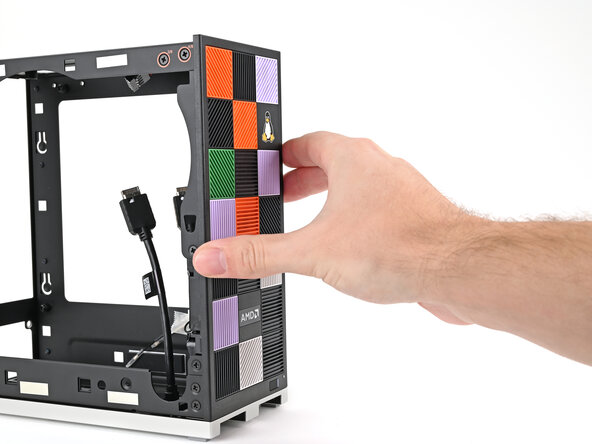
    6. Framework Desktop Case Installation, Replace the Front Panel: step 6, image 1 of 3 Framework Desktop Case Installation, Replace the Front Panel: step 6, image 2 of 3 Framework Desktop Case Installation, Replace the Front Panel: step 6, image 3 of 3
      • Use your fingers to pull the Front Panel off the magnets securing it to the chassis.

      • Follow this guide to transfer your Tiles to the new Front Panel or to install the old Front Panel.

      Ask FixBot

      Add Comment

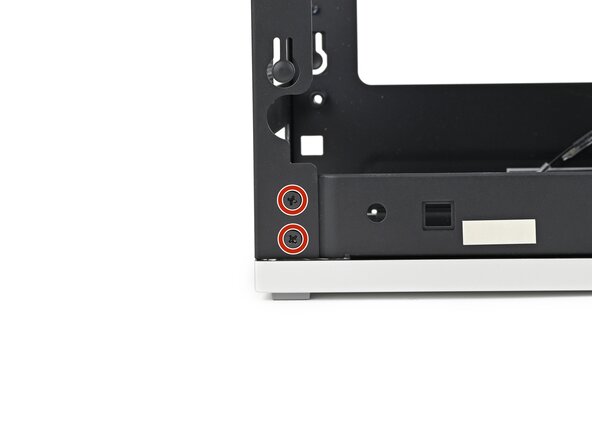
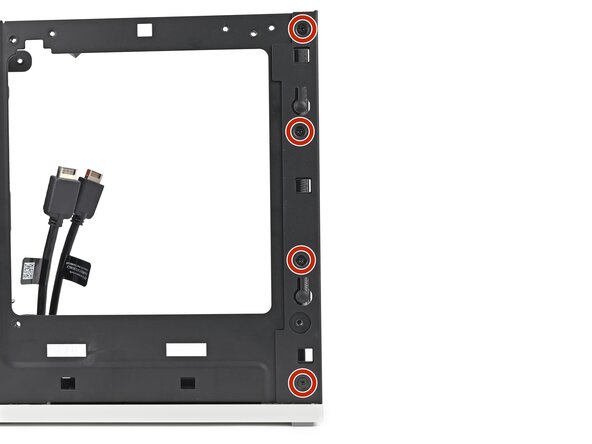
    7. Framework Desktop Case Installation, Remove the top plate screws: step 7, image 1 of 3 Framework Desktop Case Installation, Remove the top plate screws: step 7, image 2 of 3 Framework Desktop Case Installation, Remove the top plate screws: step 7, image 3 of 3
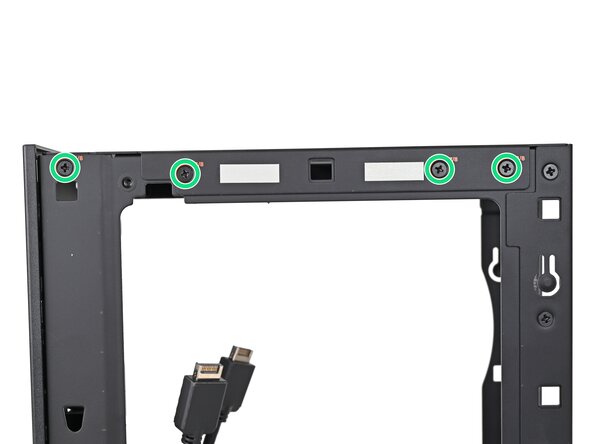
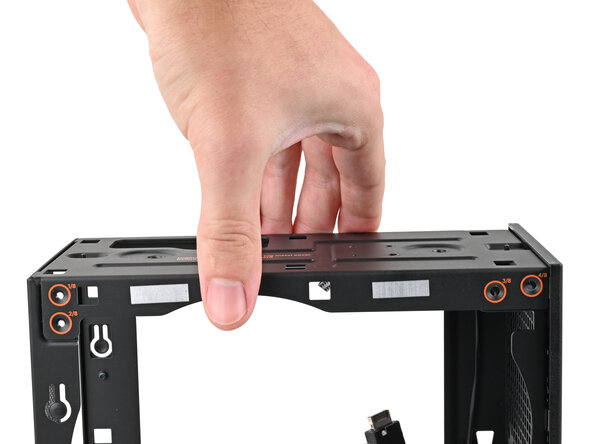
      • While holding the Desktop steady, use your Framework Desktop Screwdriver to remove the eight 4.0 mm‑long Phillips screws securing the top plate.

      Ask FixBot

      Add Comment

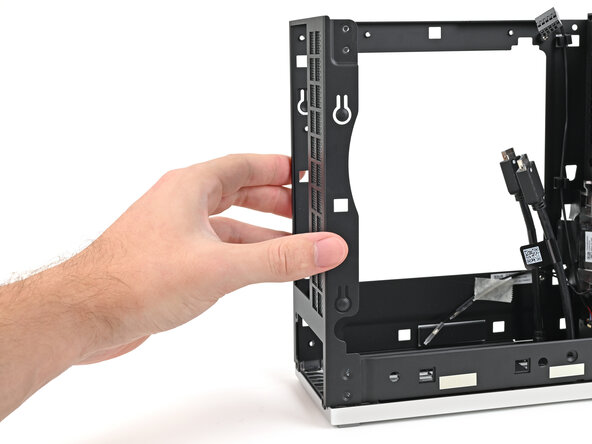
    8. Framework Desktop Case Installation, Remove the top plate: step 8, image 1 of 2 Framework Desktop Case Installation, Remove the top plate: step 8, image 2 of 2
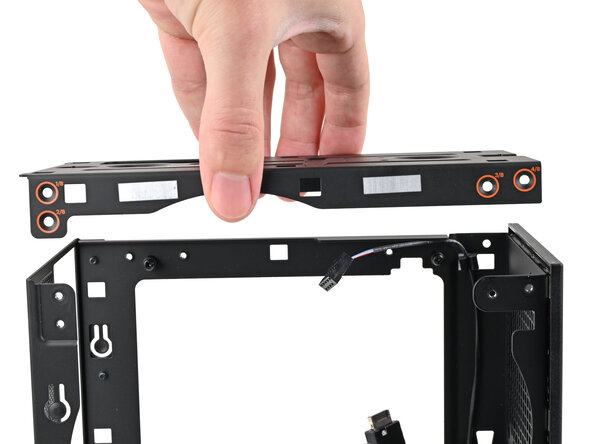
      • Lift the top plate off the Desktop and remove it.

      Ask FixBot

      Add Comment

    9. Framework Desktop Case Installation, Remove the Mainboard screws: step 9, image 1 of 2 Framework Desktop Case Installation, Remove the Mainboard screws: step 9, image 2 of 2
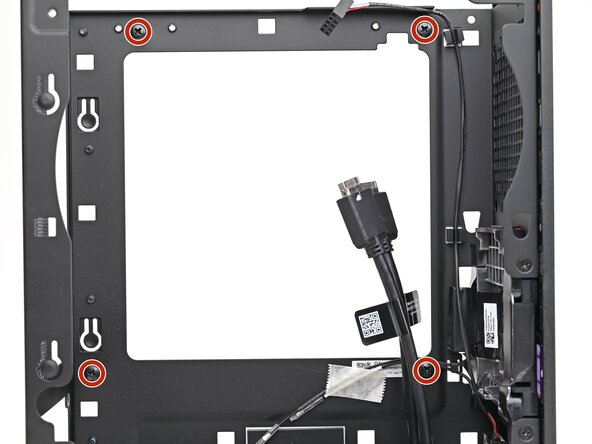
      • Use your Framework Desktop Screwdriver to remove the four 8.2 mm‑long Phillips screws in the Mainboard screw posts.

      Ask FixBot

      Add Comment

    10. Framework Desktop Case Installation, Remove the rear plate screws: step 10, image 1 of 2 Framework Desktop Case Installation, Remove the rear plate screws: step 10, image 2 of 2
      • Optionally, you can remove the six 4.0 mm‑long screws securing the rear plate to make removing the power supply easier.

      • If you don't remove the rear plate screws, skip the next step.

      Ask FixBot

      Add Comment

    11. Framework Desktop Case Installation, Remove the rear plate: step 11, image 1 of 2 Framework Desktop Case Installation, Remove the rear plate: step 11, image 2 of 2
      • Pull the rear plate off the back of the Desktop and remove it.

      Ask FixBot

      Add Comment

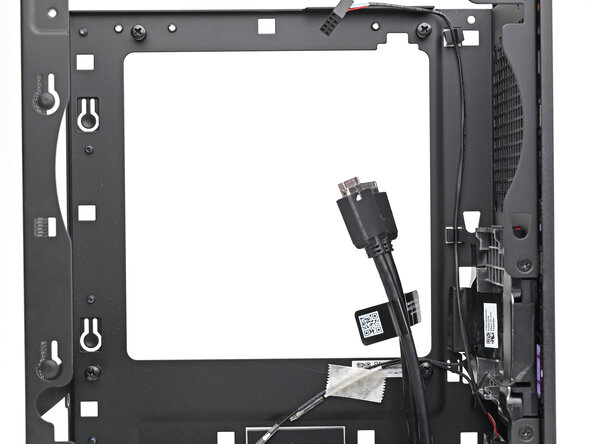
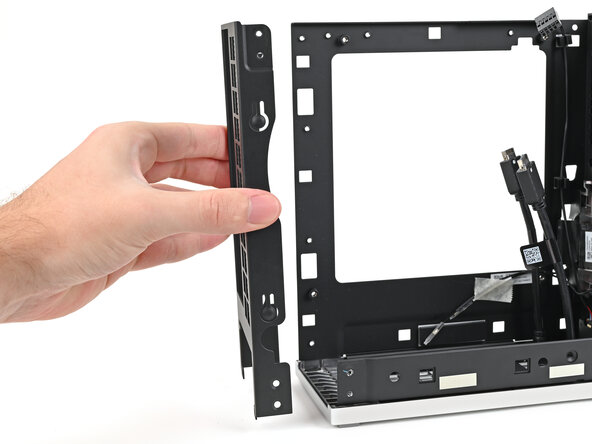
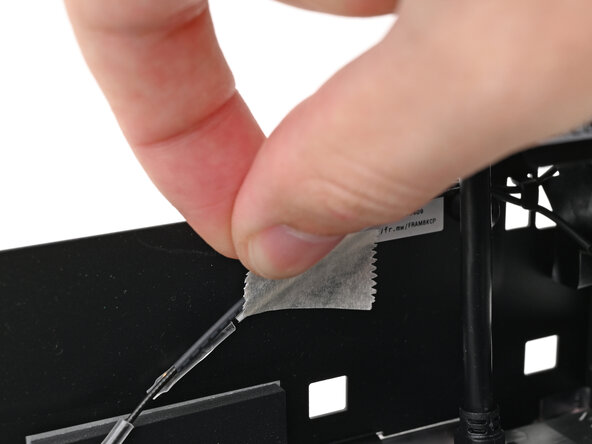
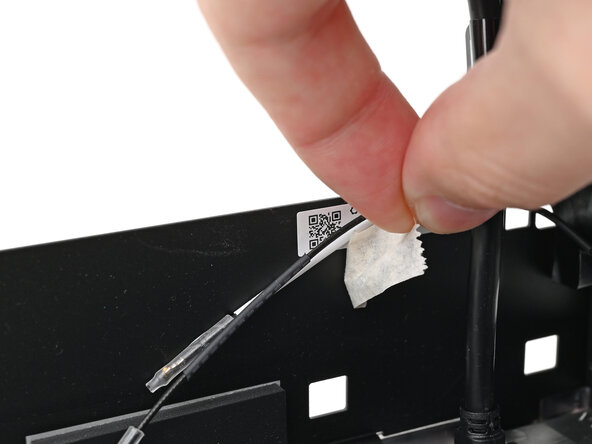
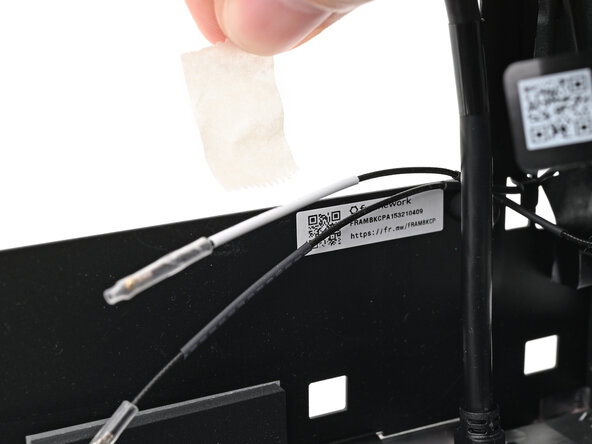
    12. Framework Desktop Case Installation, Remove the tape: step 12, image 1 of 3 Framework Desktop Case Installation, Remove the tape: step 12, image 2 of 3 Framework Desktop Case Installation, Remove the tape: step 12, image 3 of 3
      • Peel off the tape covering the antenna cables.

      Ask FixBot

      Add Comment

Conclusion

To reassemble your device, follow these instructions in reverse order.

Cancel: I did not complete this guide.

Alex Diaz-Kokaisl

Member since: 01/16/22

249,976 Reputation

1,203 Guides authored

0 Guide Comments

Add Comment

View Statistics:

Past 24 Hours: 0

Past 7 Days: 0

Past 30 Days: 16

All Time: 79