Free Shipping on Domestic Orders $75+

Fan Removal

Prerequisite Only
This is a prerequisite-only guide! This guide is part of another procedure and isn’t meant to be used alone.

What you need

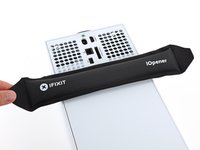
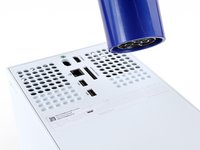
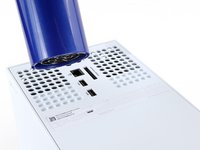
  1. Fan Removal, Uncover the back panel screws: step 1, image 1 of 2 Fan Removal, Uncover the back panel screws: step 1, image 2 of 2
    • Before you begin, completely power down and unplug all cables from your console.

    • Two stickers cover the back panel screws. You can remove the stickers without heating them, though it makes them much easier to remove cleanly.

    • Heat an iOpener and lay it on the smaller sticker near the bottom of the back panel for two minutes.

    • Alternatively, you can use a hair dryer to heat the sticker.

    Ask FixBot

    Add Comment

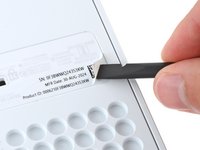
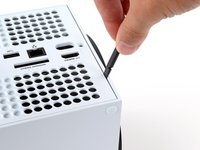
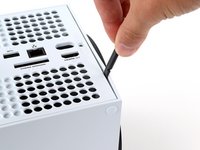
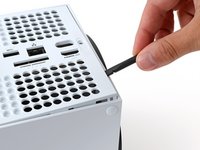
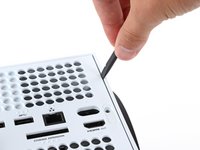
  2. Fan Removal: step 2, image 1 of 3 Fan Removal: step 2, image 2 of 3 Fan Removal: step 2, image 3 of 3
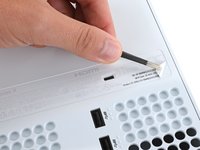
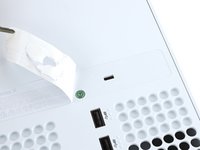
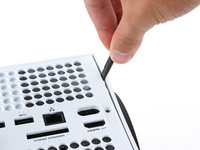
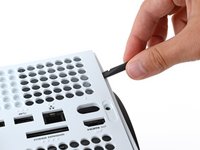
    • Use a pair of angled tweezers to remove the sticker hiding the first screw on the back panel, near the base.

    Ask FixBot

    Add Comment

  3. Fan Removal: step 3, image 1 of 3 Fan Removal: step 3, image 2 of 3 Fan Removal: step 3, image 3 of 3
    • Use an iOpener or hair dryer to heat the larger sticker near the center of the back panel.

    Ask FixBot

    Add Comment

  4. Fan Removal: step 4, image 1 of 3 Fan Removal: step 4, image 2 of 3 Fan Removal: step 4, image 3 of 3
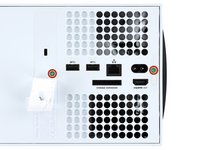
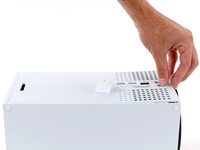
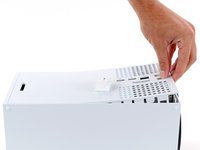
    • Use the flat end of a spudger to scrape up a corner of the larger sticker until you can grip it with a pair of blunt tweezers.

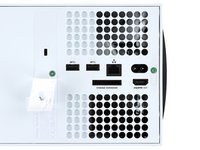
    • Use blunt tweezers to peel back the sticker to reveal the second screw.

    • You only need to peel this sticker to where you can access the hidden screw. You don't need to pull it completely off.

    • Technically, these are tamper-evident stickers, but don't worry—Microsoft can't legally void your warranty, as long as you don't damage anything. Have fun!

    Ask FixBot

    Add Comment

  5. Fan Removal, Remove the back panel screws: step 5, image 1 of 2 Fan Removal, Remove the back panel screws: step 5, image 2 of 2
    Tool used on this step:
    Magnetic Project Mat
    $19.95
    Buy
    • Throughout this repair, keep track of each screw and make sure it goes back exactly where it came from to avoid damaging your console.

    • Use a T8 Torx driver to remove the two 7.4 mm‑long screws securing the back panel.

    Ask FixBot

    Add Comment

  6. Fan Removal, Unclip the back panel: step 6, image 1 of 3 Fan Removal, Unclip the back panel: step 6, image 2 of 3 Fan Removal, Unclip the back panel: step 6, image 3 of 3
    • Insert the flat end of a spudger into the gap between the back panel and the shell, near the left side of the base.

    • Pry up the back panel to release it from the locking clips.

    Ask FixBot

    Add Comment

  7. Fan Removal: step 7, image 1 of 3 Fan Removal: step 7, image 2 of 3 Fan Removal: step 7, image 3 of 3
    • Insert the flat end of a spudger into the gap between the back panel and the shell, near the right side of the base.

    • Pry up the back panel to release it from the locking clips.

    Ask FixBot

    Add Comment

  8. Fan Removal, Remove the back panel: step 8, image 1 of 3 Fan Removal, Remove the back panel: step 8, image 2 of 3 Fan Removal, Remove the back panel: step 8, image 3 of 3
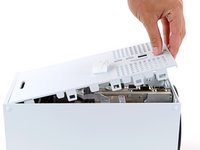
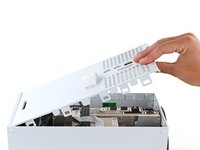
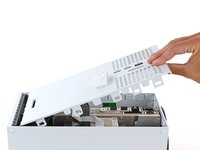
    • Grip the back panel at the opening you just created and pull it up and away from the shell to unclip the long edges.

    • During reassembly, press along the edges of the back panel to snap it into place.

    Ask FixBot

    Add Comment

  9. Fan Removal: step 9, image 1 of 3 Fan Removal: step 9, image 2 of 3 Fan Removal: step 9, image 3 of 3
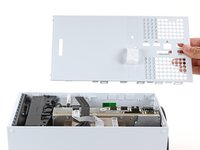
    • The back panel slots into a gap at the top of the shell.

    • Tilt the back panel up and pull it away from the top edge of the shell to release it from the gap.

    • Remove the back panel.

    Ask FixBot

    Add Comment

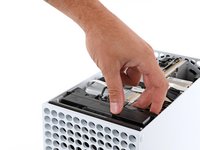
  10. Fan Removal, Remove the fan screws: step 10, image 1 of 2 Fan Removal, Remove the fan screws: step 10, image 2 of 2
    • Use a T8 Torx driver to remove the three screws securing the fan to the center chassis:

    • One 10.3 mm‑long pancake screw

    • Two 9 mm‑long screws

    Ask FixBot

    Add Comment

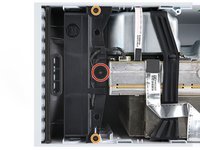
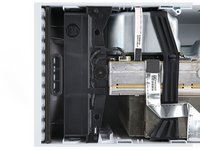
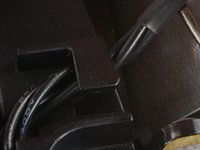
  11. Fan Removal, Disconnect the fan cable: step 11, image 1 of 3 Fan Removal, Disconnect the fan cable: step 11, image 2 of 3 Fan Removal, Disconnect the fan cable: step 11, image 3 of 3
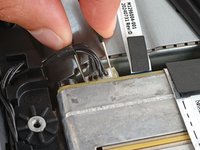
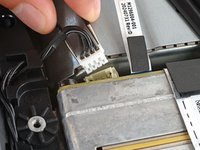
    • Use your fingernails or a pair of angled tweezers to firmly grip the edges of the fan cable connector.

    • Grip your tweezers close the connector to get a better grip.

    • Pull the connector straight out of the socket to disconnect it.

    • If you're having trouble, gently rock the connector side to side to loosen it.

    • Always pull cables by their connectors and not the wires themselves.

    • During reassembly, route the fan cable underneath its small cable guide on the fan housing so it doesn't interfere with the back panel.

    Ask FixBot

    Add Comment

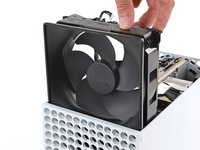
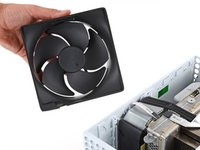
  12. Fan Removal, Remove the fan: step 12, image 1 of 3 Fan Removal, Remove the fan: step 12, image 2 of 3 Fan Removal, Remove the fan: step 12, image 3 of 3
    Tool used on this step:
    Dust Blower
    $19.99
    Buy
    • Slide the fan out of its slot to remove it.

    • During reassembly:

    • Before installing the fan, make sure it's clean! Use a dust blower or compressed air to blow off any dust or debris, and wipe the fan clean with a clean cloth.

    • Use a finger to keep the fan blades steady—it makes them easier to clean.

    • Note that the fan can only be installed one way—make sure Master Chief is facing you.

    Ask FixBot

    Add Comment

Finish Line

Cancel: I did not complete this guide.

Spencer Day

Member since: 09/14/22

196,911 Reputation

1,243 Guides authored

Team

iFixit Member of iFixit

Staff

123 Members

31,535 Guides authored

0 Guide Comments

Add Comment

View Statistics:

Past 24 Hours: 5

Past 7 Days: 13

Past 30 Days: 64

All Time: 579