
ExoPC Slate CPU Fan Replacement

Jonathon Cronin and
Last updated on May 7, 2024
Views: 832
View statistics:
- Past 24 Hours:
- 6
- Past 7 Days:
- 25
- Past 30 Days:
- 73
- All Time:
- 832
Comments: 0
No one has left comments on this guide. Will you be first?
Go to guide commentsCompleted: 0 1
No one has marked this guide "completed." Will you be the first?
1 person has marked this guide "completed." It's you — great job!
Favorites: 0 1
No one has favorited (and subscribed to) this guide. Will you be the first?
1 person has favorited (and subscribed to) this guide — and that's you!
Introduction
Go to step 1 ↓The fan and heat sink are components that prevent the device from overheating. The heat sink is usually made out of a thermal conducting metal such as copper or aluminum. Internally the fan has ball bearing that rotate and reduce friction. Over time these ball bearings can fail causing noise and eventual cause the fan to stop working.
What you need
Fix Kit
This kit contains all the parts and tools needed to complete this guide.

Parts
-
High Content Rubbing Alcohol$12.99
-


Tools


-
-
-
Turn the PC on its back with the screen facing down and pull on the piece of plastic shown in the image. Use your fingernails to prod into the depression where the two plastic covers meet.
 Ask FixBot
-
-
-
Using the 00 Phillips screwdriver remove the two screws in the corners.
-
Using your left hand pull at the exposed section of the PC while simultaneously pushing the right with the thumb of your other hand. This will release the plastic clips allowing back cover to slide off, as shown from the picture
-
-
-
-
Remove the tape covering the metal shield.
-
Remove the 12 screws using the Phillips #00 screwdriver.
-
Dislodge the shield by pulling the prongs away from underneath the battery. The shield should come completely off.
-
-
-
-
-
Remove the yellow tape securing the wires to the PCB board as well as the silver/grey tape.
-
Unscrew the six Phillips #00 screws.
-
-
Tool used on this step:Tweezers$4.99
-
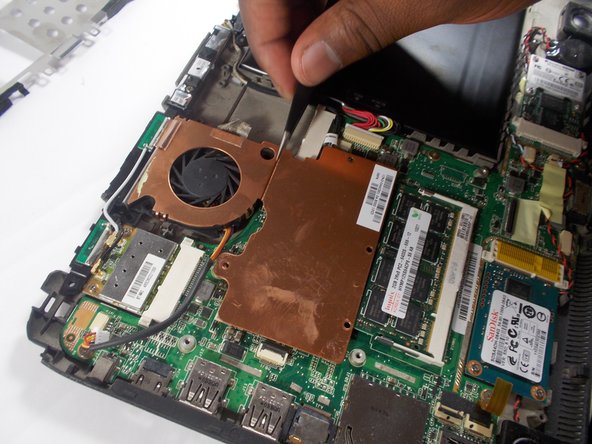
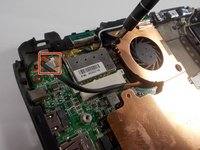
Using tweezers, disconnect the connector in the top left.
-
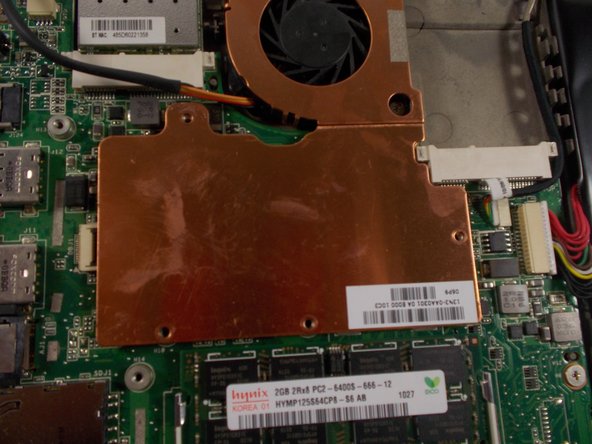
Pull the fan heat sink away from the PC.
-
Remove the fan from the copper heat sink with the tweezers by releasing the metal clips.
-
-





To reassemble your device, follow these instructions in reverse order.
Team

UMass Dartmouth, Team S2-G1, Peak Fall 2018 Member of UMass Dartmouth, Team S2-G1, Peak Fall 2018
UMASSD-PEAK-F18S2G1
3 Members
60 Guides authored
