Introduction
If you're no longer receiving haptic feedback when playing your favorite game, you may need to replace the vibration motor in your EasySMX X15 controller this guide will lead you through the steps.
The vibration motor provides tactile feedback when playing a game which simulates events in a game by providing a physical vibration sensation to the user. This improves the player's sense of immersion in the game with different vibration patterns representing certain actions like collisions, or movement, and also alerts the player to status changes in a game.
Before you begin the repair, make sure that the controller is off and disconnected from your game console or PC.
In Step 3, you don't need to remove the battery, but it's important to disconnect the battery from the motherboard before replacing the vibration motor to avoid damaging the device.
Lastly, be careful when detaching the connectors to prevent breaking the cables or wires.
What you need
-
-
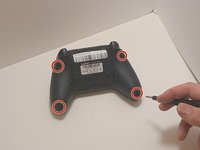
Use a Phillips #00 screwdriver to remove the four 9 mm screws from the bottom of the EasySMX X15.
-
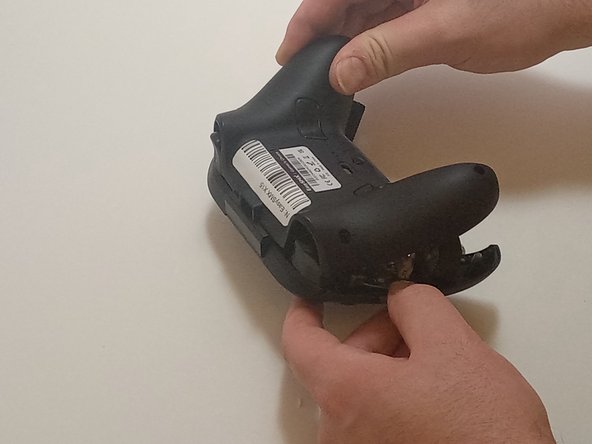
Use an opening tool to gently pry between the seams of the controller to separate the lower and upper casings.
-
-
-
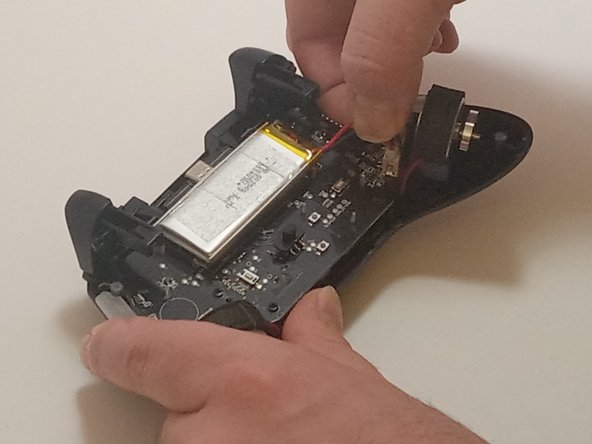
Push on alternating sides of the connector to disconnect the red battery cable from the board.
-
-
-
-
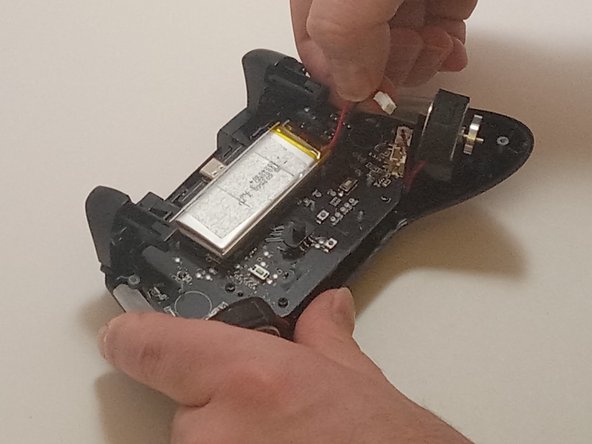
Push on alternating sides of the connector to disconnect the red battery cable from the board.
-


To reassemble your device, follow these instructions in reverse order.

Team

Austin Community College, Team 7-3, Watkins Fall 2024 Member of Austin Community College, Team 7-3, Watkins Fall 2024
AUSTINCC-WATKINS-F24S7G3
3 Members
7 Guides authored