Introduction
If your DualShock 4 controller consistently fails to charge, use this step-by-step guide to replace a faulty ribbon cable as it is typically the root of the problem.
Before following this guide, disconnect your controller from the PS4 console.
What you need
-
-
Check the model number on the back of your controller. This guide was written using model CUH-ZCT1U. If you have another model, the guide procedure and replacement parts may differ slightly.
-
-
-
Use a Phillips screwdriver to remove the four 6.4 mm-long screws securing the rear case.
-
-
-
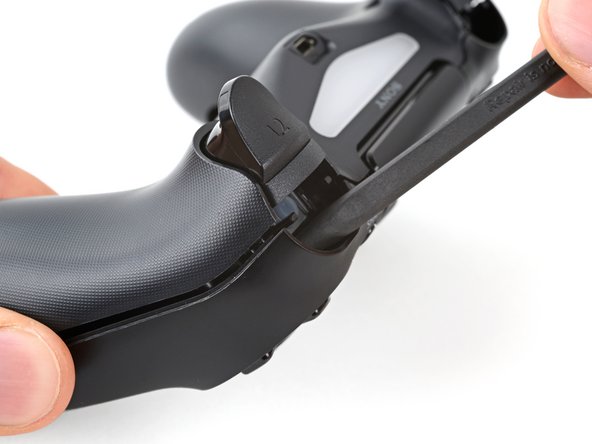
Use an opening pick to pry each corner of the L1 button from the front case.
-
Remove the button.
-
-
-
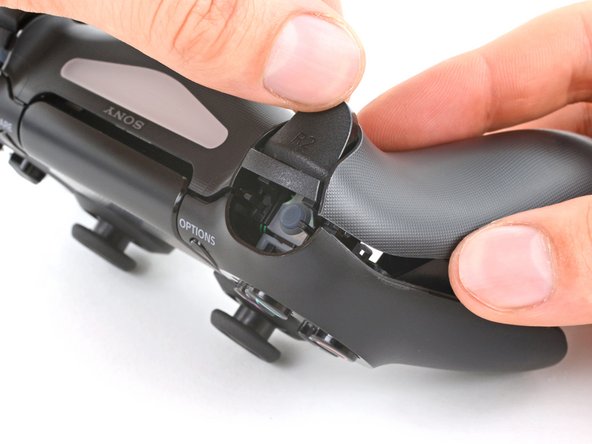
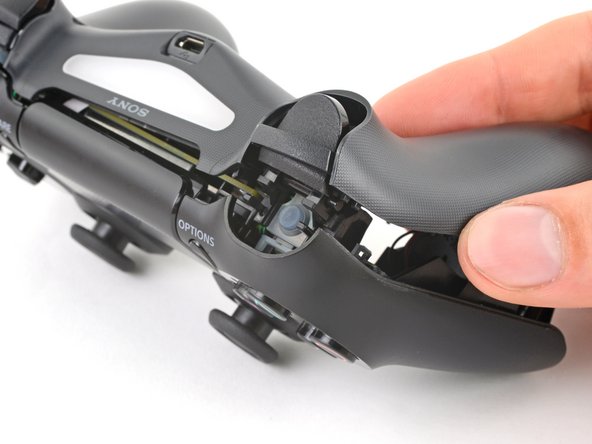
Use your opening pick to pry and remove the R1 button, just as you did for the L1 button.
-
-
-
Insert your opening pick at a downward angle between the front case and rear case, halfway between the handle and the action buttons.
-
Slide your pick toward the handle and pry up to release the first clip.
-
Repeat this procedure on the other side of the controller to release the second clip.
-
-
-
-
Use tweezers or your fingers to remove the interconnect cable by pulling its blue pull tab straight out of the socket.
-
-
-
Use your Phillips screwdriver to remove the two 6.4 mm screws securing the light guide bracket to the rear case.
-
-
-
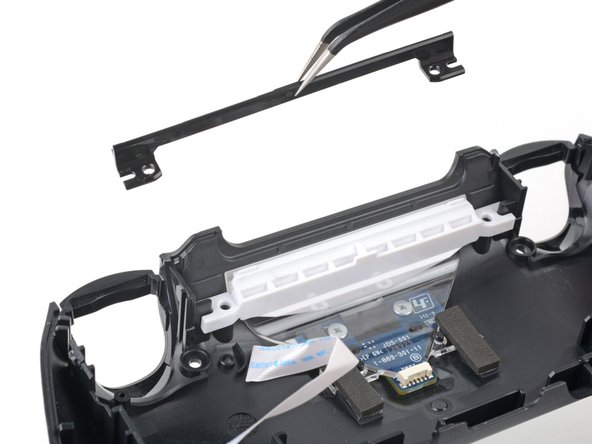
Remove the black spacer and white bracket from the light guide.
-
-
-
Grab and lift the light guide from its alignment pegs on the rear case.
-
Remove the light guide.
-
-
-
Push the light diffuser through the inside of the rear case and remove it.
-
-
-
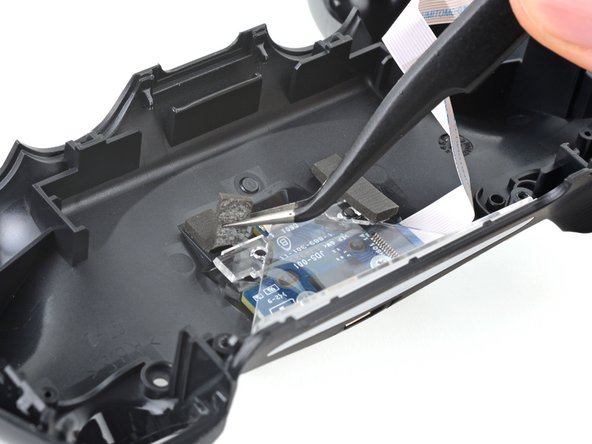
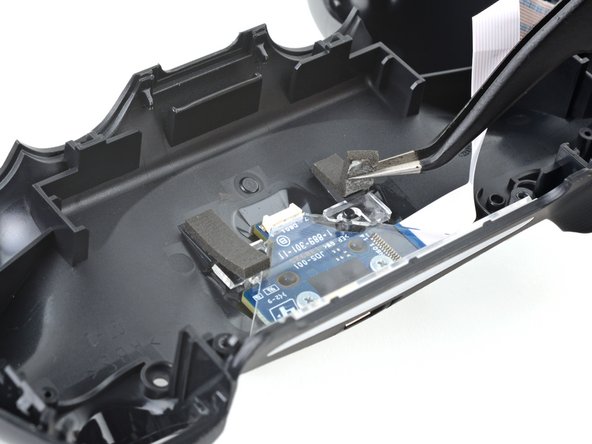
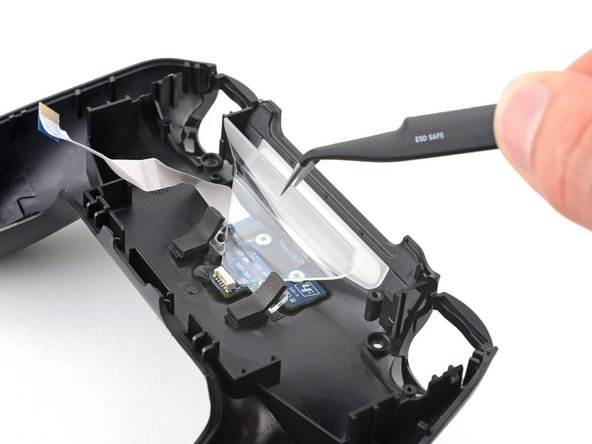
Use your thumb to hold down the clear plastic cover to create space to remove the ribbon cable.
-
With the cover held down, use tweezers to remove the faulty ribbon cable.
-
To reassemble your device, follow these instructions in reverse order.
To reassemble your device, follow these instructions in reverse order.
Cancel: I did not complete this guide.
5 other people completed this guide.


