Introduction
This is a relatively straight forward disassembly. Cleaning or swapping the battery when the time comes should be no problem.
What you need
-
-
-
Use a TX 6 screwdriver to remove the four screws on the downside of the controller.
 Ask FixBot
-
-
-
This is the only slightly tricky part! The bottom shell is additionally fixed with four clips.
-
The easiest way to pry it open is to use a slim screwdriver insterted beside the trigger to gently push in an outside direction
-
-
-
-
Now the case is open you see the main board.
-
There are three power connections with simple plugs: the two vibration motors to the left and right, and the battery connection in the middle.
-
At the center you also see the switch to toggle between 2.4 GHz and Bluetooth. The plastic cover on the switch is not firmly attached, it can easily be pulled off.
-
-
-
Use a common Phillips screwdriver to remove three short screws from the main board and four longer ones that hold the trigger buttons in place. The whole triggers section is one assembly part and will not fall apart.
-
-
-
Carefully pull up the main board and the trigger buttons section. The only thing that holds them in place once the screws have been removed is a plug that attaches the main board to a secondry board that hold the additional buttons (x-box, start, select, etc.)
-
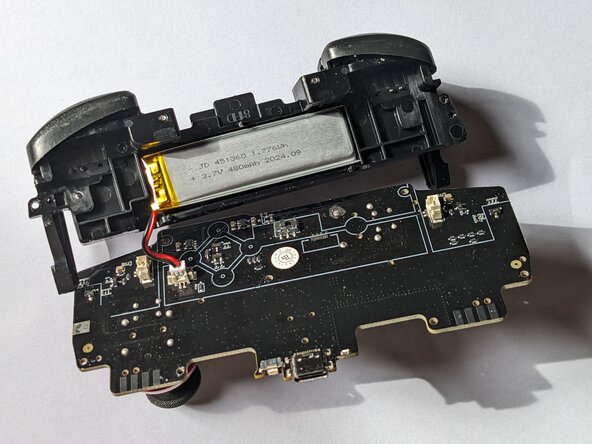
The trigger section is not attached to the main board except for the battery connector, which connects the board to the battery that is in the triggers assembly group.
-
-
-
Replacing the battery should be no problem.
-
You can also see the sticks. Replacing those would require soldering skills, since they are drirectly soldered to the main board. Replacing the plastic sticks is easier, but beware: default X-Box replacement sticks don't seem to fit without modifications!
-
-