Introduction
Use this guide to replace a malfunctioning or broken touchpad on your Dell Precision 7560 laptop.
The touchpad is a pointing device on a laptop that helps to move the mouse icon. It detects the motion of a person's fingers and translates it onto the screen.
Your touchpad may need to be replaced if the driver is missing or out of place, if it gets worn out, or if it stops working the way it should.
In step 14 of this guide you will need to use an iOpener, which is a microwavable heating tool used to loosen the glue attaching the touchpad down.
Make sure to power off your laptop completely and disconnect from any external power source prior to beginning this guide.
What you need
-
-
-
Use a Phillips #0 screwdriver to loosen the the eight 5 mm captive screws in the bottom cover.
-
Remove the back cover by lifting at the corners.
 Ask FixBot
-
-
-
Unscrew and remove the five 2 mm screws that secure the battery.
-
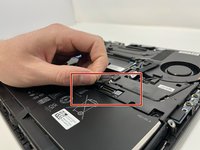
Locate the battery connector.
-
-
-
Pull the connector towards you to disconnect it.
-
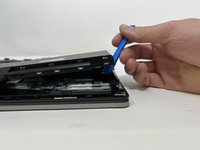
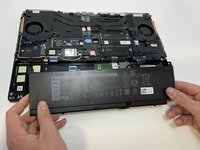
Use your fingers or a plastic opening tool to pry the battery up and remove it from the laptop.
-
-
-
-
-
Loosen the eight captive screws that secure the fan assembly using a Phillips #0 screwdriver.
-
Lifting from the bottom, carefully remove the fan.
-
-
-
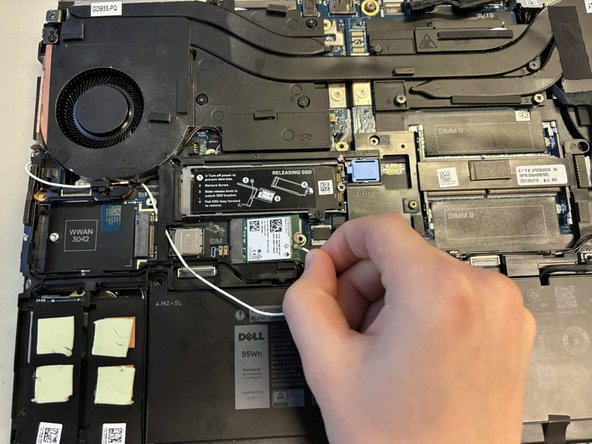
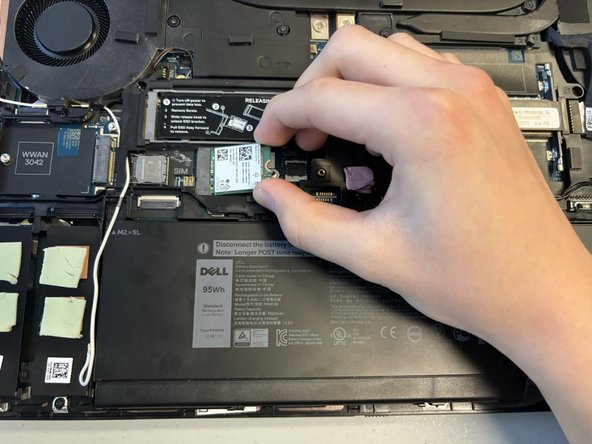
Remove the 5 mm screw holding the Wi-Fi card in place using a Phillips #0 screwdriver.
-
Remove the metal overlay.
-
Disconnect the wires attached to the Wi-Fi card.
-
Remove the Wi-Fi card.
-
-
-
-
Remove the 2 mm screws holding the metal frame in place using a Phillips #0 screwdriver.
-
Remove, carefully and completely, any wires running over the frame.
-
Lift the metal frame.
-
-
-
Flip up the metal edge holding down the SD connection.
-
Gently pull to disconnect the metal connecting wire.
-
-
-
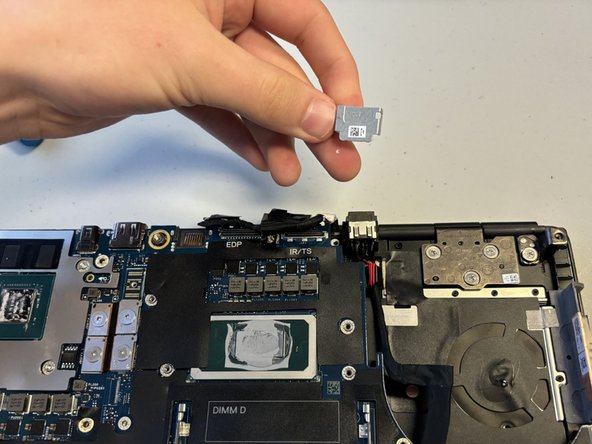
Remove the 5 mm screw holding the metal cap over the wire connection using a Phillips #0 screwdriver.
-
Remove the metal cap.
-
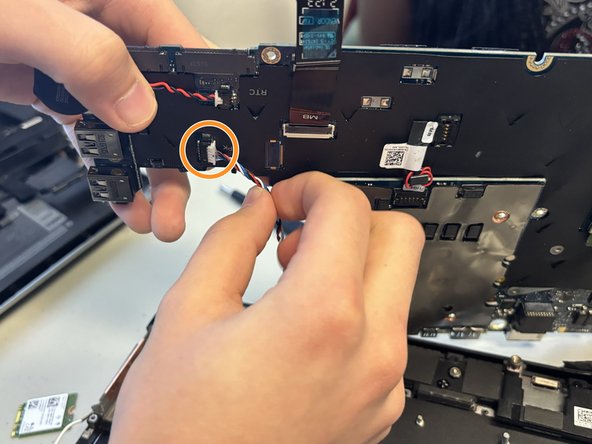
Disconnect the wire bundle.
-
-
-
Using a Phillips #0 screwdriver, remove the eight 2 mm screws holding the motherboard.
-
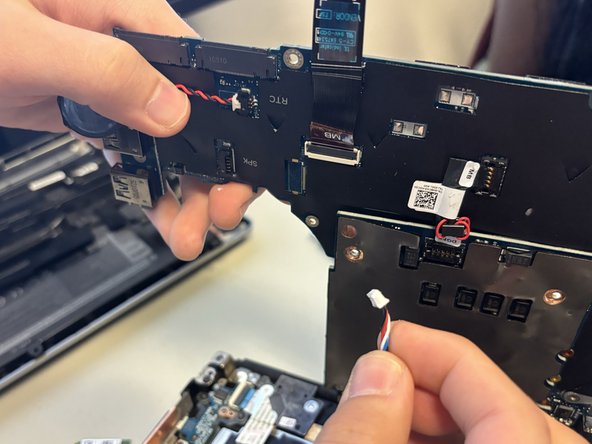
Carefully remove the speaker wire from the motherboard.
-
-
-
-
-
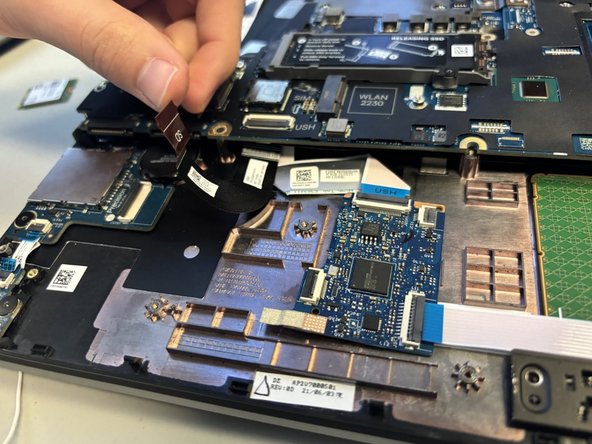
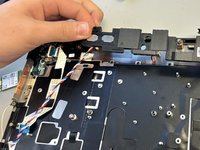
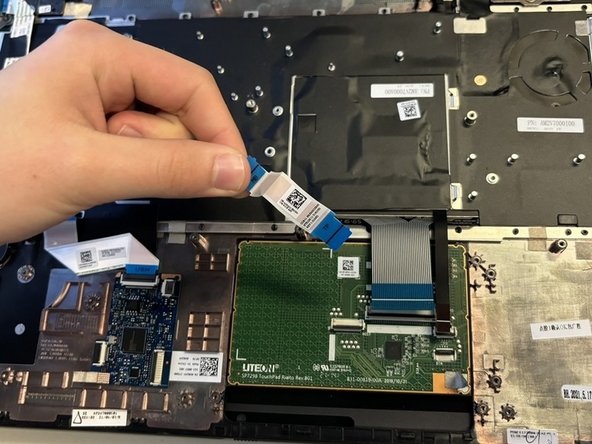
Gently remove and disconnect the connecting strip from the touchpad.
-
Remove the two 2 mm screws using a Phillips #0 screwdriver.
-
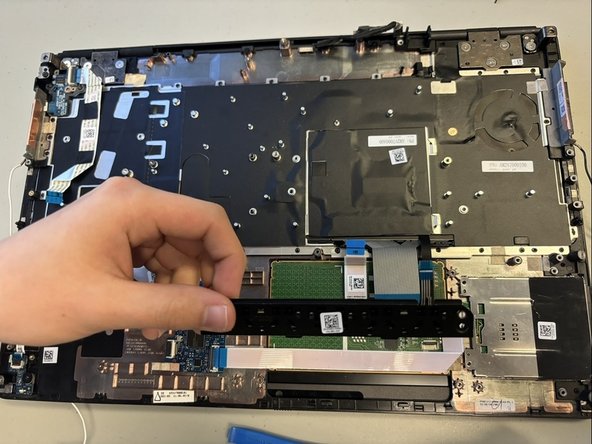
Remove the black tab from the bottom of the touchpad.
-
-
-
Lift up the white connecting strip with your finger.
-
Using a Phillips #0 screwdriver, remove the two 2 mm screws.
-
Remove the metal bracket.
-
-
-
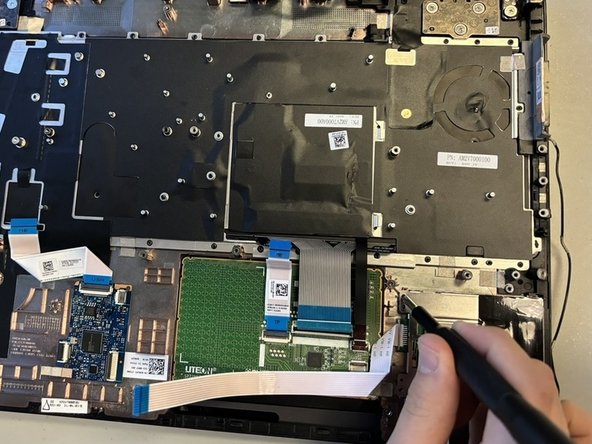
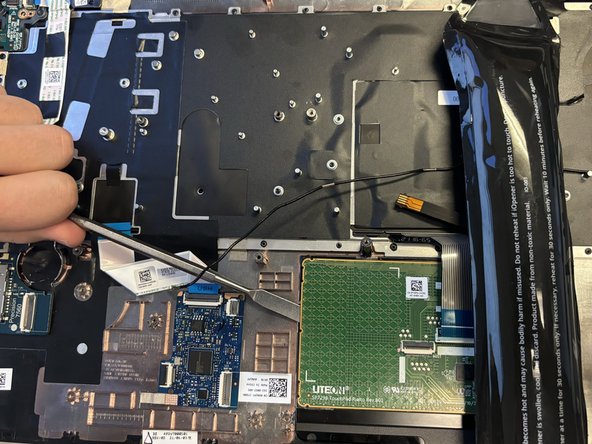
Warm all sides of the touch pad using an iOpener to loosen the glue.
-
Lift the warmed up sides with a metal spudger.
-
-






















To reassemble your device, follow these instructions in reverse order.
Cancel: I did not complete this guide.
2 other people completed this guide.

Team

University of North Texas, Team 5-4, Coppersmith Spring 2024 Member of University of North Texas, Team 5-4, Coppersmith Spring 2024
UNT-COPPERSMITH-S24S5G4
4 Members
47 Guides authored
