Introduction
Use this guide to replace the SSD in your Dell Inspiron 5570.
Before you perform this repair, back up your existing SSD if possible. If you’re replacing the SSD where your operating system is installed, familiarize yourself with a disk cloning utility so you’ll be ready to migrate your data to the new SSD.
What you need
-
-
Use your Phillips screwdriver to remove the seven screws securing the back cover:
-
Three 5 mm-long screws
-
Four 7.5 mm-long screws
-
Loosen the three captive screws.
-
-
-
Flip the laptop upright and open the lid so that the keyboard is exposed.
-
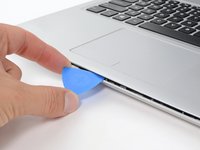
Insert an opening pick between the front right corner of the back cover and the chassis.
-
Pry upward to release the retaining clips holding the cover.
-
Repeat this procedure for the opposite corner.
-
-
-
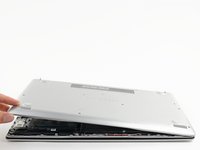
Insert an opening pick between the front edge of the back cover and the chassis, near the trackpad.
-
Pry upward to release the clips along the front edge of the laptop.
-
-
-
-
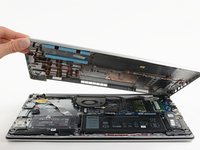
Close the screen to the laptop and flip it over.
-
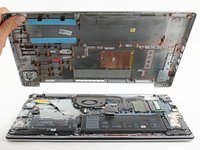
Pull the left side of the back cover away from the frame and remove it.
-
-
-
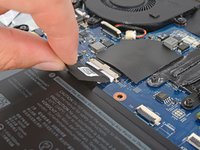
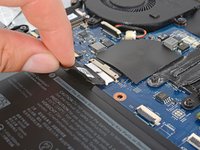
Pull the tab on the head of the battery cable away from the socket to disconnect the battery.
-
-
-
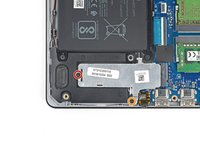
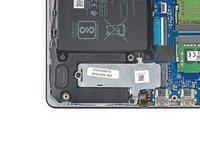
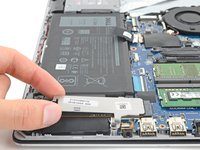
Use your Phillips screwdriver to remove the 4 mm-long screw securing the silver SSD shield.
-
Use your Phillips screwdriver to loosen the captive screw.
-
-
-
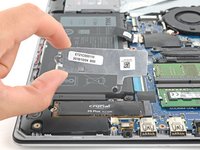
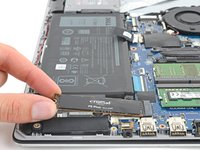
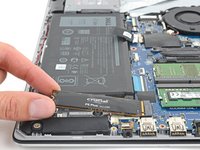
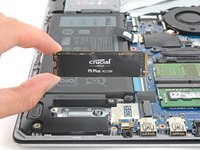
Grip the edges of the SSD near the screw indent.
-
Pull the SSD straight out from its socket and remove it.
-


To reassemble your device, follow these instructions in reverse order.
Take your e-waste to an R2 or e-Stewards certified recycler.
Repair didn’t go as planned? Try some basic troubleshooting, or ask our Dell Inspiron answers community for help.
Cancel: I did not complete this guide.
4 other people completed this guide.
