Introduction
This guide demonstrates how to replace the heat sink on the Dell Inspiron 1721 laptop (Model PP22X). Heat sinks prevent overheating on processors that need additional cooling to run at optimal speeds.
The CPU stays cool by “dumping” heat from its surface to the heat sink after which the heat is dispersed into the air. Heat sinks are often assisted by a fan which pulls cooler air across the surface and away from the heat sink. The heat sink can then pull more heat from the CPU, which cools the CPU. It's this continuous cycle of heat transference that keeps the CPU cool.
There are several indicators that your heat sink may have failed. First, if your laptop is running incredibly slow, this may indicate that your processor is self-throttling to prevent overheating. Second, if the laptop’s fan is running at an extreme speed, this could indicate that the heat sink is unable to adequately pull heat from the CPU.
To verify that the heat sink has failed, you will need to conduct a visual inspection to determine if the heat sink is physically damaged. This guide provides the steps to access and, if necessary, replace the heat sink. To prevent shocking yourself or shorting out the motherboard, you must first remove the battery from the laptop.
What you need
-
-
Slide tabs outward to undo the locks.
-
Grab and pull the battery away from the device to remove.
-
-
-
Pry up on the corner of the hinge cover with an iFixit opening tool.
-
Use the iFixit opening tool along both sides and the front of the hinge cover to release it.
-
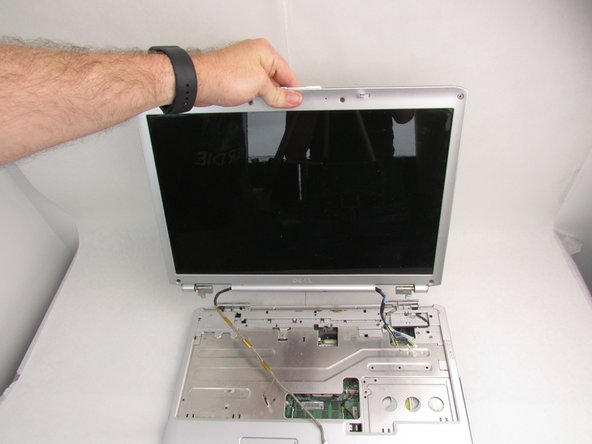
Lean the display back as far as it goes and lift up on the hinge cover to remove.
-
-
-
-
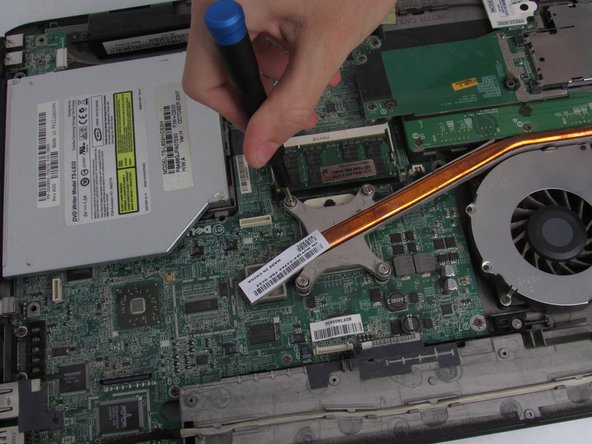
Unscrew the Phillips #0 screws attaching the heat sink to the motherboard.
-
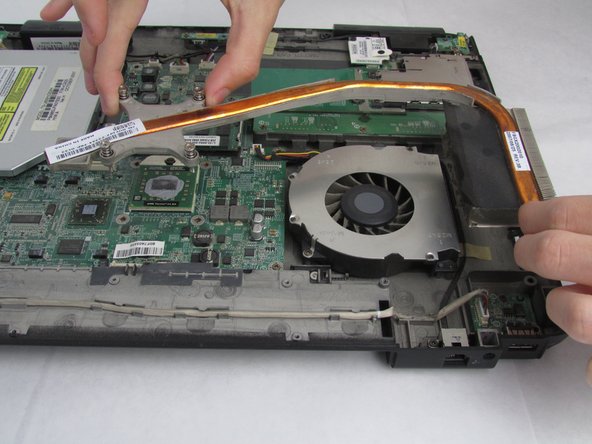
Carefully remove the heat sink from the motherboard.
-


To reassemble your device, follow these instructions in reverse order.
To reassemble your device, follow these instructions in reverse order.
Cancel: I did not complete this guide.
One other person completed this guide.

