Introduction
Designed as a low cost tablet for students in India, Datawind's Ubislate 7CI sells for about $35, to students in India, with the price subsidized by the government. The device is 7.2 by 4.8 by .4 inches (HWD) and weighs 11.2 ounces.
-
-
Be sure to repair your device on a clean surface so you are less likely to lose small parts.
-
-
-
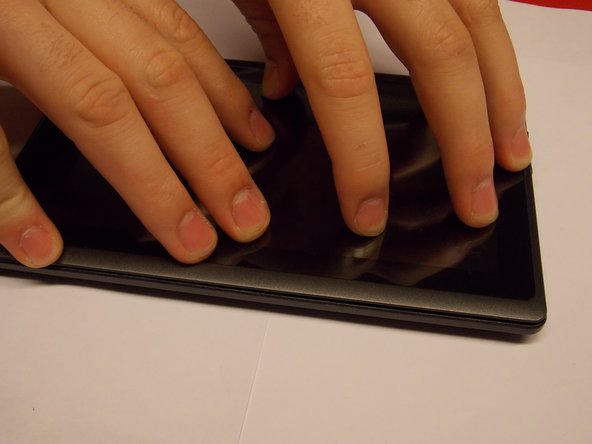
Run your prying tool along the front edge of the device to pop off the front cover.
-
Once the halves are separated your device should look like this.
-
(HINT: be careful of the device's small wiring when separating the two halves.
-
-
-
-
Remove the black tape.
-
Your tablet should look like photo 3 after you have removed the tape.
-
-
-
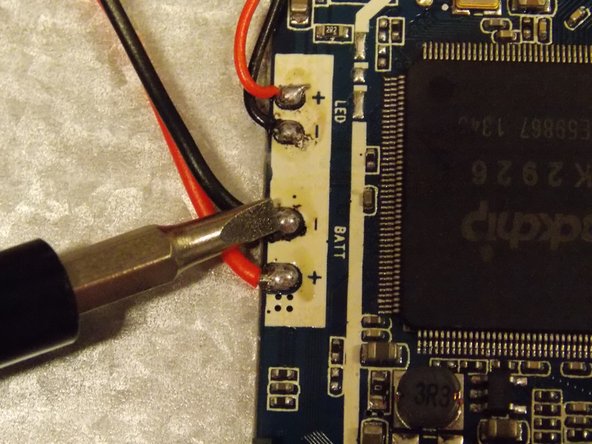
Pry off the battery, be careful not to break the battery.
-
Use soldering iron or gun to remove the battery from both its attachment points.
-
-
-
Insert your replacement battery in the same spot as the old battery.
-
Tape battery into place.
-
-
-
Solder the new battery to the connection points.
-
Press the back cover on firmly till it clicks
-


Team

UMass Dartmouth, Team 6-3, Vijaybhaskar Fall 2014 Member of UMass Dartmouth, Team 6-3, Vijaybhaskar Fall 2014
UMASSD-VIJAYBHASKAR-F14S6G3
3 Members
6 Guides authored