This translation may not reflect the most recent updates from the source guide. Help update the translation or view the source guide.
Introduction
Guide to replace a broken screen on Moto G30 phones. On this model, the label on the back says "Type: MC391".
What you need
-
-
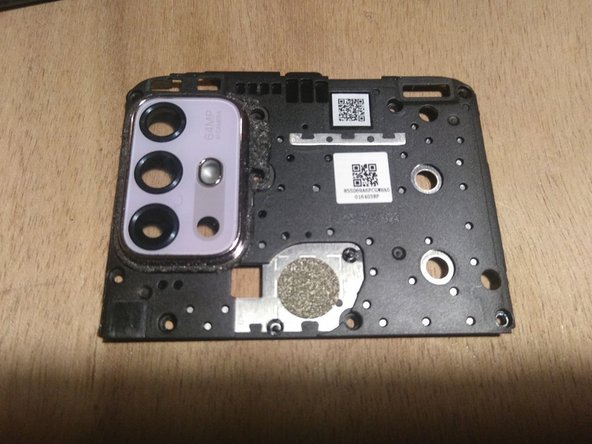
Unclip the plastic back cover using any tool you like (mediators, sprudgers, Jimmy...)
-
-
-
Slighly move the back cover in order to unscrew the plastic piece behind it
-
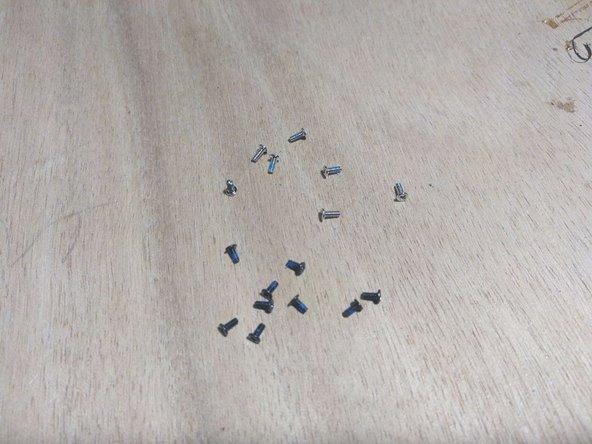
You will find 9 small Philips-head screws
-
You will also have to remove small black adhesive pieces to be able to remove the part completely
-
-
-
Once the black plastic cover piece is removed, it is possible to unplug the cable holding the back panel
-
Once this flex cable unplugged, lift the back panel completely
-
-
-
-
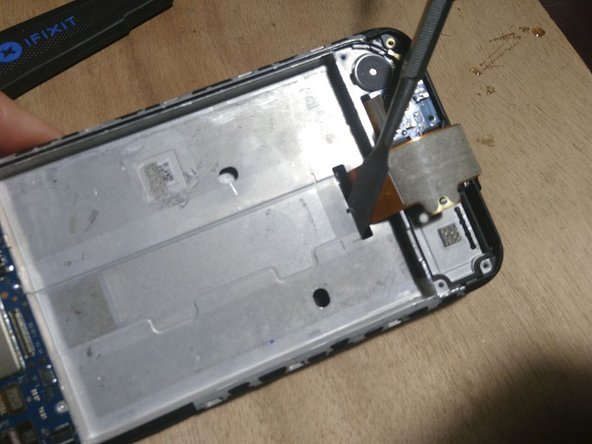
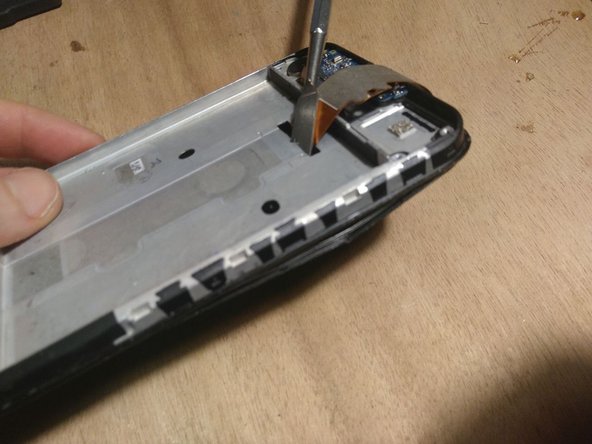
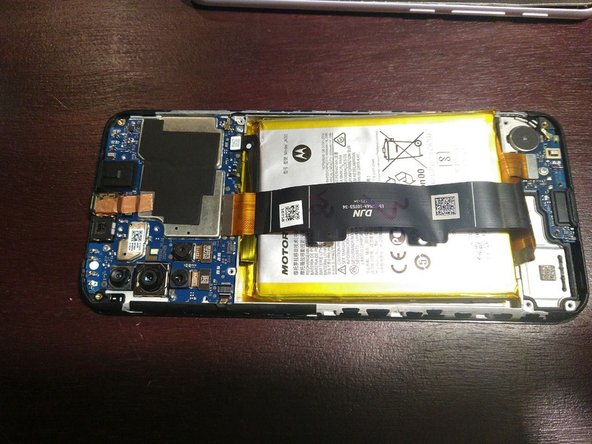
Unplug both battery and display connectors (battery on the right and display in the middle). You can use the opening tool as lever.
-
-
-
Very carefully unglue the battery
-
Adhesive is quite strong here, and the battery is not very rigid, so this is a complicated operation. It would be dangerous to head the battery cell, be patient and careful.
-
-
-
Unscrew the cover part at the bottom of the phone (USB connector side)
-
7 small Philips-head screws to remove, plus a bit of black adhesive tape
-
Once the cover is removed, unplug the flex cable
-
-
-
Once the battery is gone, it is possible to add some heat to help detach the screen
-
I could not properly unglue with a cutter blade on the side. My technique is simpler and more brutal: I pushed the display away from the connector hole, with a rigid tool.
-
-
-
Replug the battery pack
-
Test battery voltage on the testpoint at the left of the connector (you will find ground anywhere on the metal chassis). Voltage must be between 3.6 and 4.2 V.
-
Unglue the screen-USB-motherboard flex cable from your broken screen, and replug the bottom USB board with the top motherboard
-
Turn on phone with Power On + Up buttons
-
Plug it to the computer with an USB-C cable
-
Type "lsusb" in a shell
-
If you can read something like "22b8:XXXX Motorola PCS moto g(30)", congratulations: your motherboard still lives
-
-
-
Once your phone has been successfully torn down and tested, it is time to order the replacement screen
-
The part will cost you around 15-20€. You can find it here for instance
-
While waiting for your order, don’t forget to store your parts and small screw properly
-
To reassemble your device, follow the instructions in reverse order.
To reassemble your device, follow the instructions in reverse order.
Special thanks to these translators:
93%
These translators are helping us fix the world! Want to contribute?
Start translating ›


