Introduction
If it doesn't seem like your BolaButty X-GO speaker is charging, the charging port might be having connection issues. Be sure to test the charger with a different device first to make sure your speaker is the problem.
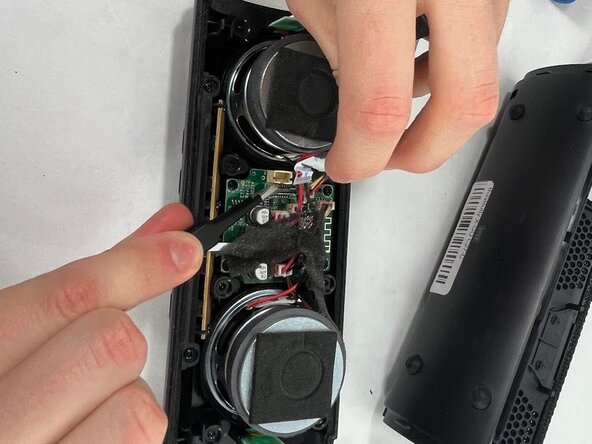
If you are sure that the charging port is damaged then the easiest thing is to remove and replace it. Other similar devices will have the port soldered directly to the motherboard, but the BolaButty X-GO has a wired connection, so it should be relatively easy.
It is also necessary to remove it before accessing the battery. Be aware that it will take some serious effort to open the device.
Before you begin, just know that it is incredible difficult to open the device, and will require a good amount of effort. The easiest way is to use force, which could damage your device.
What you need
-
-
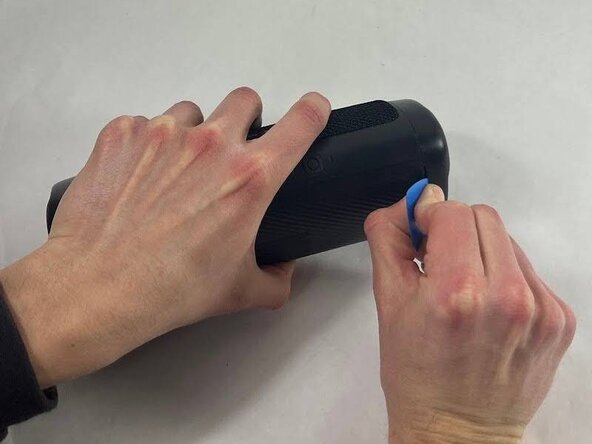
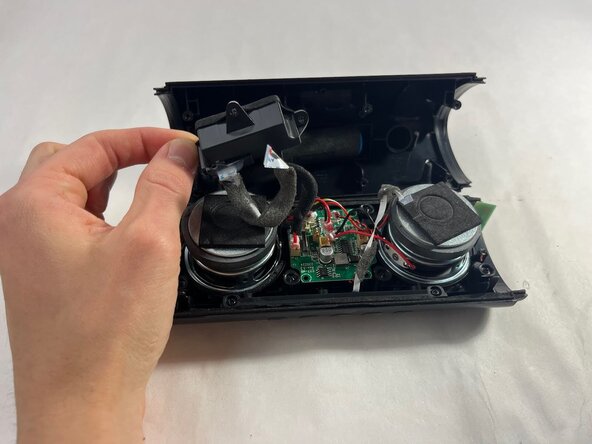
Take an opening tool or pick and wedge it into the groove between the endcap and the main casing. Wiggle it back and forth.
-
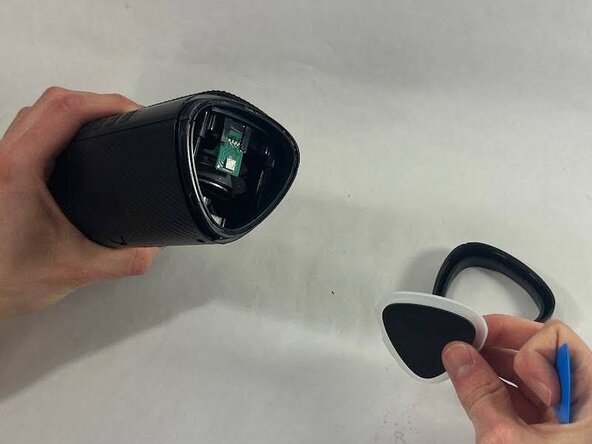
Strike the speaker endcap firmly against a solid surface to pop the end caps off.
-
-


To reassemble your device, follow the above steps in reverse order.
Take your e-waste to an R2 or e-Stewards certified recycler.
Repair didn’t go as planned? Try some basic troubleshooting or ask our Answers community for help.
Cancel: I did not complete this guide.
One other person completed this guide.

Team

UMass Dartmouth, Team 3-5, Botvin Spring 2025 Member of UMass Dartmouth, Team 3-5, Botvin Spring 2025
UMASSD-BOTVIN-S25S3G5
3 Members
5 Guides authored