Free Shipping on Domestic Orders $75+

Toshiba Satellite U840W 12V Charging Port Replacement

What you need

    1. Toshiba Satellite U840W 12V Charging Port Replacement, Toshiba Satellite U840W Disassembly Guide: step 1, image 1 of 2 Toshiba Satellite U840W 12V Charging Port Replacement, Toshiba Satellite U840W Disassembly Guide: step 1, image 2 of 2
      • There are ten 5mm screws surrounding the edge of the cover.

      • A rubber cap covers the eleventh 5mm screw (in the center).

      • Remove the screws using a Phillips #00 screwdriver.

      Ask FixBot

      Add Comment

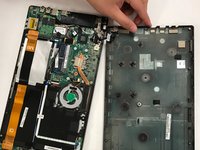
    2. Toshiba Satellite U840W 12V Charging Port Replacement: step 2, image 1 of 3 Toshiba Satellite U840W 12V Charging Port Replacement: step 2, image 2 of 3 Toshiba Satellite U840W 12V Charging Port Replacement: step 2, image 3 of 3
      • Pry between the casing and cover using a plastic wedge tool.

      • Use the wedge tool to move along the case & slowly pry it open.

      • The wire for the 12v charging port connects the cover to the casing.

      Ask FixBot

      Add Comment

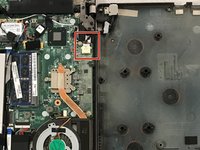
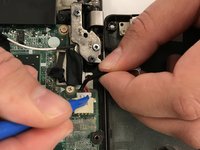
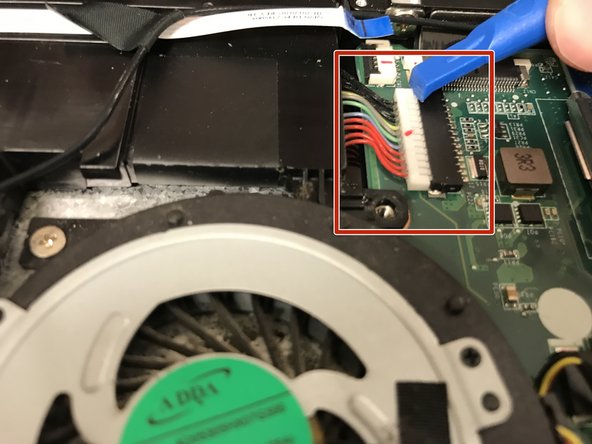
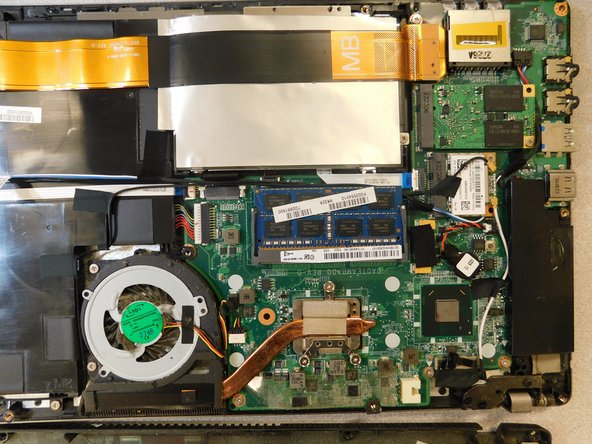
    3. Toshiba Satellite U840W 12V Charging Port Replacement: step 3, image 1 of 3 Toshiba Satellite U840W 12V Charging Port Replacement: step 3, image 2 of 3 Toshiba Satellite U840W 12V Charging Port Replacement: step 3, image 3 of 3
      • Disconnect this connector from the motherboard to avoid damaging the motherboard or charging port cable.

      Ask FixBot

      Add Comment

    4. Toshiba Satellite U840W 12V Charging Port Replacement: step 4, image 1 of 1
      • Disconnect the battery.

      • Hold down the power button for ~10 seconds to discharge any stored electricity from the motherboard.

      Ask FixBot

      Add Comment

    5. Ask FixBot

      Add Comment

    1. Toshiba Satellite U840W 12V Charging Port Replacement, 12V Charging Port: step 6, image 1 of 1
      • Remove the connector from the motherboard.

      • This separates the only connection from the motherboard to the cover.

      Ask FixBot

      Add Comment

    2. Toshiba Satellite U840W 12V Charging Port Replacement: step 7, image 1 of 1
      • Remove the screw holding 12v charging port to the cover.

      Ask FixBot

      Add Comment

    3. Toshiba Satellite U840W 12V Charging Port Replacement: step 8, image 1 of 1
      • Remove the 12v charging port from the cover.

      Ask FixBot

      Add Comment

Conclusion

To reassemble your device, follow these instructions in reverse order.

Cancel: I did not complete this guide.

2 other people completed this guide.

Joshua Pedersen

Member since: 02/04/19

217 Reputation

1 Guide authored

Team

Gateway, Team S1-G1, Saknee Spring 2019 Member of Gateway, Team S1-G1, Saknee Spring 2019

GCC-SAKNEE-S19S1G1

4 Members

40 Guides authored

0 Guide Comments

Add Comment

View Statistics:

Past 24 Hours: 1

Past 7 Days: 2

Past 30 Days: 22

All Time: 435