Free Shipping on Domestic Orders $75+

Battery Disconnect

Prerequisite Only
This is a prerequisite-only guide! This guide is part of another procedure and isn’t meant to be used alone.

What you need

    1. Battery Disconnect, Samsung Galaxy A10 SIM Tray Replacement: step 1, image 1 of 2 Battery Disconnect, Samsung Galaxy A10 SIM Tray Replacement: step 1, image 2 of 2
      • Insert a SIM card eject tool, a SIM eject bit or a straightened paper clip into the hole on the SIM tray located at the left side of the phone.

      • Press firmly to eject the tray.

      Ask FixBot

      Add Comment

    2. Battery Disconnect: step 2, image 1 of 2 Battery Disconnect: step 2, image 2 of 2
      • Remove the SIM card tray.

      • When reinserting the cards, make sure to properly orient them in the tray.

      Ask FixBot

      Add Comment

    1. Battery Disconnect, Back Cover: step 3, image 1 of 2 Battery Disconnect, Back Cover: step 3, image 2 of 2
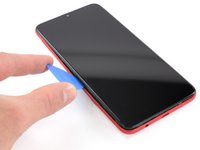
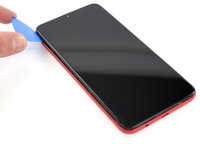
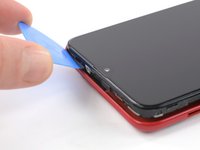
      • The back cover is held in place by plastic clips.

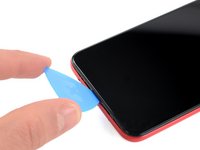
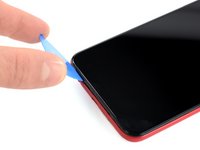
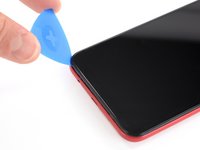
      • Insert an opening pick between the screen and the back cover on the bottom of the phone where the charging port is located.

      Ask FixBot

      Add Comment

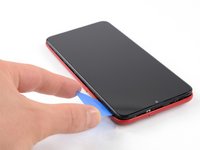
    2. Battery Disconnect: step 4, image 1 of 3 Battery Disconnect: step 4, image 2 of 3 Battery Disconnect: step 4, image 3 of 3
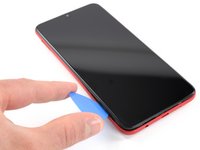
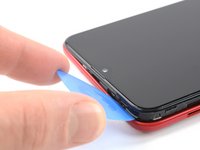
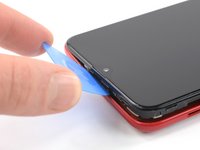
      • Slide the opening pick to the bottom left corner to release the clips.

      Ask FixBot

      Add Comment

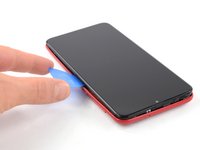
    3. Battery Disconnect: step 5, image 1 of 3 Battery Disconnect: step 5, image 2 of 3 Battery Disconnect: step 5, image 3 of 3
      • Slide the opening pick along the left edge to the top left corner of the phone, to release the clips.

      Ask FixBot

      Add Comment

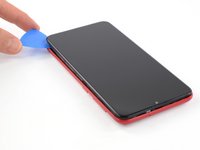
    4. Battery Disconnect: step 6, image 1 of 3 Battery Disconnect: step 6, image 2 of 3 Battery Disconnect: step 6, image 3 of 3
      • Slide the opening pick from the top left corner to the top right corner to release the plastic clips.

      Ask FixBot

      Add Comment

    5. Battery Disconnect: step 7, image 1 of 3 Battery Disconnect: step 7, image 2 of 3 Battery Disconnect: step 7, image 3 of 3
      • Slide the opening pick from the top left corner to the bottom right corner to release the remaining clips.

      Ask FixBot

      Add Comment

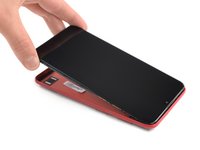
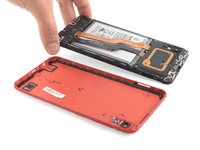
    6. Battery Disconnect: step 8, image 1 of 2 Battery Disconnect: step 8, image 2 of 2
      • Remove the back cover.

      Ask FixBot

      Add Comment

    1. Battery Disconnect, Samsung Galaxy A10 Motherboard Cover Replacement: step 9, image 1 of 1
      • Remove the three Phillips #00 screws (3 mm length).

      Ask FixBot

      Add Comment

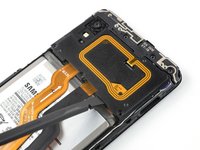
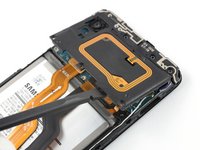
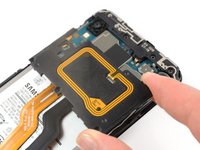
    2. Battery Disconnect: step 10, image 1 of 3 Battery Disconnect: step 10, image 2 of 3 Battery Disconnect: step 10, image 3 of 3
      • Use the flat end of a spudger to pry up the motherboard cover to release the plastic clips which hold the cover in its place.

      • The clips can be a bit resistive. If you're having trouble prying up the motherboard cover, twist the spudger to make the process easier.

      • Remove the motherboard cover.

      • The remaining plastic clips should release during this process or can be unhinged easily by hand.

      Ask FixBot

      Add Comment

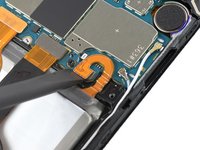
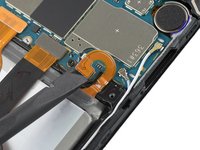
    1. Battery Disconnect, Battery Disconnect: step 11, image 1 of 2 Battery Disconnect, Battery Disconnect: step 11, image 2 of 2
      • Use a spudger to disconnect the battery by prying the connector straight up from its socket.

      Ask FixBot

      Add Comment

Conclusion

To reassemble your device, follow these instructions in reverse order.

Cancel: I did not complete this guide.

Adriana Zwink

Member since: 12/18/19

69,026 Reputation

167 Guides authored

Team

iFixit Member of iFixit

Staff

122 Members

72,401 Guides authored

0 Guide Comments

Add Comment

View Statistics:

Past 24 Hours: 1

Past 7 Days: 5

Past 30 Days: 12

All Time: 353