Introduction
This guide will walk you through all the steps to correctly assemble the Free Wheelchair Mission GEN 1 wheelchair.
But first, familiarize yourself with tools you will be using with the Free Wheelchair Mission Tools Maintenance Guide.
What you need
-
-
Fit the lawn chair with the main frame, aligning the back of the lawn chair with the main frame.
-
-
-
Line up one of the castor wheels with the holes on the front legs of the wheelchair. Align the front frame with the castor wheels.
-
Make sure the guide knob on the castor wheel faces forward; the front frame must fit perfectly with the guide knob.
-
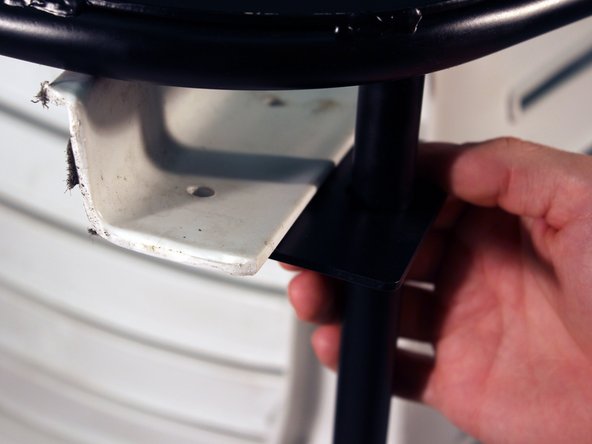
Insert one long bolt through the top-most hole connecting the front frame, castor wheel, lawn chair, and main frame.
-
Using pliers and the 10mm wrench, securely fasten a nut to the bolt and repeat on the other side.
-
-
-
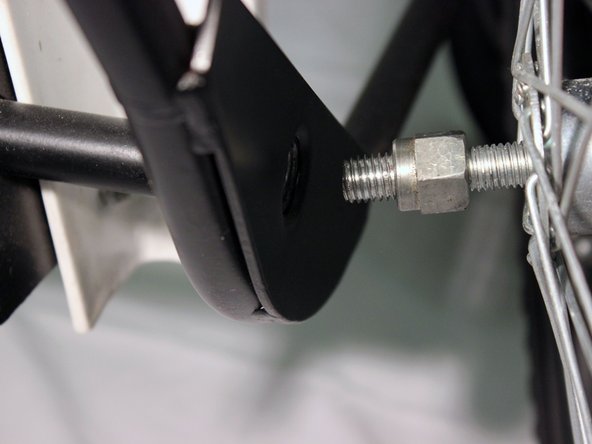
Slide both of the axle plates onto the axle.
-
Position each of the plates on the inside of each of the lawn chair legs.
-
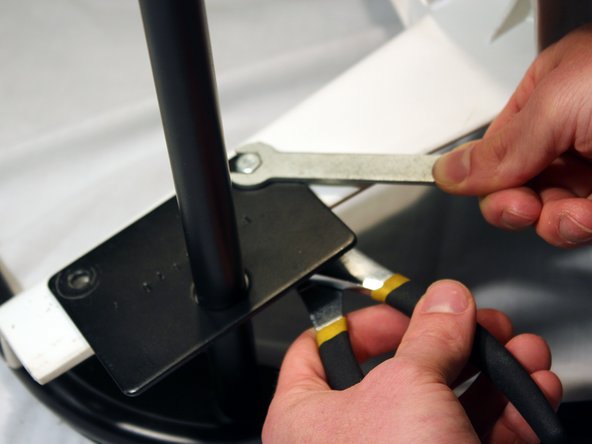
Attach both of the plates to the chair by screwing in two screws to each plate.
-
Use the pliers to hold the nut while screwing in the screw with a 10 mm wrench.
-
-
-
-
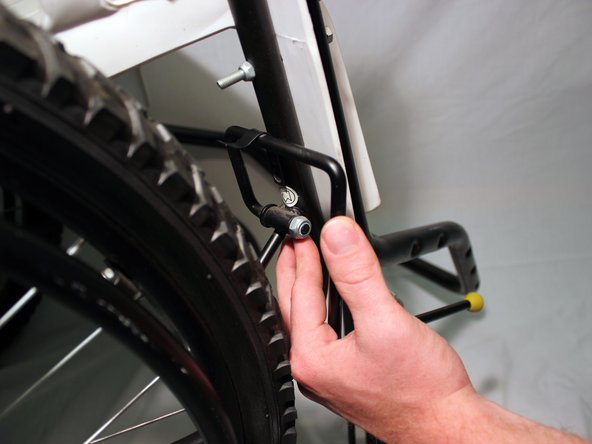
Slide the 19 mm axle bolt into one of the rear wheels. Then hand-tighten the nut onto the bolt.
-
Insert the bolt into the axle so that the wheel is attached to the side of the frame.
-
Use the 19 mm crescent wrench to hold the nut in place. Then use the socket wrench (or multi-purpose tool) to screw the axle into the frame.
-
-
-
Locate the both of the brakes and the four long screws.
-
Place the brake behind the front frame right above the castor wheels
-
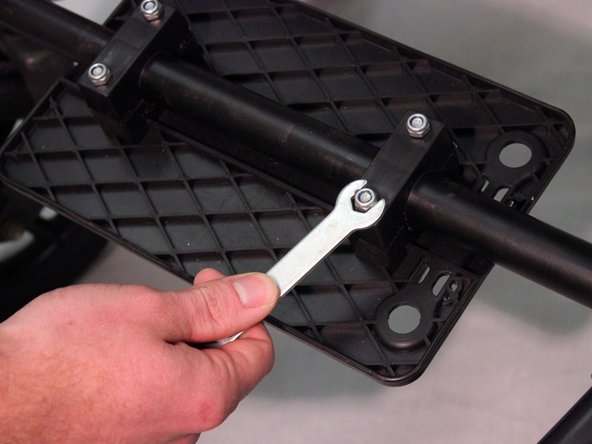
Screw both of the screws into the bottom two holes in the frame using a 10 mm wrench to hold the nut . Then, use the T-Wrench to fasten the screws.
-
-
-
Position the extendable footrest bar to the front frame, at the desired height.
-
Line up the two bolt holes on the footrest bar with the two holes on the front frame.
-
Using the 10 mm wrench, secure the footrest bar to the front frame, using the a flat-head bolt and nut pointing in towards the center of the wheelchair.
-
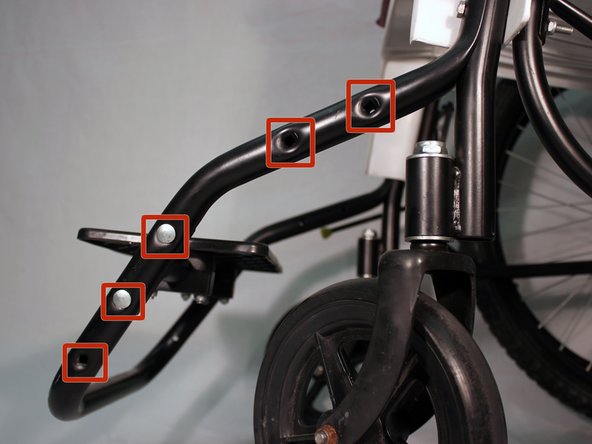
Attach the footrest to the footrest bar, with the bottom of the footrest pointing upwards.
-
Match the footrest wedges up with the holes. Then attach the footrest to the front frame, using four small bolts. Next, tighten the four small nuts onto the bolts using the 10 mm wrench.
-
-
-
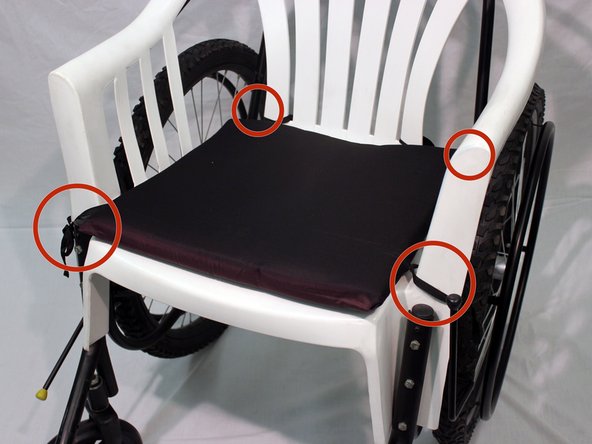
Place the cushion on top of the lawn chair seat. Then tie each of the four straps to the edge of the chair.
-
-
-
Attach the hand pump to the back right side of the main frame, next to the right rear wheel. Do this using the final bolt and rounded nut.
-
Secure the hand pump to frame using the 10 mm wrench.
-


To disassemble your device, follow these instructions in reverse order, or look at our teardown guide. Free Wheelchair Mission GEN 1 Teardown
Cancel: I did not complete this guide.
One other person completed this guide.
Team

Cal Poly, Team 14-7, Maness Spring 2013 Member of Cal Poly, Team 14-7, Maness Spring 2013
CPSU-MANESS-S13S14G7
5 Members
14 Guides authored