Introduction
Use this guide to replace a broken, cracked, or defective display on your Apple Watch Series 2.
Make sure to update your Apple Watch to watchOS 5 or later (and the paired iPhone to iOS 12 or later) to avoid pairing issues after a display replacement.
Replacing the display can cause issues with Apple Pay. If possible, to reduce the likelihood of problems, delete all your ApplePay account info before the replacement, and then re-enter it with the new display installed.
What you need
Video Overview
-
-
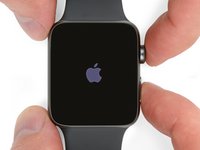
Before starting repairs, take your watch off the charger and power it down.
-
-
-
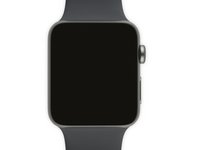
Prepare an iOpener (or grab a hair dryer or heat gun) and heat the face of the watch until it's slightly too hot to touch.
-
Leave the iOpener on the watch for at least a minute to fully heat the screen and soften the adhesive holding it to the case.
-
-
-
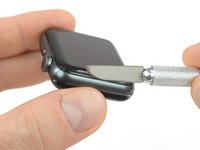
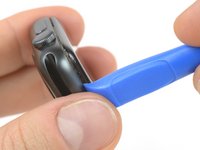
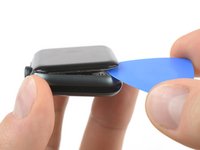
Place the edge of a curved blade into the thin gap between the display and the outer case. Start at the short side of the display, closest to the digital crown.
-
Press firmly straight down into the gap.
-
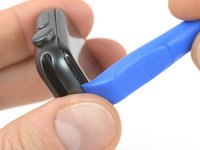
Once inserted, tilt the blade to pry the display open slightly.
-
-
-
-
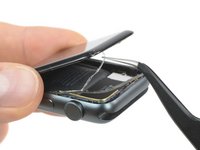
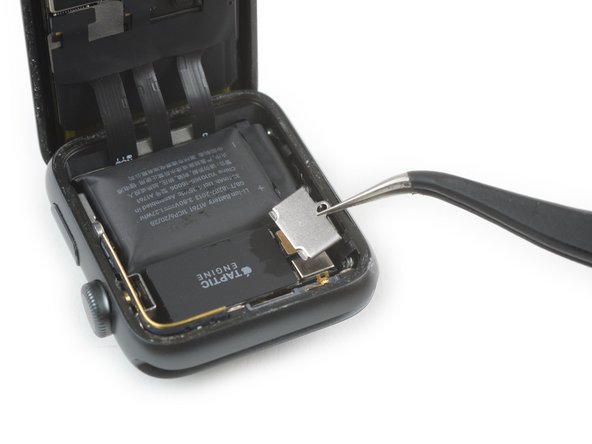
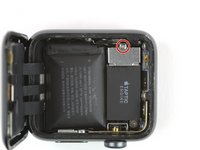
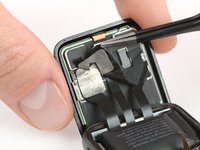
Use a Y000 driver to remove the Tri-point screw securing the metal battery connector cover.
-
Remove the cover.
-
-
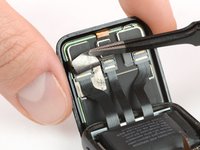
Tool used on this step:Tweezers$4.99
-
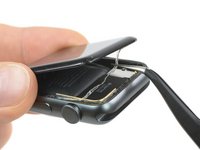
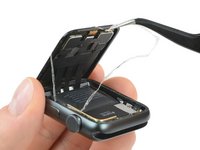
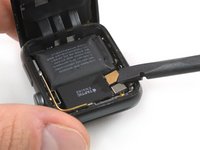
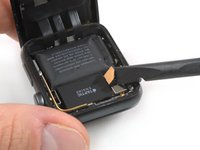
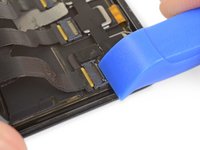
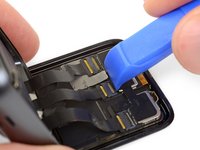
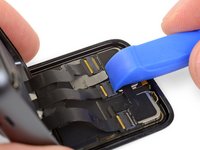
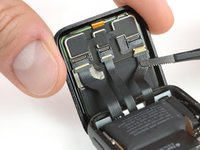
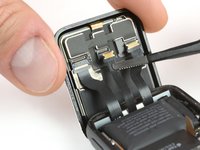
Use a pair of tweezers to peel off the tape covering the display cable connectors.
-
Start from the bottom right of the tape and carefully work your way towards the connector in the middle.
-


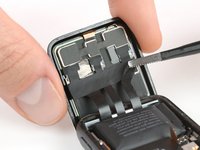
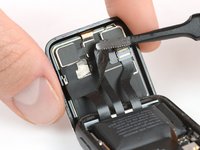


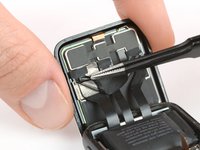


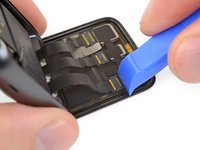
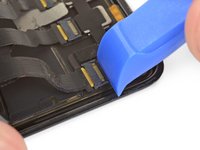


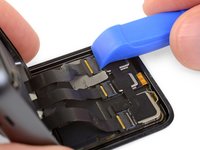


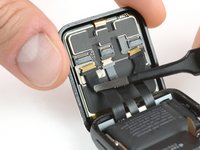

Continue from Step 10 of our Force Touch Sensor guide to re-seal your watch and complete your repair. For best results, don’t connect your new display until after Step 17.
Cancel: I did not complete this guide.
103 other people completed this guide.

Team

Tobias Isakeit - Repairability Engineer Member of Tobias Isakeit - Repairability Engineer
Business
1 Member
1,145 Guides authored
18 Guide Comments
Job done….With a smashed screen remember to apply clear scotch tape to hold the screen together. Continue to heat the remaining stuck shards when the main bulk of the glass comes out. Pick them out carefully, and not to raise the gasket. Use a strong magnifying glass. the ifixit heat gel pack and tweezers helped me. Ensure that all tiny bits of glass have been removed form the body. Just turn it upside down, give a couple of gentle taps with something plastic. Pick out if necessary, taking care around the components. For a smashed screen, needs a good hour or more.
Congratulations on the successful repair. And thanks for your comment and additional hints.
This one was tough…and I’ve been doing various repair for years. Thank you iFixIt for top notch tutorials and instructions (and the progressive photos). I had a broken display and an iCloud locked watch for parts. Getting the display off the broken iWatch was easy…getting the replacement/good display off the other iWatch was very difficult. I keep at it and eventually it released, but I think I chipped the display edges slightly. If I have to do this one again, I may think twice. I’d say use plenty of heat. I used the iRemover, which helped a lot, it gets plenty hot and holds the heat for job. Once you’re inside, you’ll need that every so special 000 tri-lobe bit for the battery (for this I bought the iFixIt Pro toolkit…worth it to have a solidly made set of disassembly tools). I don’t think it’s worth breaking down the iWatch for repairs much further than the display or battery. The water resistant seal is compromised enough as it is with the display removal.
Just wondering are the ion x glass and sapphire crystal screens interchangeable because I have a broken series 2 aluminum case and it comes with the ion x glass but I want to get the sapphire crystal glass instead to make it stronger
Displays of the same Series, model and size should be compatible.