
Anker Soundcore Motion Boom Plus Button Panel Replacement

What you need

  1. Anker Soundcore Motion Boom Plus Button Panel Replacement, Case: step 1, image 1 of 3 Anker Soundcore Motion Boom Plus Button Panel Replacement, Case: step 1, image 2 of 3 Anker Soundcore Motion Boom Plus Button Panel Replacement, Case: step 1, image 3 of 3
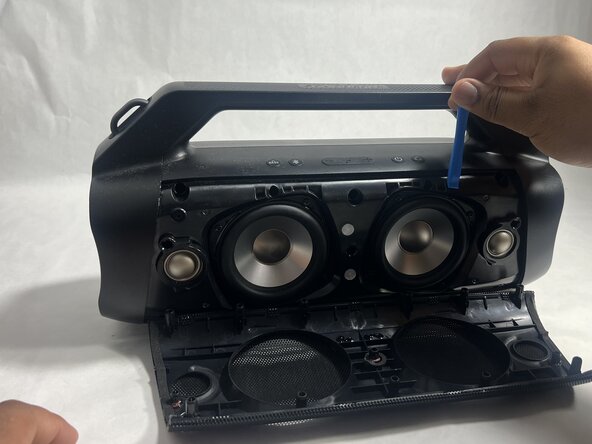
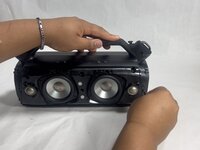
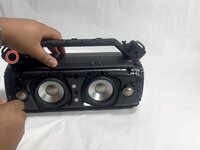
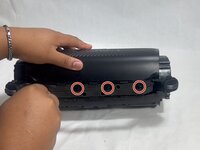
    • Insert an opening tool into the seam between the speaker grille and the chassis.

    • Pry the tool around the top, bottom, and sides until the grille fully releases.
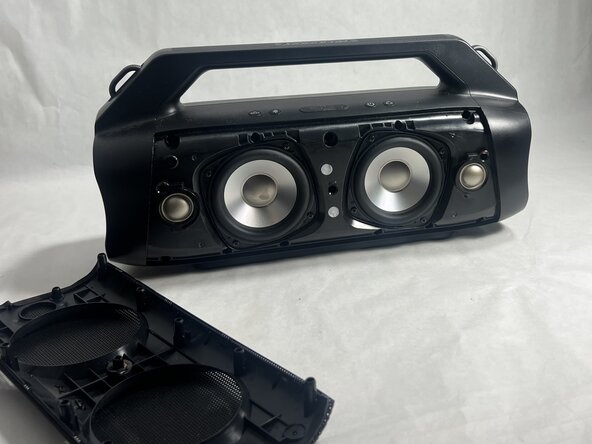
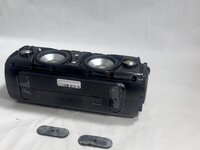
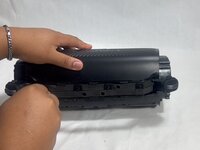
    • Apply gentle pressure to avoid damaging the grille.

    • Remove the grille.

  2. Anker Soundcore Motion Boom Plus Button Panel Replacement: step 2, image 1 of 2 Anker Soundcore Motion Boom Plus Button Panel Replacement: step 2, image 2 of 2
    • Remove the two passive radiators on either side of the device.

    • Avoid pulling too hard or with too much force to prevent breaking the passive radiators.

  3. Anker Soundcore Motion Boom Plus Button Panel Replacement: step 3, image 1 of 2 Anker Soundcore Motion Boom Plus Button Panel Replacement: step 3, image 2 of 2
    • Remove the sixteen 14 mm Phillips screws, eight on each end of the speaker.

  4. Anker Soundcore Motion Boom Plus Button Panel Replacement: step 4, image 1 of 3 Anker Soundcore Motion Boom Plus Button Panel Replacement: step 4, image 2 of 3 Anker Soundcore Motion Boom Plus Button Panel Replacement: step 4, image 3 of 3
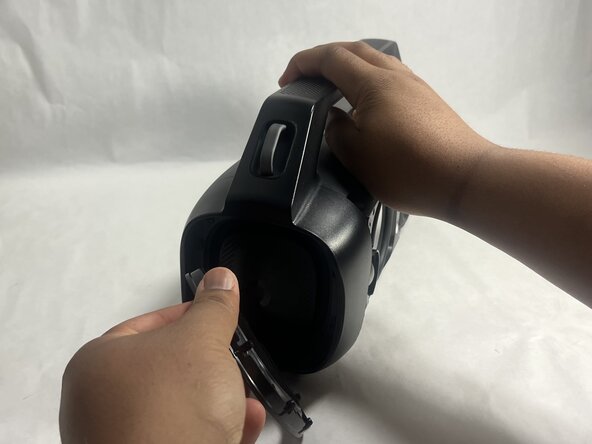
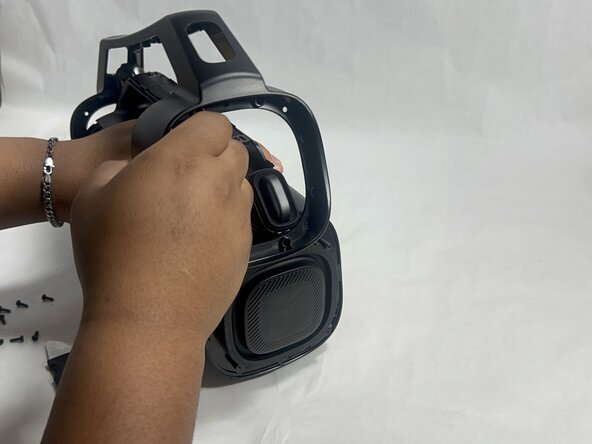
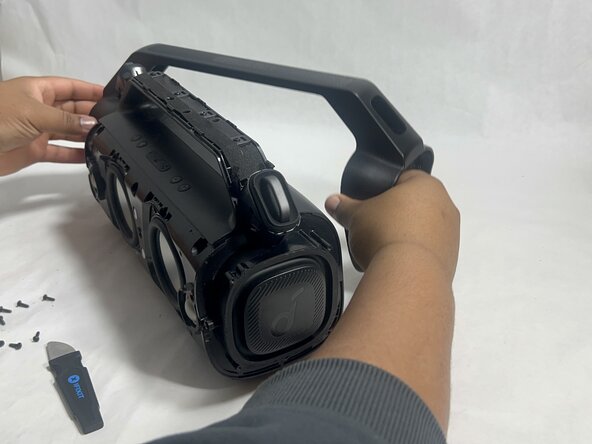
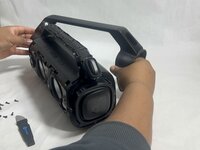
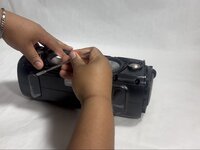
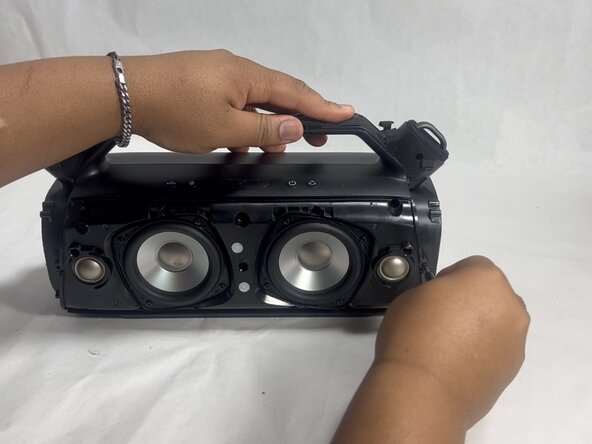
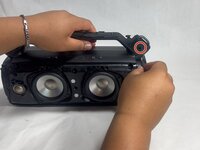
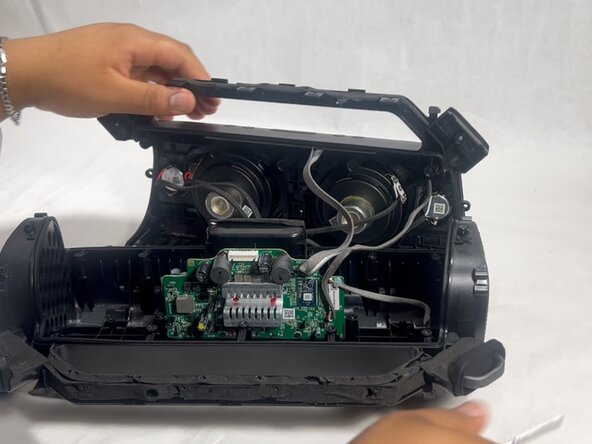
    • Gently remove the handle from the device by clicking off the handles from the sides and then pulling it off.

  5. Anker Soundcore Motion Boom Plus Button Panel Replacement: step 5, image 1 of 2 Anker Soundcore Motion Boom Plus Button Panel Replacement: step 5, image 2 of 2
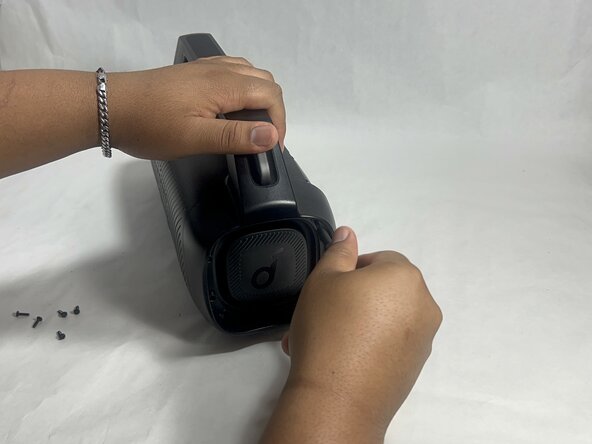
    • Flip the speaker onto its side and use a spudger to remove the two rubber feet on the bottom of the device.

  6. Anker Soundcore Motion Boom Plus Button Panel Replacement: step 6, image 1 of 2 Anker Soundcore Motion Boom Plus Button Panel Replacement: step 6, image 2 of 2
    • Remove the eleven 13 mm Philips screws that secure the driver housing.

  7. Anker Soundcore Motion Boom Plus Button Panel Replacement: step 7, image 1 of 2 Anker Soundcore Motion Boom Plus Button Panel Replacement: step 7, image 2 of 2
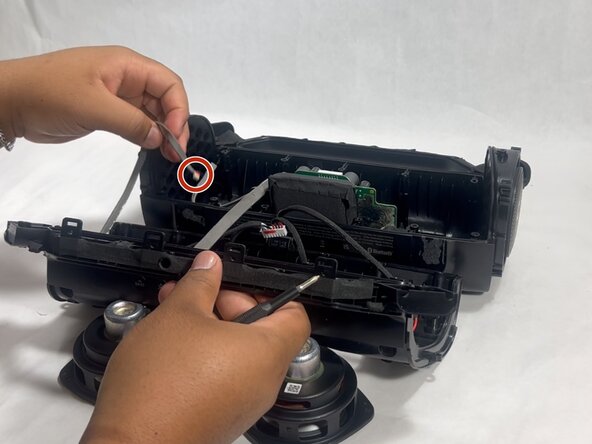
    • Remove the two 14 mm Phillips screws located on each side of the handle, near the clip points.

  8. Anker Soundcore Motion Boom Plus Button Panel Replacement: step 8, image 1 of 2 Anker Soundcore Motion Boom Plus Button Panel Replacement: step 8, image 2 of 2
    • Remove the four 14 mm Philips screws on the top of the device.

  9. Anker Soundcore Motion Boom Plus Button Panel Replacement: step 9, image 1 of 1
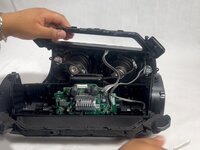
    • Insert a spudger into the seam on top of the device.

    • Gently pry the casing open.

  10. Anker Soundcore Motion Boom Plus Button Panel Replacement: step 10, image 1 of 3 Anker Soundcore Motion Boom Plus Button Panel Replacement: step 10, image 2 of 3 Anker Soundcore Motion Boom Plus Button Panel Replacement: step 10, image 3 of 3
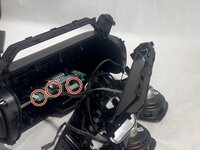
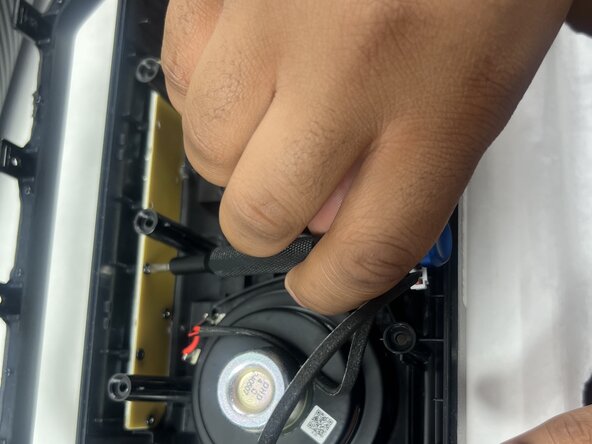
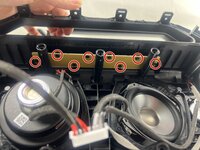
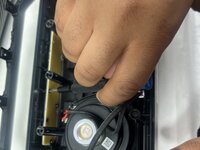
    • Disconnect each of the three cables by gently pulling the connectors out of their sockets.

    • Do not pull with force. The ribbon cables are fragile and easily break.

  11. Anker Soundcore Motion Boom Plus Button Panel Replacement, Button Panel: step 11, image 1 of 2 Anker Soundcore Motion Boom Plus Button Panel Replacement, Button Panel: step 11, image 2 of 2
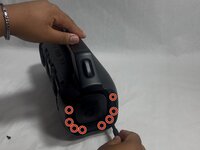
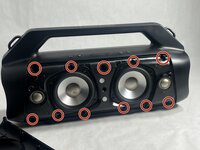
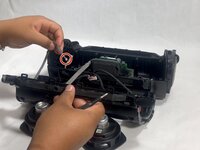
    • Remove all eight 7 mm Phillips screws securing the button panel to the top of the case.

  12. Anker Soundcore Motion Boom Plus Button Panel Replacement: step 12, image 1 of 1
    • Remove the button panel.

Conclusion

To reassemble your device, follow the above steps in reverse order.
Take your e-waste to an R2 or e-Stewards certified recycler.
Repair didn’t go as planned? Try some basic troubleshooting or ask our Answers community for help.

Hayley

Member since: 03/26/25

988 Reputation

6 Guides authored

Team

0 Guide Comments

Add Comment

View Statistics:

Past 24 Hours: 0

Past 7 Days: 1

Past 30 Days: 10

All Time: 74