If your AL2216W is having problems, it is likely a capacitor fault. Here are some signs of bad capacitors:
Note: While some issues may be corrected with a partial repair, this is not recommended as the untouched capacitors will eventually fail.
Power issues (Present issue)
Excessive transformer hum (Present issue)
Excessive inverter hum (Present issue)
Troublesome VGA Auto adjust (Present issue)
Backlight problems
Power problems
Video issues (Ex: Unstable image, PC connection issues, unreliable at higher resolutions)
Random power issues that may only resolve if the monitor is physically unplugged.
Original capacitor values (Primarily reference only)
NOTE: Most of these values are obsolete. Many will need to be substituted with modern replacements when they fail, so this is primarily included for reference purposes.
Caution: If you are uncertain about holding high voltage parts, follow all provided warnings and use common sense. A capacitor discharge tool is STRONGLY RECOMMENDED.
The filter capacitor will hold the most residual charge. Use caution around this capacitor!
Unplug the monitor and leave it unplugged for 24-48 hours.Wait 5-7 days if you intend to replace the filter capacitor.
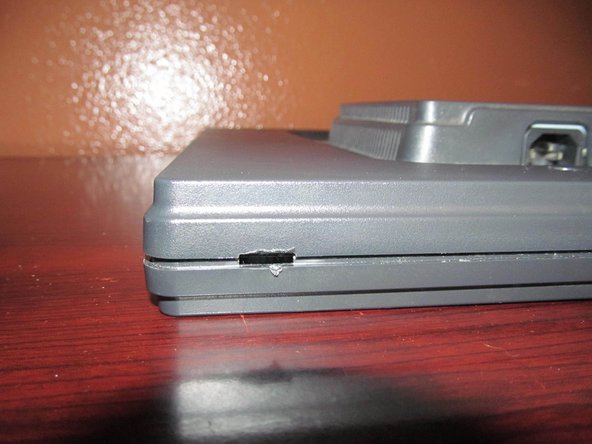
This monitor never came with a hinge cap. If yours has one, snap it off from the marked points.
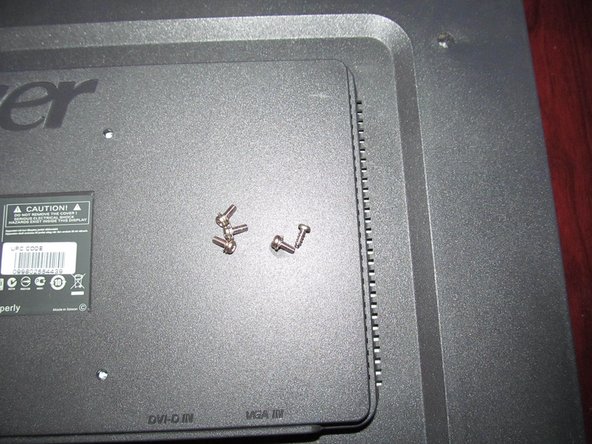
Remove the stand from the monitor. Remove the 4 screws that hold the stand on. The bottom screws should be removed first, but this can be done in any order.
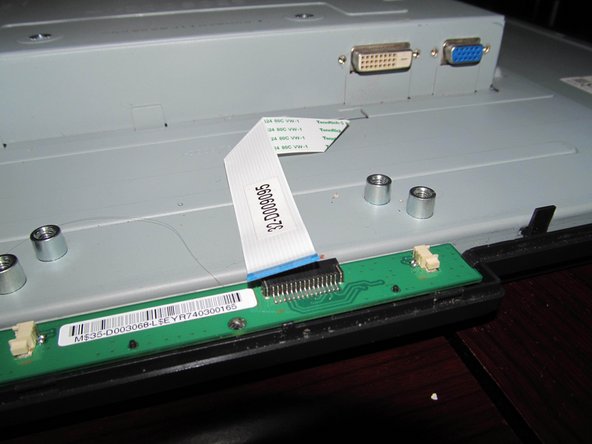
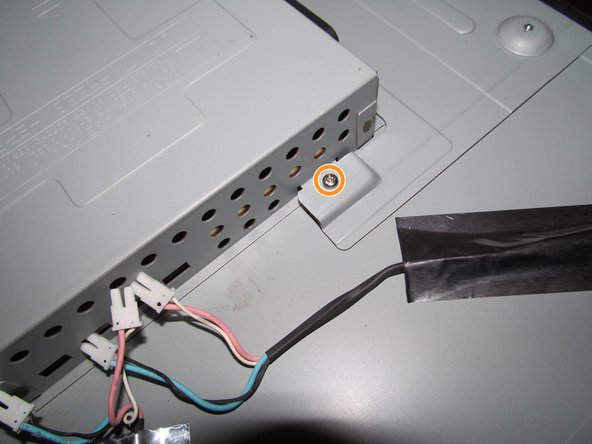
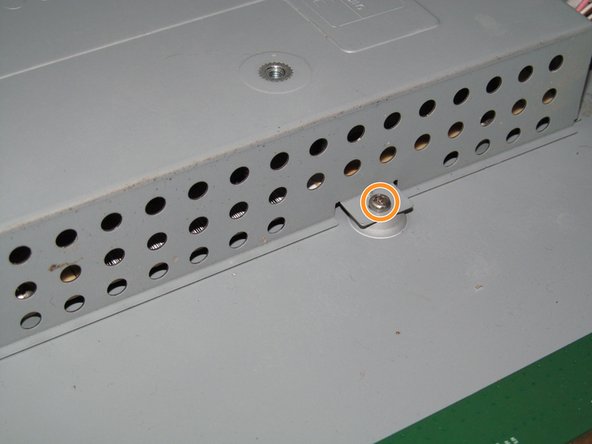
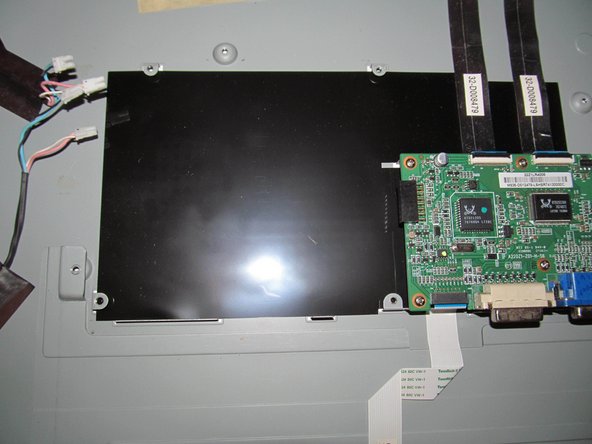
On the right side of the monitor, remove the remaining screws holding the upper shield in place.
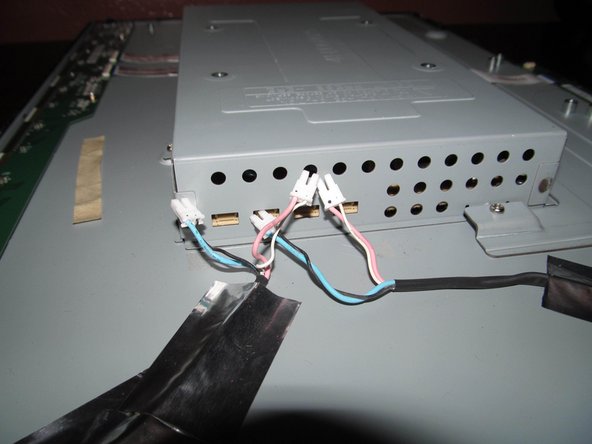
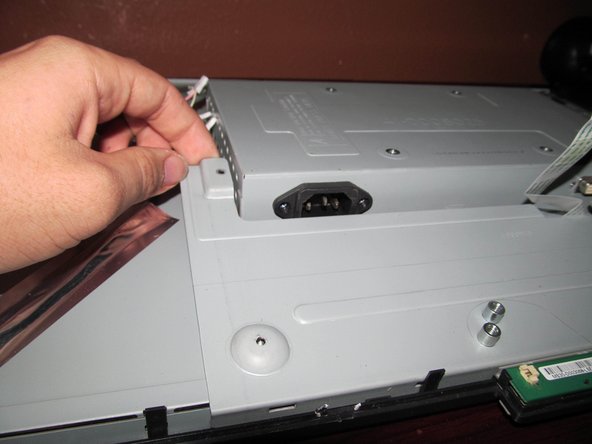
Lift the lower plate up while removing the power supply shield to remove it from the monitor. Once this is done, you will have access to the power supply.
Removal of the lower shield is not required but makes the job easier. To remove it, unclip the plastic tabs on the LCD bezel.
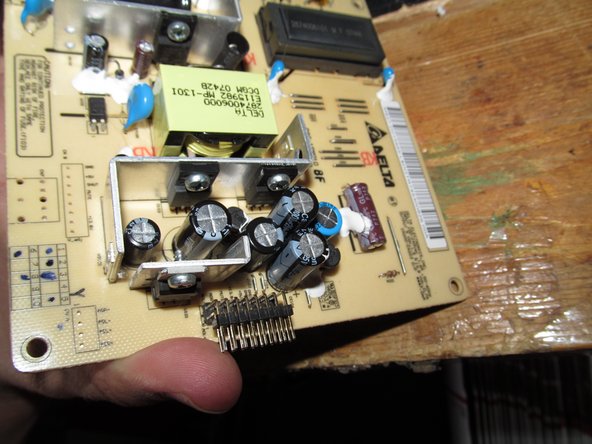
If you see bulged capacitors, treat the power supply as if the capacitors are holding a residual charge.
If the filter capacitor is replaced, it MUST be discharged before removal. In addition, the black screw (Blue marker) is a grounding screw and cannot be lost.
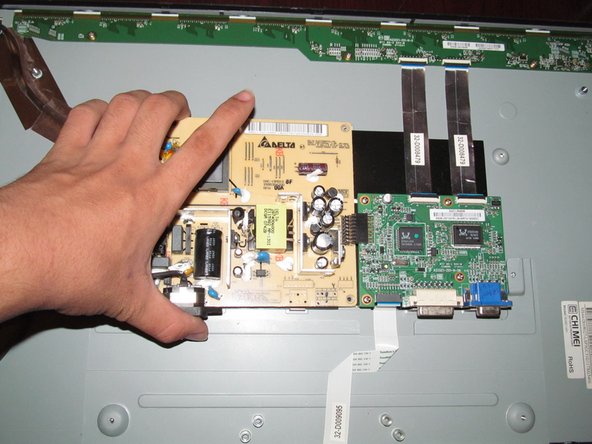
Only lift the power supply board at a slight angle. Lifting it any higher may damage the processing board or interface.
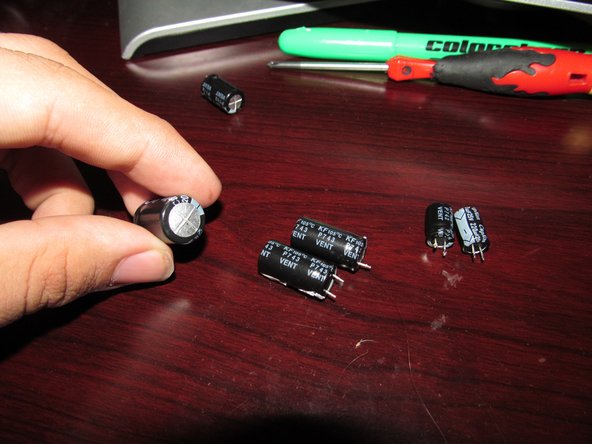
If you cannot find the original capacitors, the original parts can be safely substituted.
This capacitor is only used on older revisions. If your board has this capacitor, it should be replaced if handy.
With the power supply shield removed from the monitor, identify the power supply. Along with the listed capacitors, take note of any others you want to replace (Ex: Inverter coil).
Remove the 4 screws from the power supply. Once this is done, lift up the power supply at a slight angle to clear the chassis mounting holes.
If the PCB is marked to avoid mis-installation, these marks will come off when soldered in place.
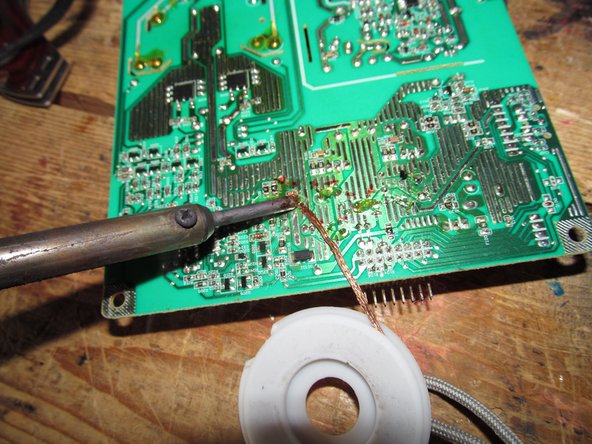
If you are unsure of the position of the capacitors, mark the polarity with a permanent marker. If the capacitors are installed incorrectly, they will explode when power is applied.
If you do not have Helping Hands, be careful not to touch your soldering iron. The board can be held at an angle if this is easier.
While it may be possible to do a partial replacement, the remaining capacitors will fail. Do it once and change the entire set. Refer to this guide for soldering tips: How To Solder and Desolder Connections.
Move in a workspace with ventilation or use a fume extractor. Once in an appropriate workspace, desolder the old capacitors. Heat up the leg to remove it from the board.
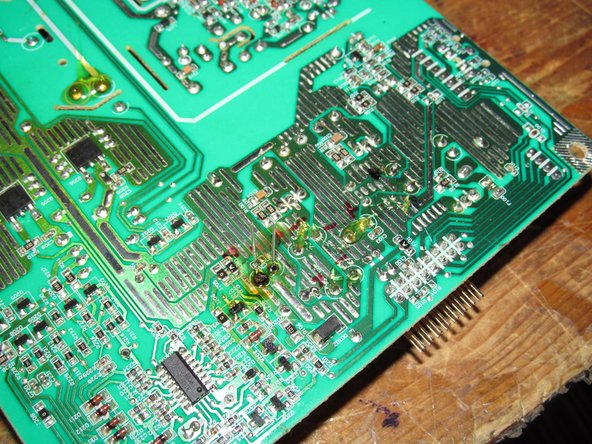
After removing the capacitors, clean up the old solder with a desoldering braid Lift it with the iron when removing it.