Introduction
If your keyboard is stuck or broken to the point where there’s no typing, you may want to consider a replacing the keyboard in your Asus Q302L. Replacing your keyboard with this guide will require you to remove many small components. Pay close attention to what you have removed, and where you removed it from so that it may be replaced in its required position in the new keyboard assembly. This guide will take you through the steps of replacing your keyboard. If your keyboard fails to track input or tracks erroneous input, check out the Asus Q302L Troubleshooting page to verify that your keyboard needs to be replaced.
What you need
-
-
-
Use a Phillips #0 screw driver to remove all ten 10 mm screws around the back of the laptop.
 Ask FixBot
-
-
-
Wedge a plastic opening tool under the rear case near the hinge.
-
Pry around the outer edge to release the plastic clips holding the rear case to the laptop.
-
-
-
-
-
Use a Phillips #0 screwdriver and remove all five 5 mm screws securing the battery.
-
-
-
Gently wedge a plastic opening tool under the connector.
-
Carefully lift the connector up away from the socket to disconnect it.
-
-
-
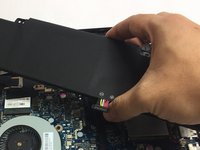
Once the screws and connector are removed, simply pull out the battery from its place.
-
-
-
-
-
Unplug the hard drive from the connector.
-
Use a Philips #0 screwdriver to remove all four 5mm screws holding the hard drive metal mounting bracket.
-
-
-
Use a Phillips #0 screwdriver and remove the four 5mm screws on both sides connecting the Hard Drive to the mounting bracket.
-
Remove the Hard Drive from mounting bracket.
-
-
-
-
-
-
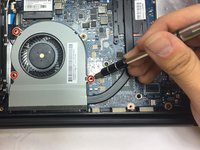
Use a Phillips #00 screwdriver to remove all three 4mm screws around the fan.
-
Using the same screw driver, remove the four 4mm screws from the part of the fan that is above the processor.
-
-
-
Gently wedge two plastic prying tools on both sides of the black part of the connector.
-
Carefully pull out the connector from its socket.
-
-
-
Once all screws and the connector are removed, you can safely pull the fan out of its place.
-
-
-
-
-
Peel back the adhered strip to expose the black and white connections.
-
Pop the connections off the fixtures.
-
-
-
Grasp the plastic tab of each connector with your fingers.
-
Firmly pull up, releasing the connectors one at a time.
-
-
-
As in Step 8, gently pry out both sides of the white connector and pull out the connector.
-
-
-
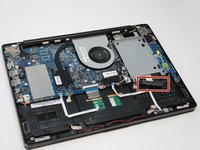
For each of the four marked connectors, gently insert a thin prying tool between the blue ribbon and grey tab.
-
Gently apply upward pressure evenly across the length of the tab.
-
Once the tab has snapped backwards, remove the blue ribbon.
-
-
-
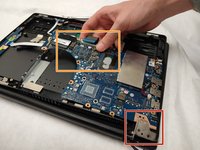
Lift the Hinge gently up.
-
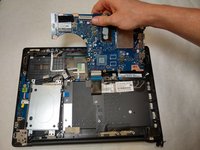
Lightly grasp the motherboard.
-
Lift the marked corner of the board first, then slide the corner of the board out from under the back corner of the case.
-
-
-
-
-
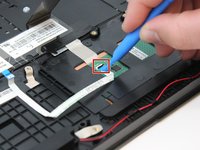
Carefully disconnect the ribbon connector from the touchpad using an iFixit opening tool.
-
Slowly peel the grounding strap off of the touchpad.
-
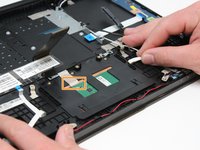
Use a Phillips #0 screwdriver to remove the three 2 mm screws holding the touchpad.
-
-
-
Carefully lift and slide the touchpad towards the hinges using an iFixit opening tool.
-
Remove the touchpad.
-
-
-
-
-
Remove the three 4 mm screws using a Phillips #0 screwdriver from the right side hinge.
-
Removal of the right hinge will allow you to remove the display from the keyboard.
-
-
-
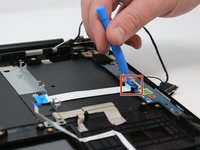
Carefully, remove the ribbon connector from the power display circuit board using the iFixit opening tool.
-
Use a Phillips #0 screwdriver to remove the one 4 mm screw on the circuit board.
-
Remove the power display circuit board.
-
-
-
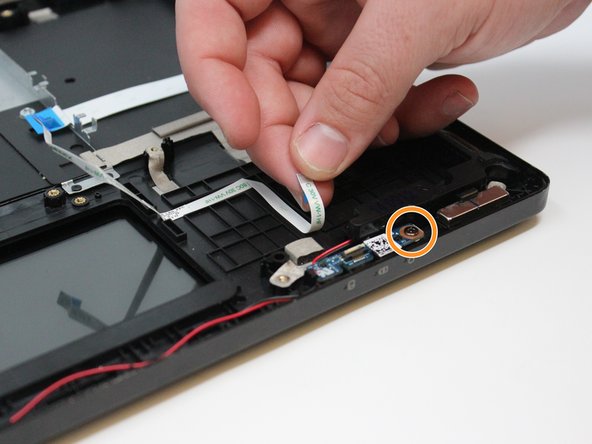
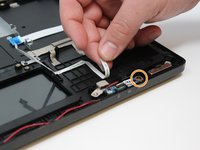
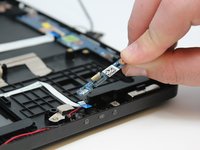
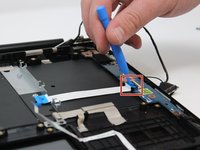
Remove the ribbon connector from the power button circuit board using the iFixit opening tool.
-
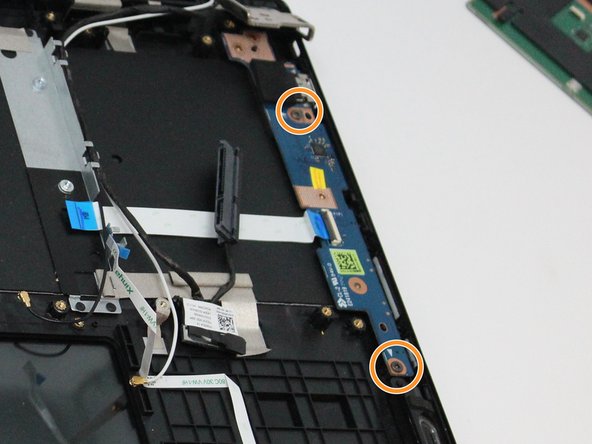
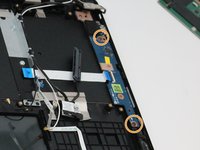
Use the Philips #0 screwdriver to remove the two 4 mm screws on the circuit board.
-
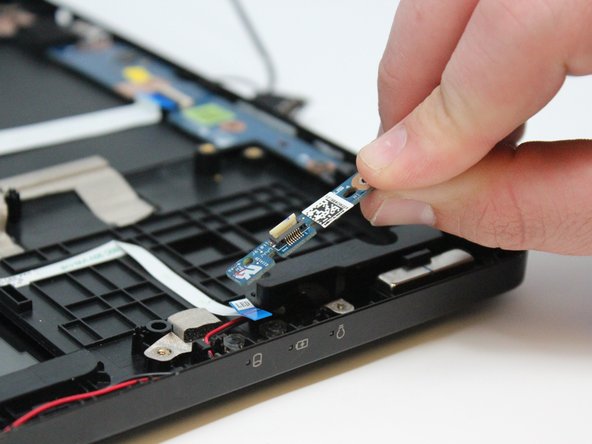
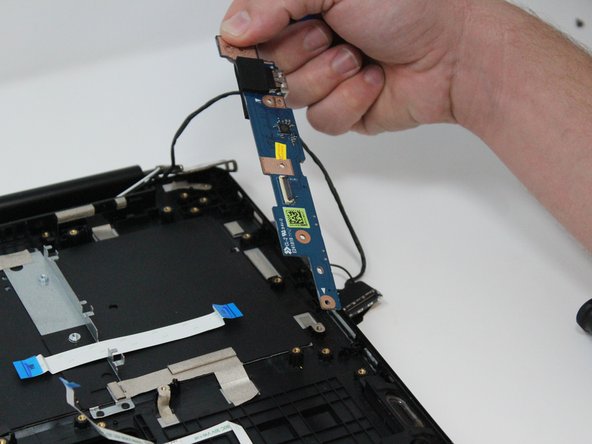
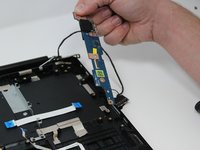
Remove the circuit board.
-
-


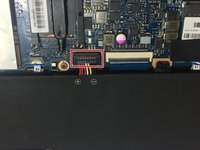
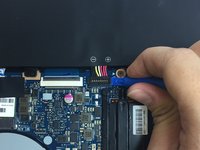
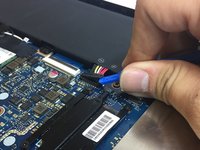


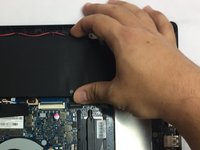


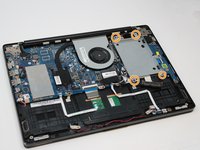


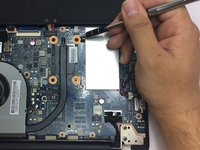


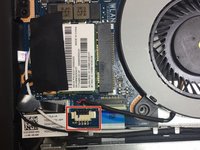
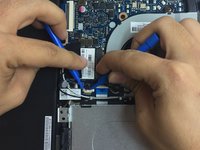
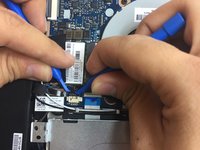


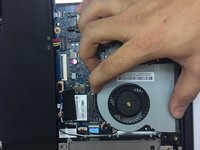
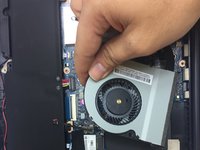


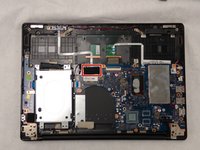
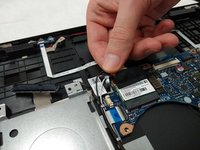
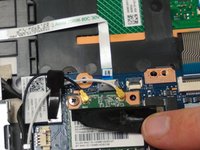


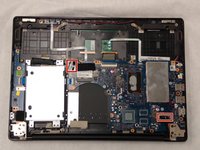
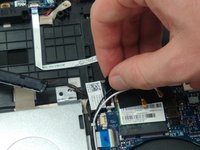


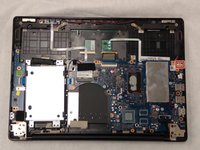
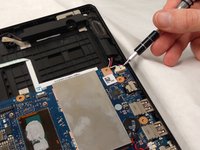


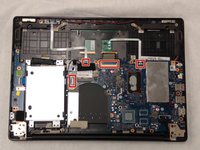
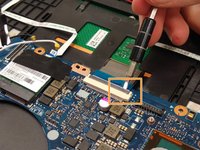
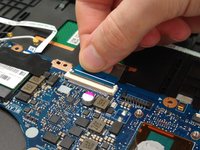




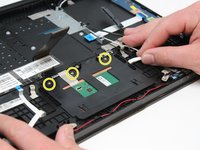


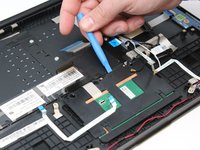
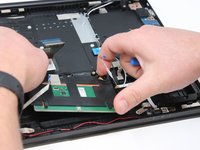
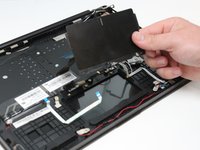

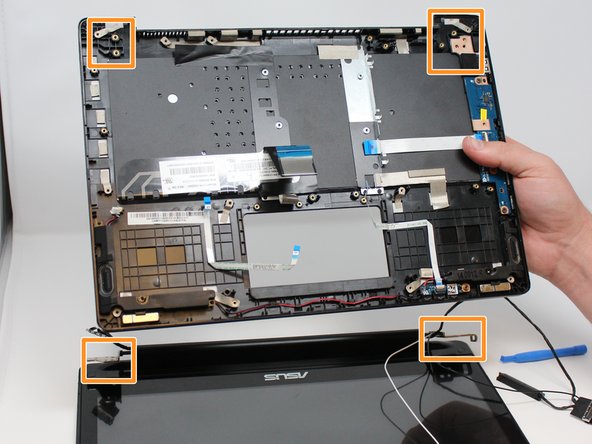
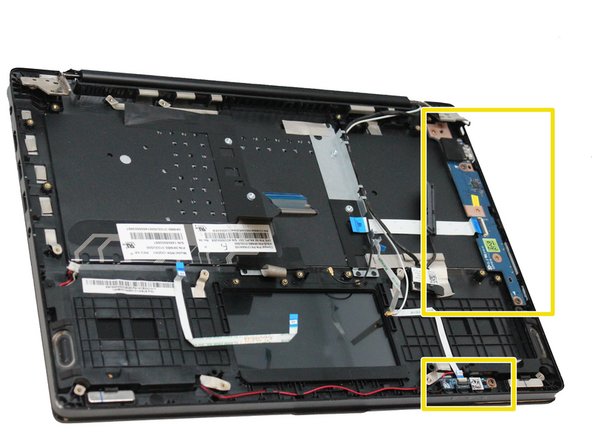
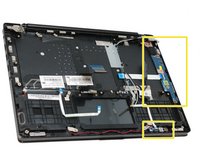



To reassemble your device, follow these instructions in reverse order.

Team

The Citadel Military College of South Carolina, Team S2-G5, Eggleston Fall 2019 Member of The Citadel Military College of South Carolina, Team S2-G5, Eggleston Fall 2019
CMCSC-EGGLESTON-F19S2G5
3 Members
36 Guides authored
