Introduction
Removing the glove compartment door allows for access to electrical and HVAC components inside of the cars dashboard. This guide is 100% accurate for a 2000-2005 Monte Carlo SS, the base models as well as the 2006-2007 models should have a similar if not identical procedure.
What you need
-
-
To access the hinges for the glove compartment door, the passenger side kick panel must first be removed.
-
There are two clips (red),and a plastic fastener (orange, located further back) holding this panel to the dash. You'll put less bending stress on the panel if you remove the plastic fastener first.
-
-
-
Use a plastic fastener removal tool to pop out the plastic fastener. This fastener was not designed to be easily removable, but the tool helps a lot.
-
If you're careful, you can remove the fastener without damaging it. Try to fold all of the "ridges" back before re-inserting it. If you plan on removing the kick panel again, you may want to invest in a fastener that's easier to remove.
-
-
-
Remove the clips on each side, this can be done by pushing the exposed tab forward.
-
The kick panel should now fall down.
-
-
-
-
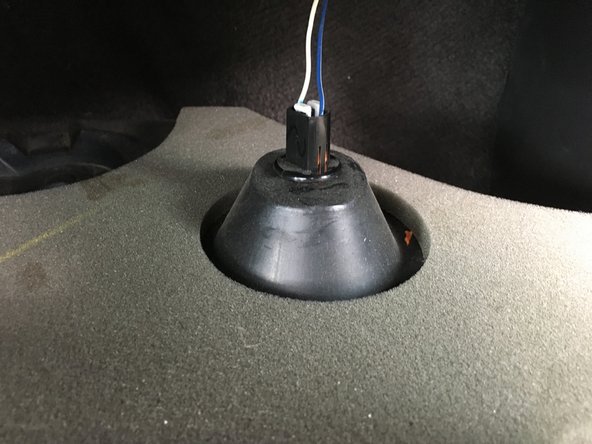
Remove the courtesy light from the panel by twisting it 45 degrees. It should release from the panel. Keep in mind that this light will get hot, and can melt plastic trim. Be careful where you let it hang if its lit.
-
-
-
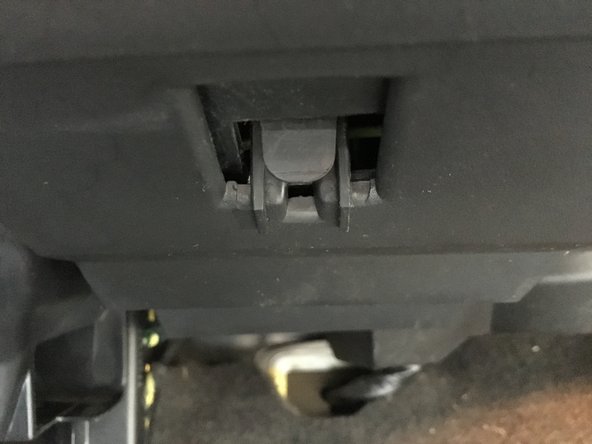
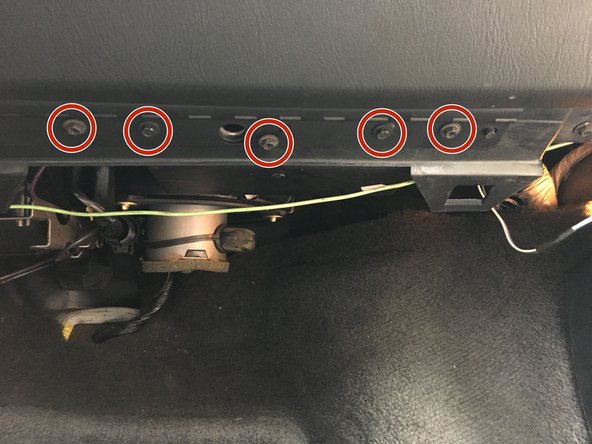
Removing the kick panel should have exposed the hinge for the glove compartment door.
-
There are five 7mm hex head screws holding this hinge to the dashboard, remove them.
-
-
-
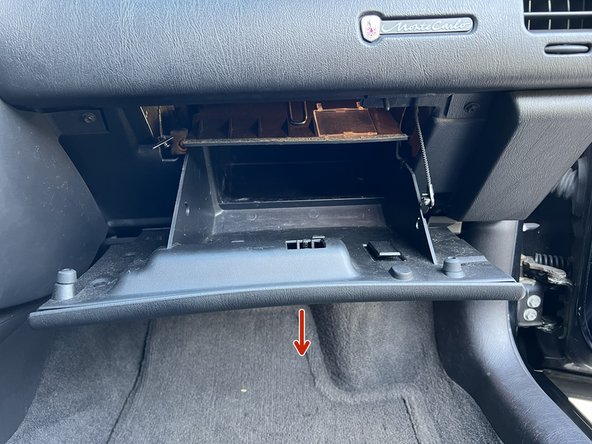
Now open the glove compartment and empty it out if you haven't already.
-
There are supporting wires on each side of the door, you'll need to remove each one.
-
-
-
The left side supporting wire is pretty easy to remove.
-
Pushing the clip down will allow you to slide it out of the door, releasing the cable.
-
This cable is spring loaded, and will retract upwards into the dash.
-
-
-
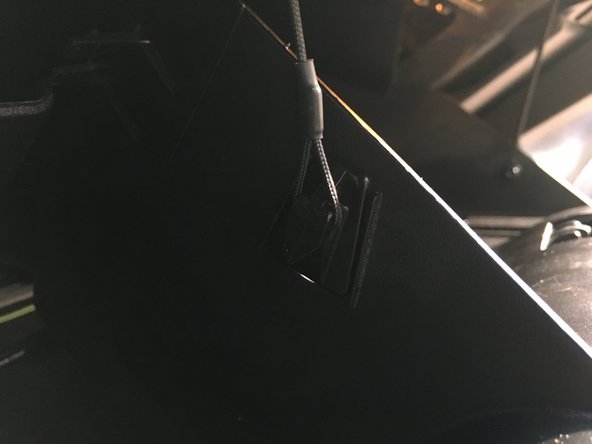
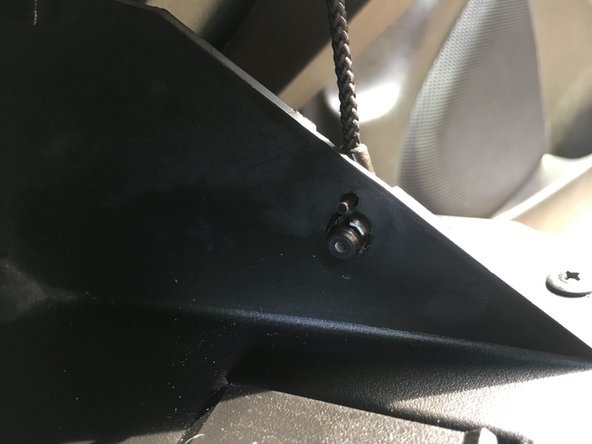
To remove the right-side cable, you must push the center pin out of the clip first.
-
Now, the clip can be removed from the door. Just push it through the hole.
-
The door should now be fully disconnected from the car.
-
-
-
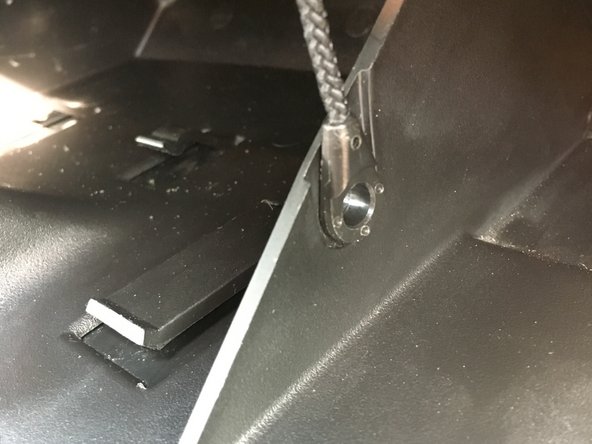
With everything disconnected, the door is still captive in the dash. There's a small plastic tab on the left side of the door that must be bent to release it.
-
A swift yank downwards on the door should be enough to release it.
-


To reassemble your device, follow these instructions in reverse order.
To reassemble your device, follow these instructions in reverse order.

Team

One Comment
FIX for detached hinge from glove box!:
My 2007 Monte Carlo glove box is OEM attached to the metal hinge plate with melted on posts tops and detached there.
I fixed it by: remove bucket from body by removing its 4 screws, also remove hinge from vehicle.
Working at a table, find 8 small short screws, which are very similar to the 4 screws for the bucket. That are just the right size to fit, screw into the rigid plastic posts, that are short (especially for the shorter posts.
Now, hold a screw head and use the flame from a cig lighter, to heat the tip of the screw just till it's too hot to hold. Now screw it into one of the 8 OEM melted top posts using a hand or electric screw driver-set on low slow speed and low torque setting.
Because if you don't heat the screw, it will crack the thin plastic post and then you'll have to try to super glue baking soda it back on... to try again.
If the screw gets too tight going in, then make sure the screw diameter isn't too thick. Unscrew and reheat it's tip again.