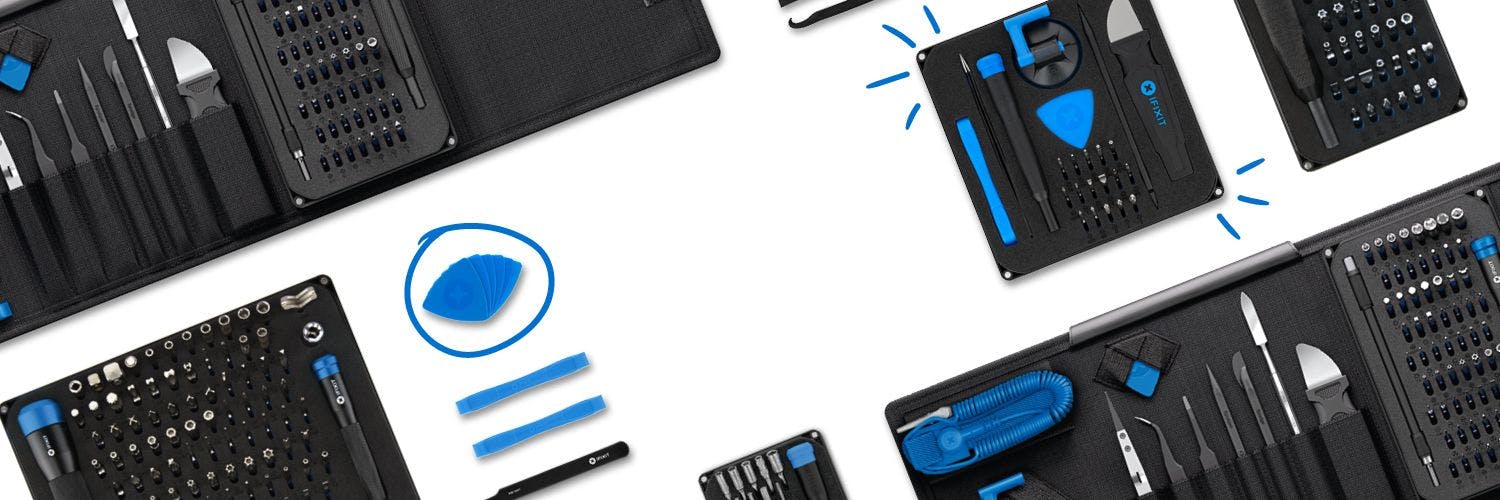
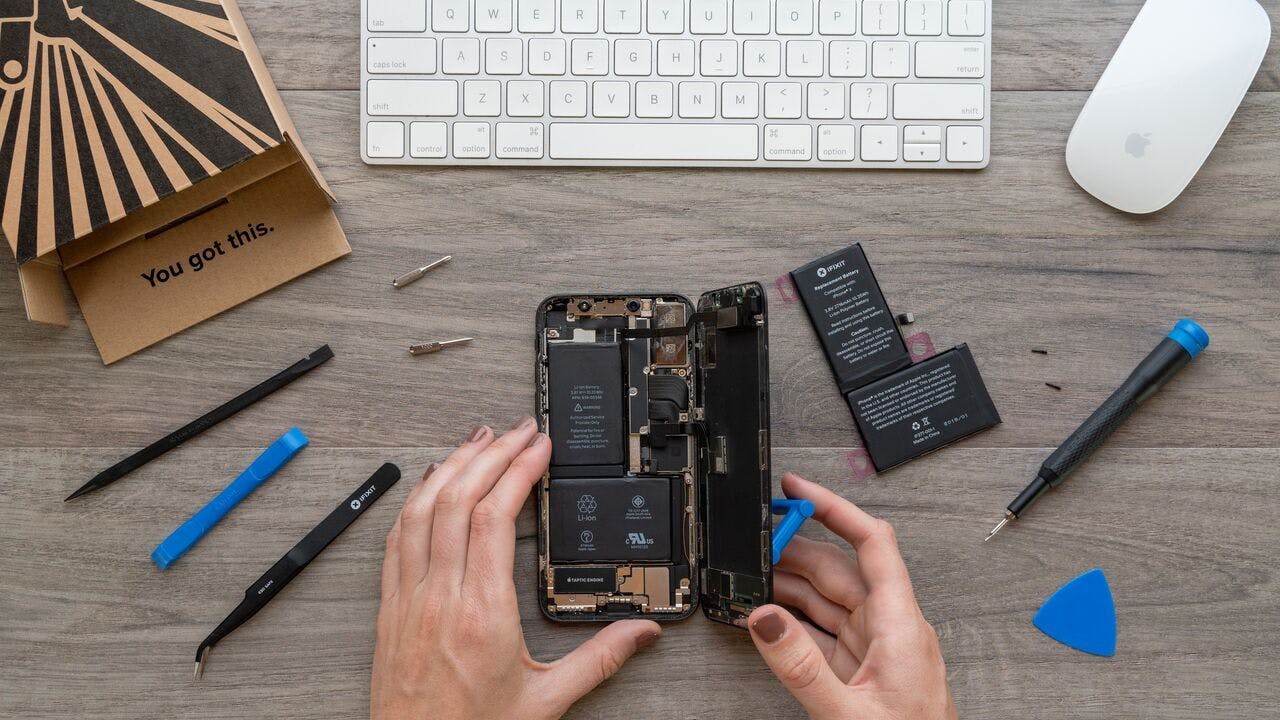
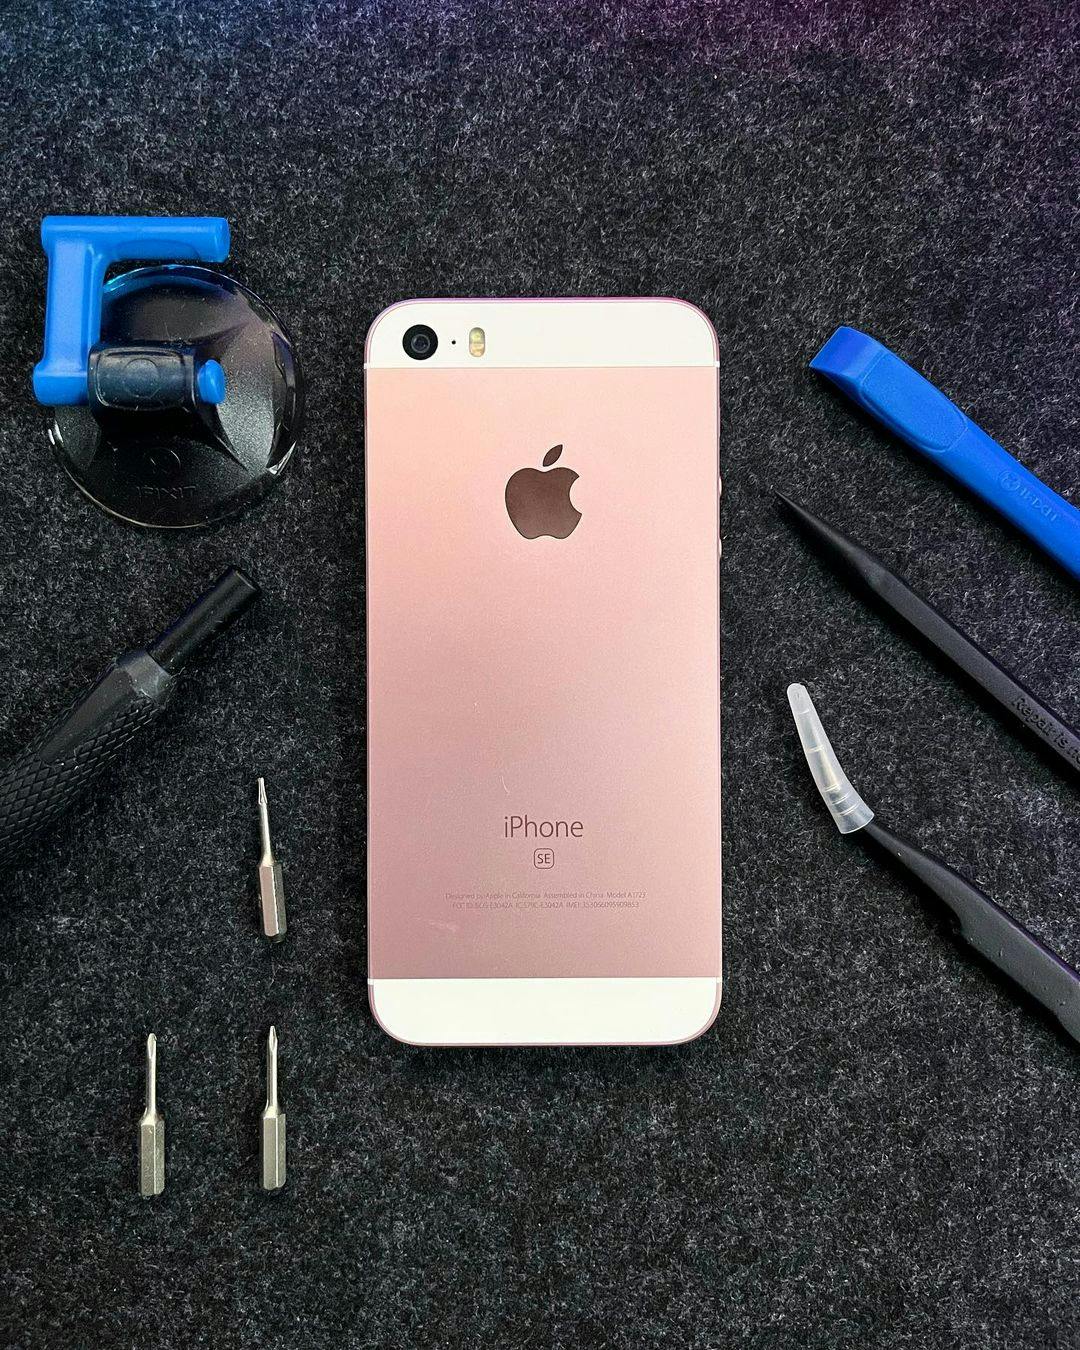
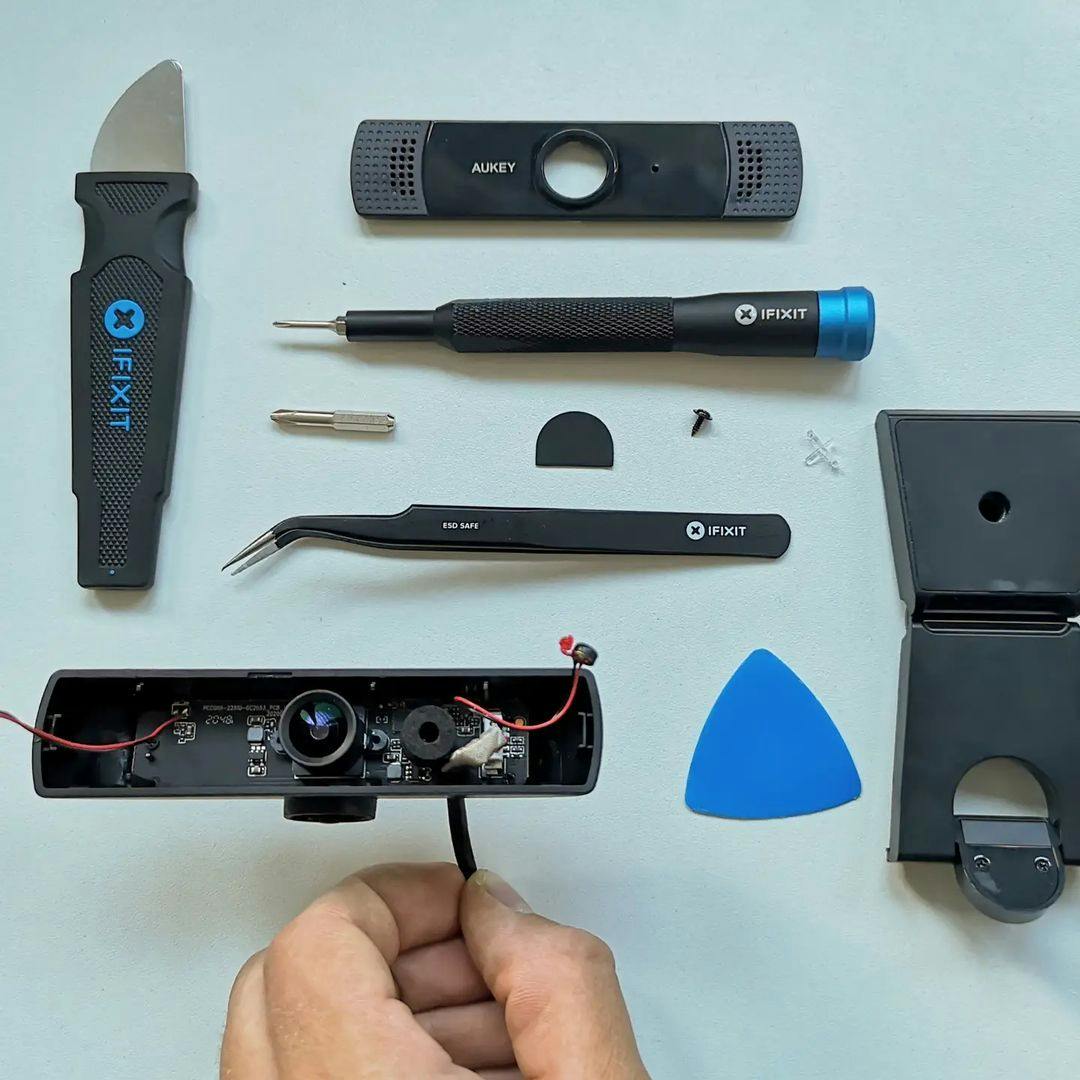
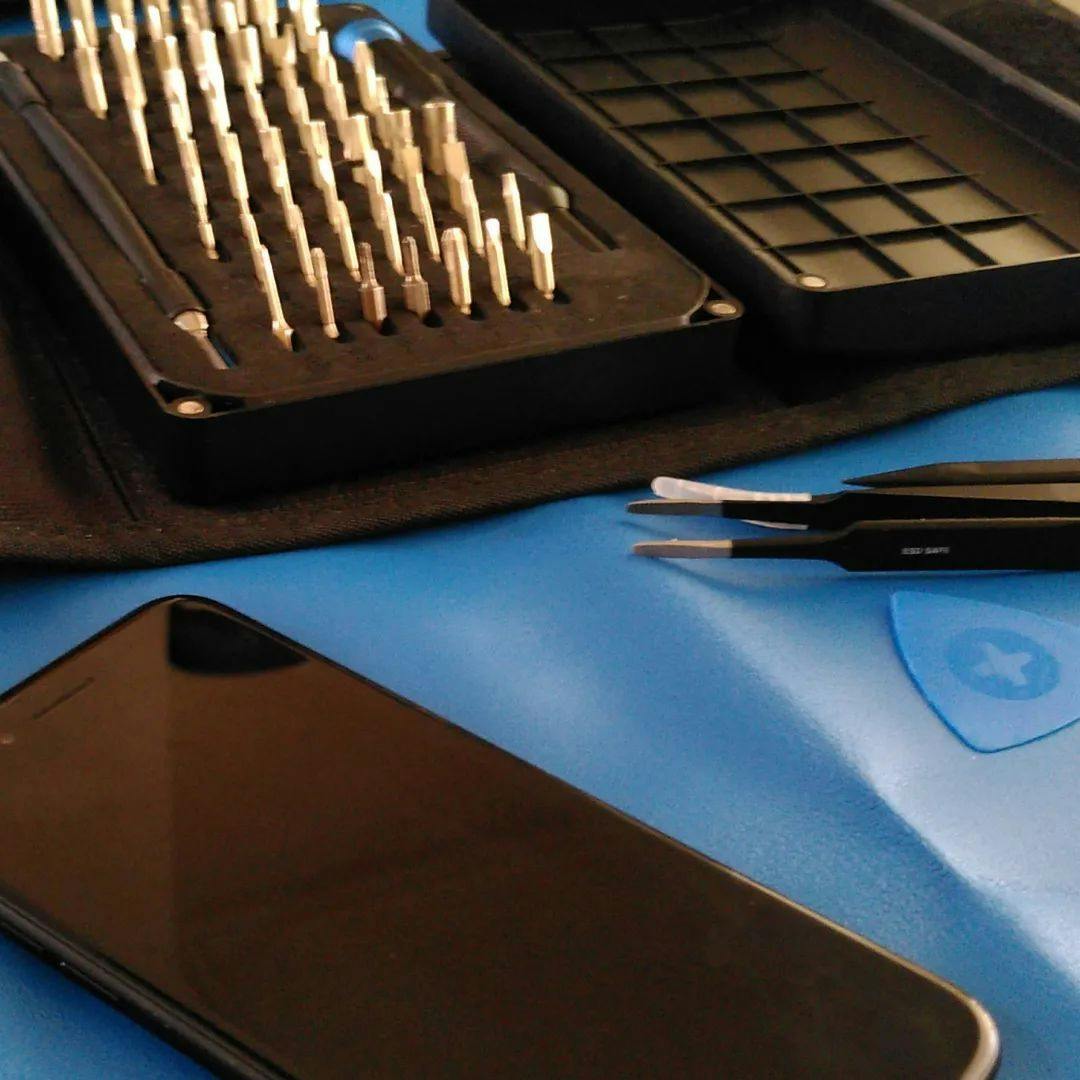
Our all-in-one kits have everything you need to repair iPhones, MacBooks, and other popular devices—including a step-by-step repair guide for every kit.
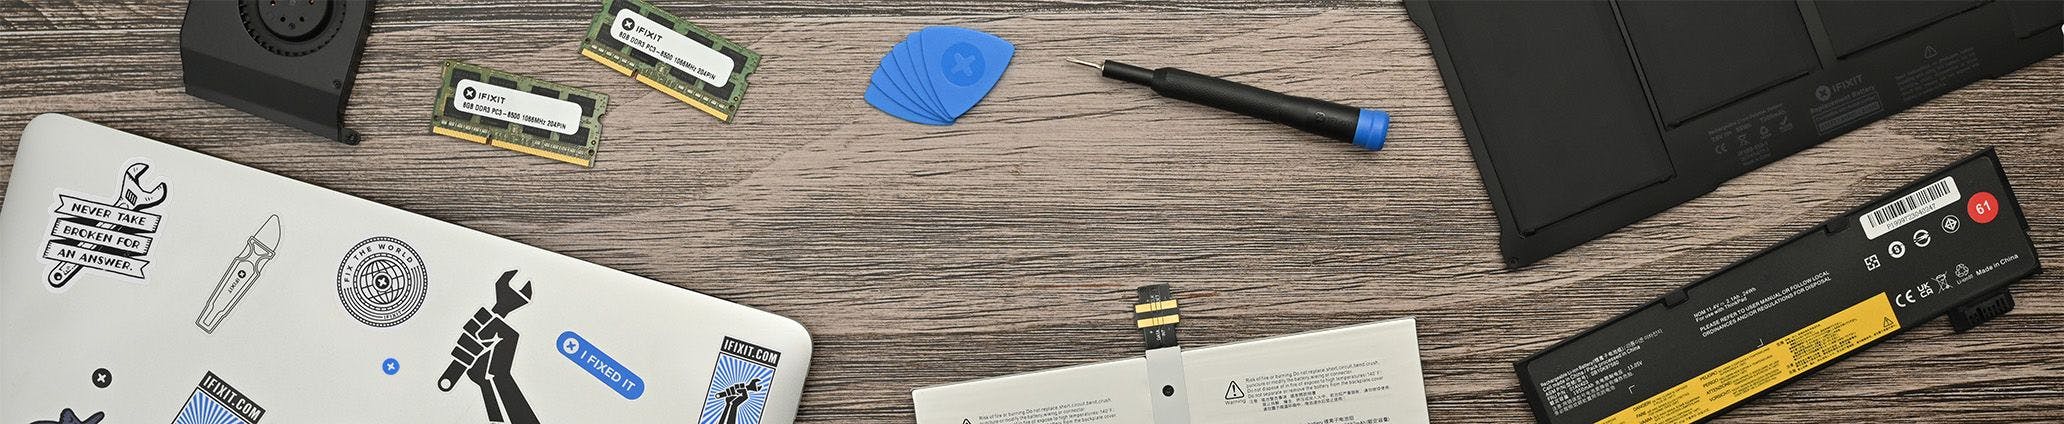
Sourcing a reliable parts stream can be a real nightmare. That's why we find top-quality parts for you and offer them at discounts—displayed on the iFixit website as you shop.