Introduction
Meet the Samsung Epic 4G Touch, a.k.a. the Samsung Galaxy S II, the newest addition to Samsung's Galaxy line. Join us as we investigate if this Galaxy truly is of another world.
See how the Epic 4G Touch strays in design from its European brother, the Galaxy S II.
Follow us on twitter to get all the latest updates.
What you need
-
-
At last, the long awaited Samsung Galaxy S II—branded the Epic 4G Touch by Sprint—has arrived in the excited hands of the iFixit crew!
-
Some key features of the Epic 4G Touch include:
-
1.2 GHz dual-core processor
-
4.52" Super AMOLED Plus display—0.22" bigger than the Galaxy S II
-
1 GB RAM
-
8 MP rear-facing camera able to shoot videos at 1080p paired with a front facing 2 MP camera
-
16 GB onboard memory with a microSD card slot for up to 48 GB total memory
-
Android 2.3.4 Gingerbread.
-
-
-
When compared to the T-Mobile Samsung Galaxy S 4G, the Micro USB port has been relocated from the top to the bottom of the Epic 4G Touch. Sadly, they also removed the sliding door that keeps it free from lint and micro dust bunnies.
-
The Epic 4G Touch has slightly more girth than its overseas counterpart, the Galaxy S II. At 9.65 mm and 4.55 ounces, the Epic 4G Touch seems to have gained a millimeter and a half-ounce during its trip to the U.S.
-
The Galaxy S II that is available overseas features only three buttons on the front, including a physical home button. Our yankee version, however, has four capacitive touch function buttons, like many Android devices sold here.
-
-
-
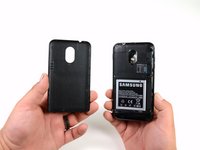
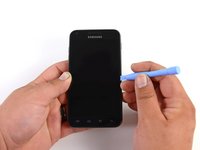
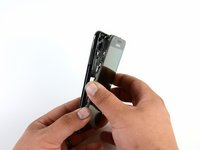
The user-removable back cover comes off quite easily with some prying.
-
Unfortunately, Samsung and Sprint decided not to include NFC support in this variant of the Galaxy S II, which means no Google Wallet support either.
-
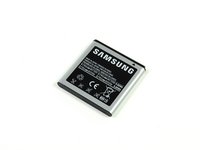
We love phones with batteries that are easy to replace, and this device fits that mold.
-
The 1800 mAH Li-ion battery in the Samsung Epic 4G Touch has a claimed battery life of 8.7 hours of continuous talk time and 10.5 days on standby.
-
-
-
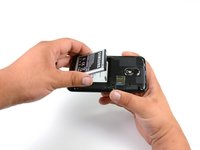
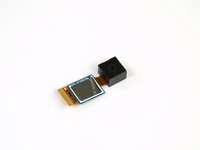
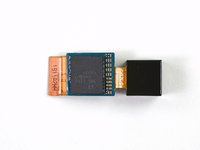
Before diving in any further, we take a brief moment to admire the 8.0 megapixel rear-facing camera and microSD slot.
-
Unfortunately, the Samsung Epic 4G Touch does not come with a microSD card. If 16 GB of internal memory isn't enough for you, you're going to have to spring for your own card.
-
-
-
-
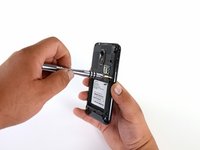
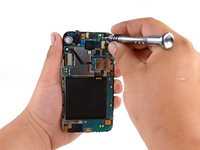
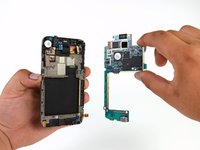
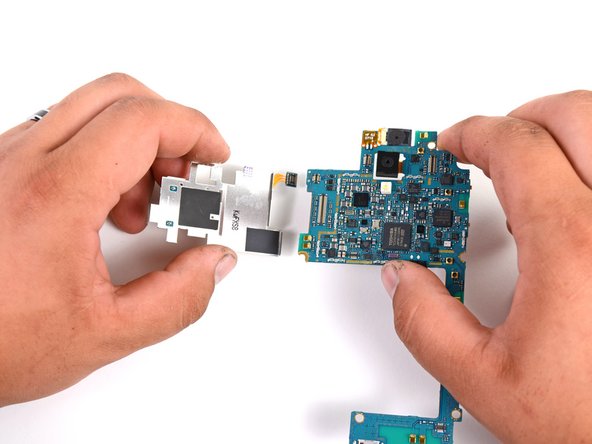
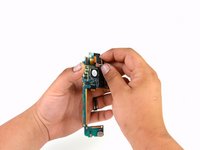
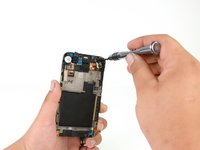
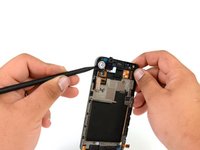
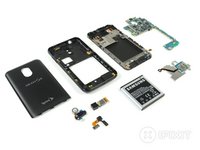
After freeing a few more Phillips #00 screws, a handful of connectors, and a sticker from the firm grips of the Epic 4G's Touch, off comes the motherboard.
-
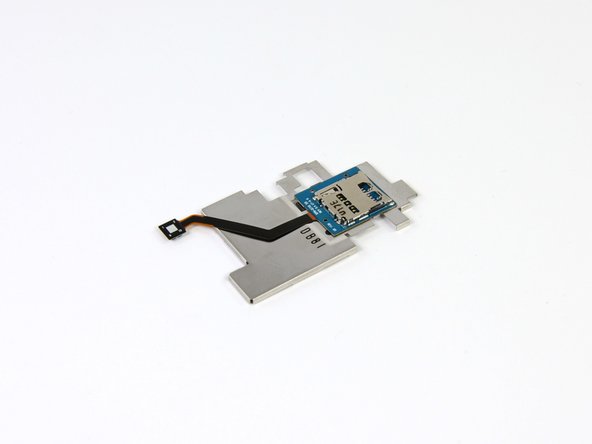
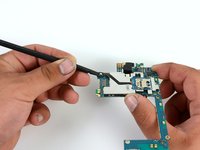
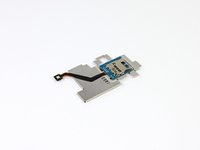
Cool your soldering stations everybody, we are pleased to announce that the device doesn't house a smorgasbord of EMI shields and that its single EMI shield is removable with only a few gentle pries.
-
-
-
The front side of the motherboard contains the following major chips:
-
Toshiba TC31501AAMBG WiMax package. According to Chipworks, "This device operates in the 2.5GHz frequency band and offers high-speed connectivity in the mobile environment with low power consumption." (Thanks guys!)
-
Broadcom BCM4330XKFFBG 802.11 a/b/g/n MAC/Baseband/Radio with Integrated Bluetooth 4.0+HS and FM Transceiver/Receiver
-
Maxim MAX8997 Power Management IC
-
WIP4255H
-
Avago CFI120 223713
-
Maxim MAX8893C Power Management IC
-
-
-
We continue identifying the chips located on the rear-side of the motherboard:
-
Samsung K3PE7E700B-XXC1 Dual-Core 1.2 GHz Processor
-
Samsung Electronics Corporation (SEC) K521H12ACE
-
Samsung KLMAG4FEJA-A003 16 GB Flash Memory
-
Avago ACFM-7325 Band Class 14 PCS/Band Class 10 Cellular Band Quadplexer
-
Qualcomm QSC6085 CDMA Processor
-
Silicon Image 924480
-
Yamaha YMU823 Audio Codec
-
-
Tool used on this step:Heat Gun$24.99
-
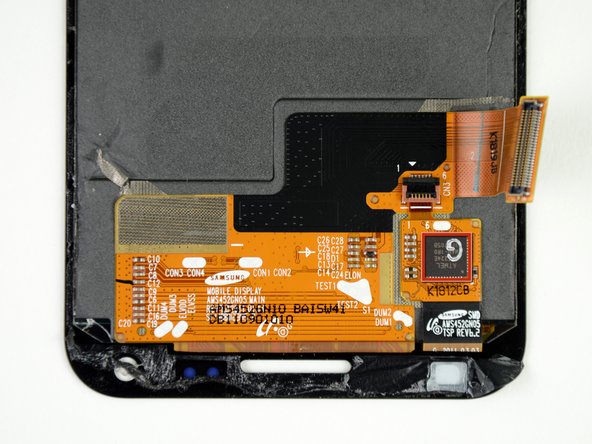
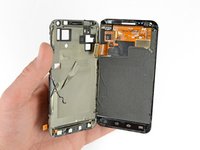
We had to rely on some heat gun action to proceed further, as the glass panel and LCD are fused to the midplane.
-
Tons of heat and a set of guitar picks later, we separated the two components.
-
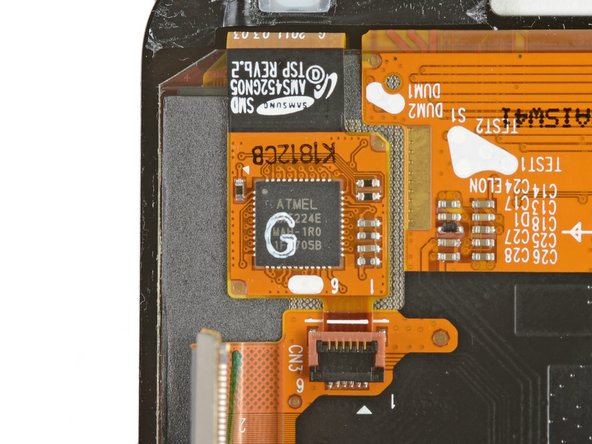
AMS452GN05 is the official designation on the ribbon cable, and it looks to be manufactured around January 11th of 2011.
-
We found the Atmel mXT224E mutual capacitance touchscreen controller, located on the rear side of the display assembly.
-
-
-
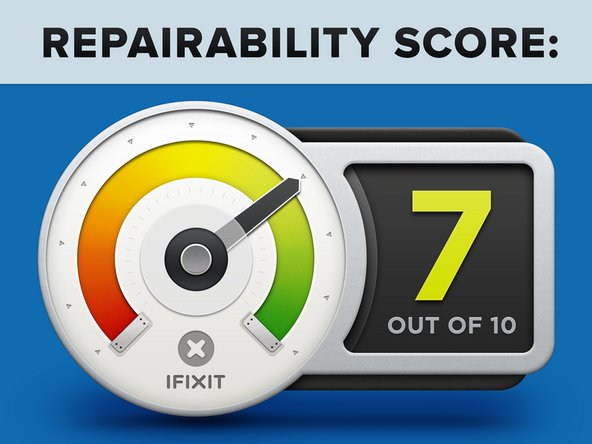
Samsung Epic 4G Touch Repairability Score: 7 out of 10 (10 is easiest to repair).
-
Battery and microSD card can be accessed by simply removing the back cover.
-
There's a total of 9 Phillips #00 screws to remove to gain access to the majority of the device.
-
Most of the disassembly was straightforward and easy, and accomplished with standard tools.
-
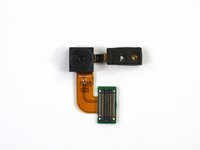
Some components share the same ribbon cable (front-facing camera and ambient light sensor, for example), thereby increasing repair costs.
-
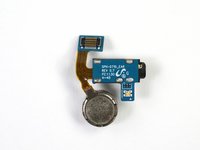
Speaker is soldered to the motherboard, making replacement more difficult.
-
Glass panel and Super AMOLED Plus display are fused, making cracked screens a costly repair (and requires the use of a heat gun).
-


3 Guide Comments
Is there a way to include a guide to replace the microUSB port? It seems to be a common enough issue with this phone.
what does the Loud Ringer Speaker Antenna look like.am trying to put a phone together
i want to know if it needs to be soldered and where do i need to do that.this is what i brought.http://www.ebay.com/itm/251190106025?ssP...
thanks
Thank you for this. This was the only guide that I could find for this model (SPH-D710) of
the Samsung SII. I needed to change the charge port and you disassembly instructions
made it a very simple procedure . Thank you again and as always- Aloha from Maui