
What you need

This teardown is not a repair guide. To repair your Xiaomi Redmi 7A, use our service manual.

  1. Xiaomi Redmi 7A Teardown, Power off the mobile: step 1, image 1 of 3 Xiaomi Redmi 7A Teardown, Power off the mobile: step 1, image 2 of 3 Xiaomi Redmi 7A Teardown, Power off the mobile: step 1, image 3 of 3
    • This is an easy to forget step, but very important. Please don't skip this step.

    • Start by pressing the power button for 5 seconds.

    • Click on shutdown after the menu appears. Then click the button again.

  2. Xiaomi Redmi 7A Teardown, Remove the back cover: step 2, image 1 of 3 Xiaomi Redmi 7A Teardown, Remove the back cover: step 2, image 2 of 3 Xiaomi Redmi 7A Teardown, Remove the back cover: step 2, image 3 of 3
    • Insert your Opener Pick (or your finger nail) into the gap.

    • Slide the pick (or your finger nail) through the whole perimeter of the phone until all the clips are uncliped.

    • Don't forget to remove the Sim slot!

  3. Xiaomi Redmi 7A Teardown, Removing the top panel: step 3, image 1 of 3 Xiaomi Redmi 7A Teardown, Removing the top panel: step 3, image 2 of 3 Xiaomi Redmi 7A Teardown, Removing the top panel: step 3, image 3 of 3
    • Remove the eight screws on the top panel.

    • Now the top panel will be loose, just pull it out with a little bit of force.

  4. Xiaomi Redmi 7A Teardown, Disconnect the battery: step 4, image 1 of 2 Xiaomi Redmi 7A Teardown, Disconnect the battery: step 4, image 2 of 2
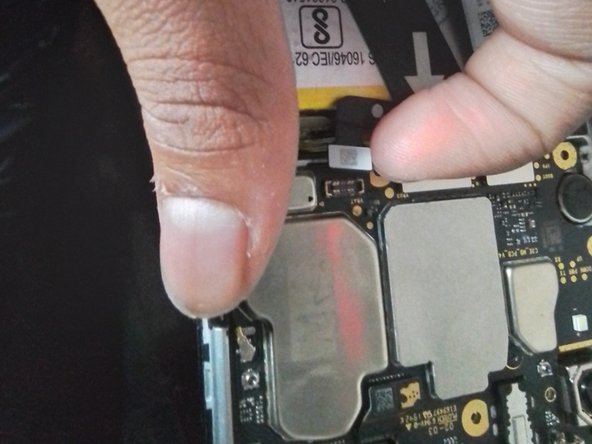
    • Put your finger nail under the battery connector.

    • With a little bit of force, push it upwards. It should detach from the Main board's connected.

    • Never use anything that is metallic for this as it can cause damage to the Main board or in the worst case, the battery may explode.

  5. Xiaomi Redmi 7A Teardown, Remove the bottom panel: step 5, image 1 of 3 Xiaomi Redmi 7A Teardown, Remove the bottom panel: step 5, image 2 of 3 Xiaomi Redmi 7A Teardown, Remove the bottom panel: step 5, image 3 of 3
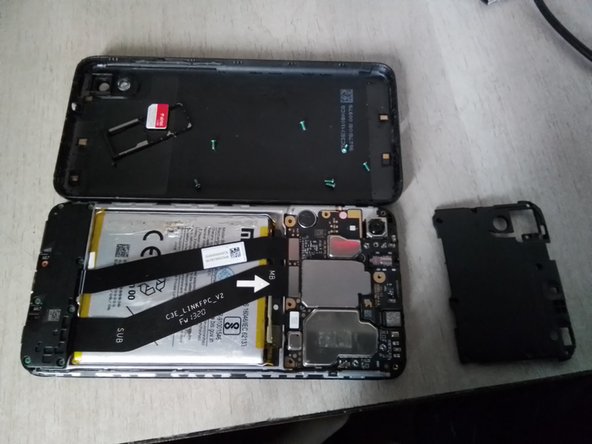
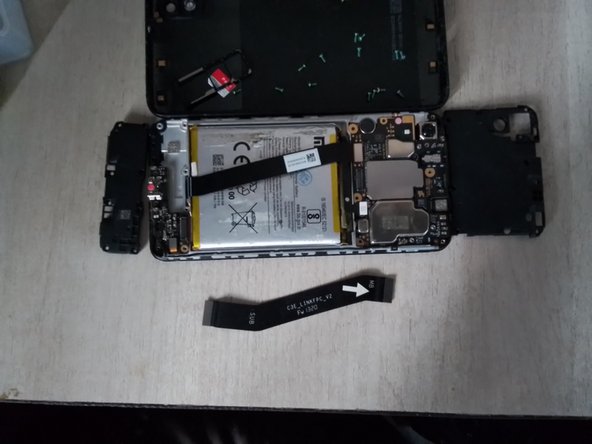
    • Remove the eight screws on the bottom panel.

    • Now the bottom panel, like the top panel, should easily come out with a little bit of force.

  6. Xiaomi Redmi 7A Teardown, Remove the bridge connection: step 6, image 1 of 3 Xiaomi Redmi 7A Teardown, Remove the bridge connection: step 6, image 2 of 3 Xiaomi Redmi 7A Teardown, Remove the bridge connection: step 6, image 3 of 3
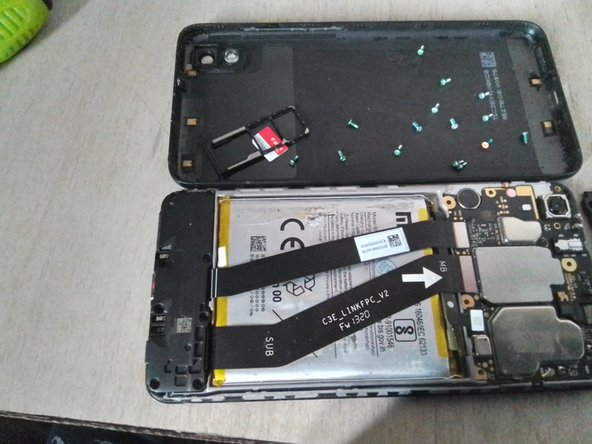
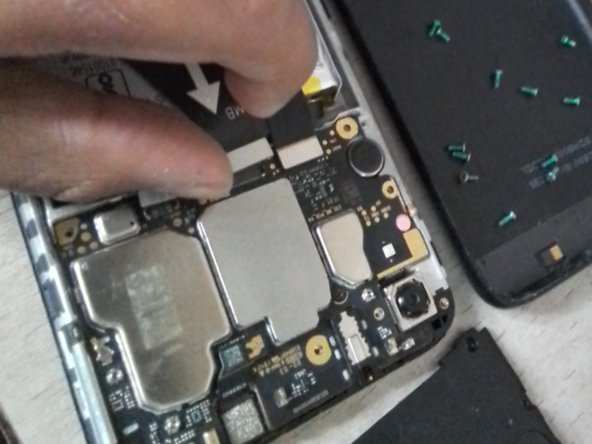
    • Remove the connector the same Way we removed the battery connector.

  7. Xiaomi Redmi 7A Teardown, Remove the CC (Charge Connector) board: step 7, image 1 of 3 Xiaomi Redmi 7A Teardown, Remove the CC (Charge Connector) board: step 7, image 2 of 3 Xiaomi Redmi 7A Teardown, Remove the CC (Charge Connector) board: step 7, image 3 of 3
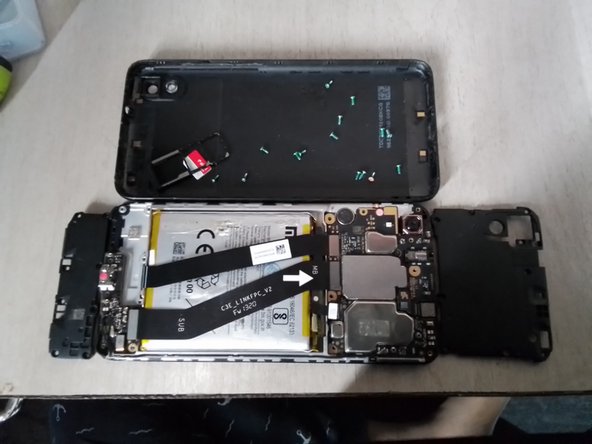
    • Detach the LCD touch cable

    • Detach the Antena cable

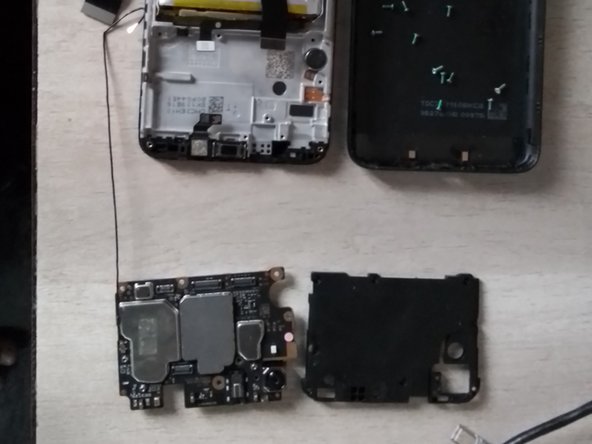
    • Remove the entire CC board

  8. Xiaomi Redmi 7A Teardown, Remove the Main board: step 8, image 1 of 3 Xiaomi Redmi 7A Teardown, Remove the Main board: step 8, image 2 of 3 Xiaomi Redmi 7A Teardown, Remove the Main board: step 8, image 3 of 3
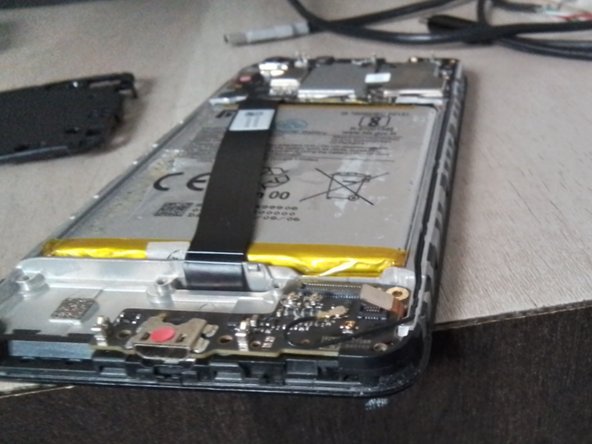
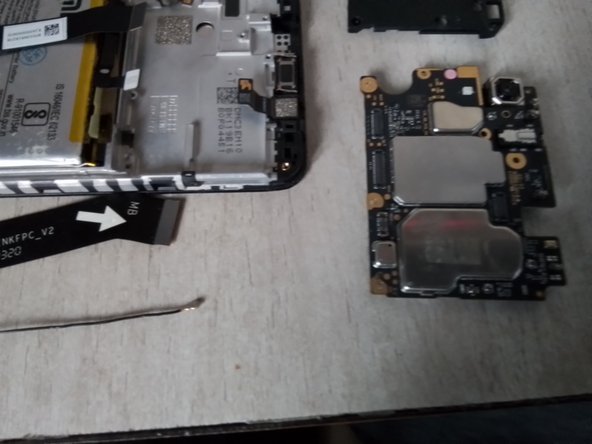
    • Remove the screw behind the head phone jack and all the flex cables still attached to the Main board.

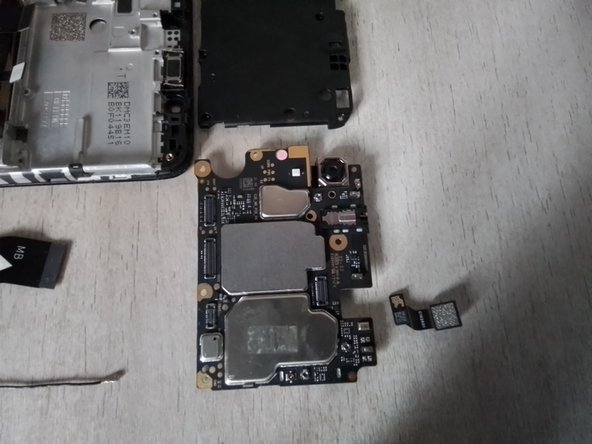
    • The board should easily come out now

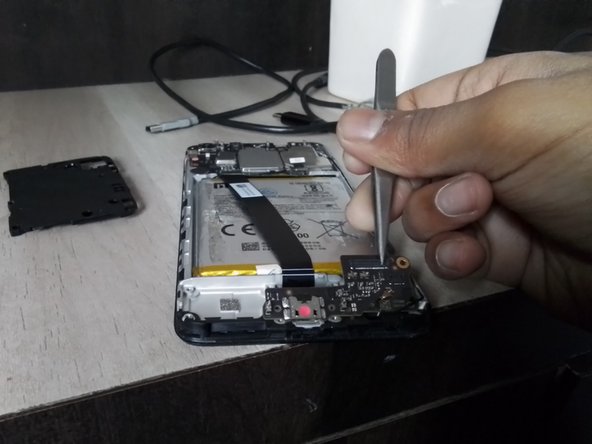
    • Remove the antenna connected to the board

  9. Xiaomi Redmi 7A Teardown, Remove the front camera: step 9, image 1 of 2 Xiaomi Redmi 7A Teardown, Remove the front camera: step 9, image 2 of 2
    • With your fingers, hold and pull out the camera.

  10. Xiaomi Redmi 7A Teardown, Remove the battery: step 10, image 1 of 1
    • Never use metallic or sharp tools near the battery.

    • With the opener pick, remove the battery and we are done!

    • Follow the steps in reverse to reassemble the phone!

Electronics Boy

Member since: 06/09/22

551 Reputation

1 Guide authored

0 Comments

Add Comment

View Statistics:

Past 24 Hours: 7

Past 7 Days: 28

Past 30 Days: 123

All Time: 1,701