This teardown is in progress – Reload periodically to see the latest changes!

What you need

  1. Sony Xperia U Teardown, Sony Xperia U Teardown: step 1, image 1 of 1
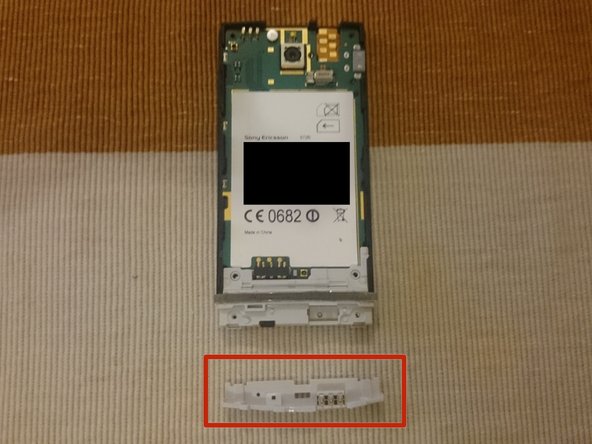
    • Remove the back cover and the bottom clip. And also remove the sim card and battery.

  2. Sony Xperia U Teardown: step 2, image 1 of 1
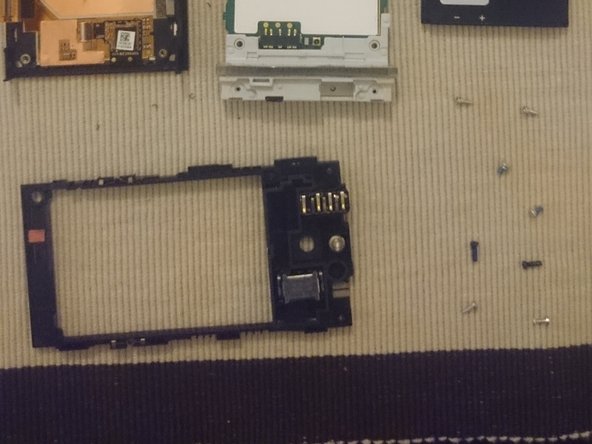
    • Remove the 6 T5 screws

  3. Sony Xperia U Teardown: step 3, image 1 of 1
    • Remove the back piece, reveiling the headphone jack, speaker and the Liquid contact indicator.

    • Camera and flash

    • Vibrating motor

    • Headphone jack

    • Speaker

    • Liquid contact indicator

  4. Sony Xperia U Teardown: step 4, image 1 of 2 Sony Xperia U Teardown: step 4, image 2 of 2
    • Remove the 2 T5 screws.

    • Remove the lower antenna.

  5. Sony Xperia U Teardown: step 5, image 1 of 2 Sony Xperia U Teardown: step 5, image 2 of 2
    • Carefully remove the motherboard being aware on the lower left edge, there is the display connector.

    • Be aware of the display connector on the lower left.

  6. Sony Xperia U Teardown: step 6, image 1 of 3 Sony Xperia U Teardown: step 6, image 2 of 3 Sony Xperia U Teardown: step 6, image 3 of 3
    • Removal back and bottom cap

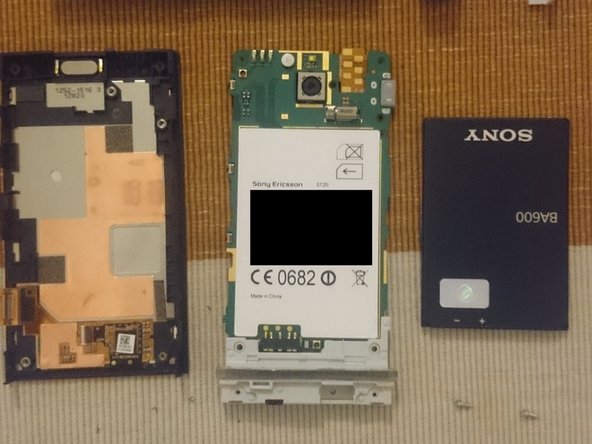
    • Screen + main case, motherboard + antenna, battery

    • Back casing holding the headphone jack, speaker and liquid contact indicator.

Anthony

Member since: 07/29/14

201 Reputation

1 Guide authored

0 Comments

Add Comment

View Statistics:

Past 24 Hours: 1

Past 7 Days: 8

Past 30 Days: 14

All Time: 3,099