What you need

This teardown is not a repair guide. To repair your Sony Walkman - WM-FX20, use our service manual.

  1. Sony Walkman -  WM-FX20 Teardown, Teardown: step 1, image 1 of 1
    • Good Ole Sony Walkman.

  2. Sony Walkman -  WM-FX20 Teardown: step 2, image 1 of 3 Sony Walkman -  WM-FX20 Teardown: step 2, image 2 of 3 Sony Walkman -  WM-FX20 Teardown: step 2, image 3 of 3
    • Start with removing the screw on the Underside. The screw on the Backside next. Then the two on the reverse side of the tape controls.

    • New line.

  3. Sony Walkman -  WM-FX20 Teardown: step 3, image 1 of 3 Sony Walkman -  WM-FX20 Teardown: step 3, image 2 of 3 Sony Walkman -  WM-FX20 Teardown: step 3, image 3 of 3
    • With a small Phillips head, Pry the sides carefully.

  4. Sony Walkman -  WM-FX20 Teardown: step 4, image 1 of 2 Sony Walkman -  WM-FX20 Teardown: step 4, image 2 of 2
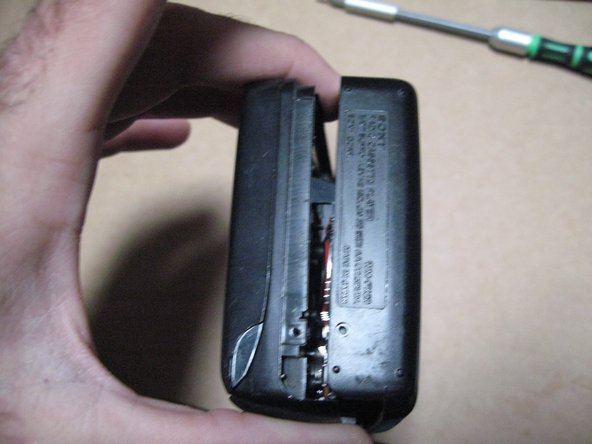
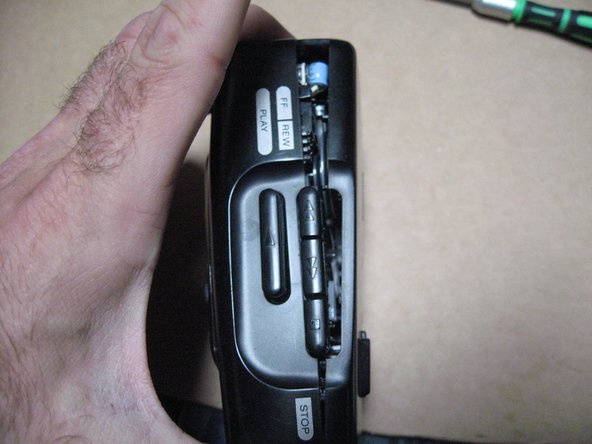
    • Take care not to jostle the Switches on the top of the unit while removing case. So now we have removed the underside casing from the device.

  5. Sony Walkman -  WM-FX20 Teardown: step 5, image 1 of 3 Sony Walkman -  WM-FX20 Teardown: step 5, image 2 of 3 Sony Walkman -  WM-FX20 Teardown: step 5, image 3 of 3
    • Find Ribbon Cable that connects to the board. Carefully Pry open either side of connector as shown, then remove ribbon cable from board.

  6. Sony Walkman -  WM-FX20 Teardown: step 6, image 1 of 1
    • Now we can remove the board from the casing.

  7. Sony Walkman -  WM-FX20 Teardown: step 7, image 1 of 3 Sony Walkman -  WM-FX20 Teardown: step 7, image 2 of 3 Sony Walkman -  WM-FX20 Teardown: step 7, image 3 of 3
    • If you do not need to replace the front door control assembly I would not suggest to continue any further- That little spring took me a good 40 minutes to properly get back in place. It is Crucial to get it in right so that the Cassette door stays flush and closed.

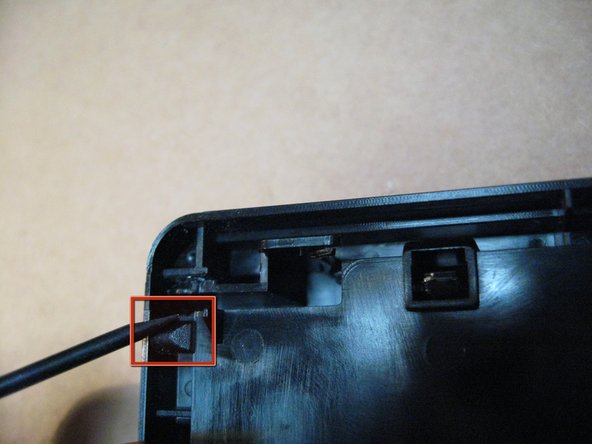
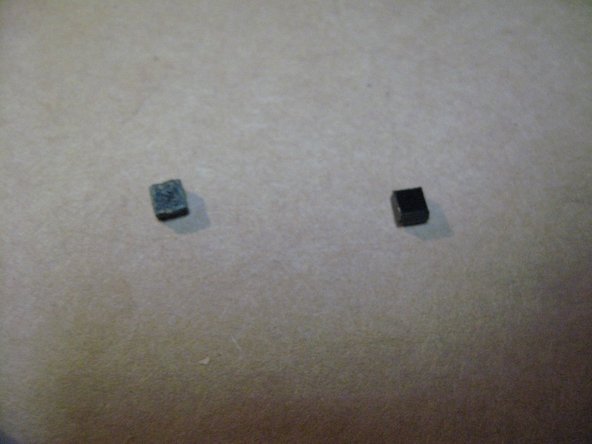
    • Find Door Spring and remove carefully. Then find and pry off (on either side) glued on bumpers- These limit the distance the door hinge can travel in order to be pulled off---

  8. Sony Walkman -  WM-FX20 Teardown: step 8, image 1 of 2 Sony Walkman -  WM-FX20 Teardown: step 8, image 2 of 2
    • Now gently pry the door hinges on either side off of their pivot point, and remove the front door from the assembly

  9. Sony Walkman -  WM-FX20 Teardown: step 9, image 1 of 3 Sony Walkman -  WM-FX20 Teardown: step 9, image 2 of 3 Sony Walkman -  WM-FX20 Teardown: step 9, image 3 of 3
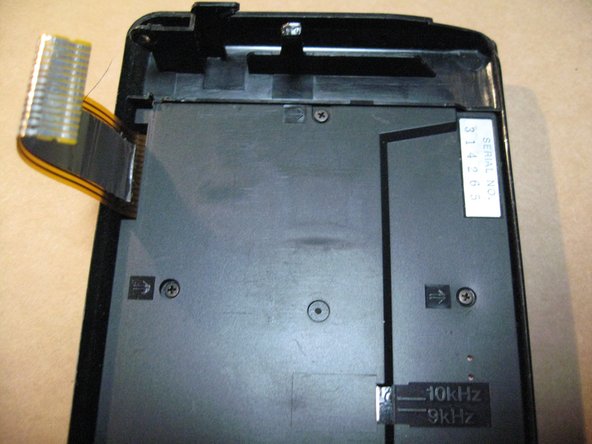
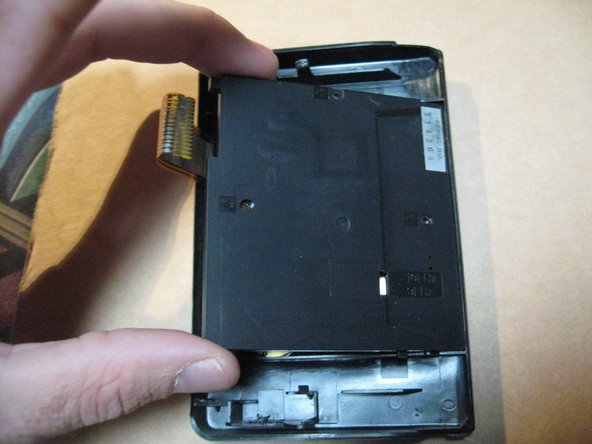
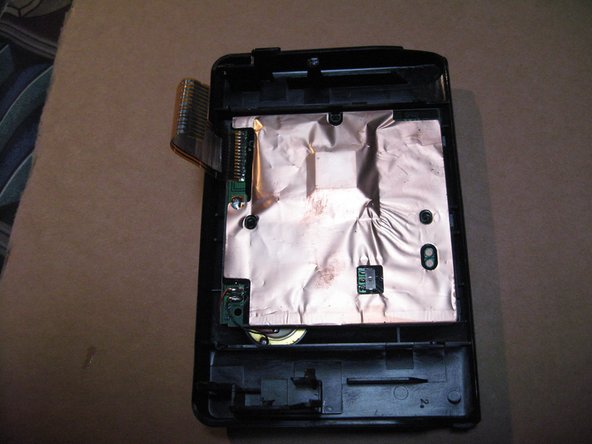
    • Remove three screws on backside of cassette door. Then remove panel.

  10. Sony Walkman -  WM-FX20 Teardown: step 10, image 1 of 3 Sony Walkman -  WM-FX20 Teardown: step 10, image 2 of 3 Sony Walkman -  WM-FX20 Teardown: step 10, image 3 of 3
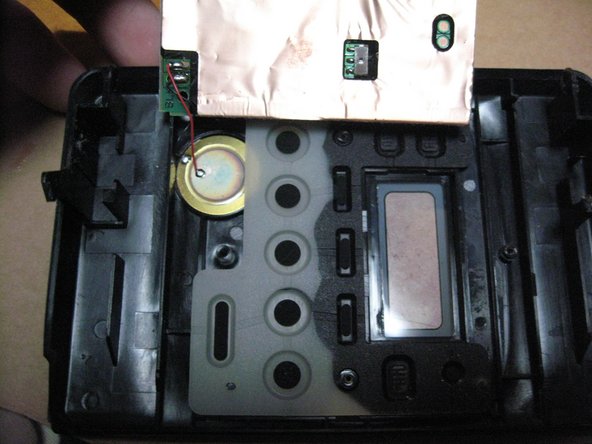
    • There is your front mounted control board! It is attached to what appears to be a speaker i'm guessing. Possibly for the alarm clock. I found that to be interesting, the little speaker thing. Anyways , thats it.

JaosnT

Member since: 10/12/09

414 Reputation

5 Guides authored

View Statistics:

Past 24 Hours: 1

Past 7 Days: 18

Past 30 Days: 84

All Time: 25,252