
What you need

This teardown is not a repair guide. To repair your Shift 5.1, use our service manual.

  1. Shift5.1 Teardown, Shift5.1 Teardown: step 1, image 1 of 3 Shift5.1 Teardown, Shift5.1 Teardown: step 1, image 2 of 3 Shift5.1 Teardown, Shift5.1 Teardown: step 1, image 3 of 3
    • The shift5.1 is the second biggest smartphone in the Shift series and features these specs:

    • 5-inch HD IPS display with a resolution of 1280x720 pixels (293,72 ppi)

    • Mediatek MT6582 Quadcore SoC with 1.3 GHz

    • 2GB DDR RAM + 16 GB internal memory

    • Dual sim (regular and micro sized)

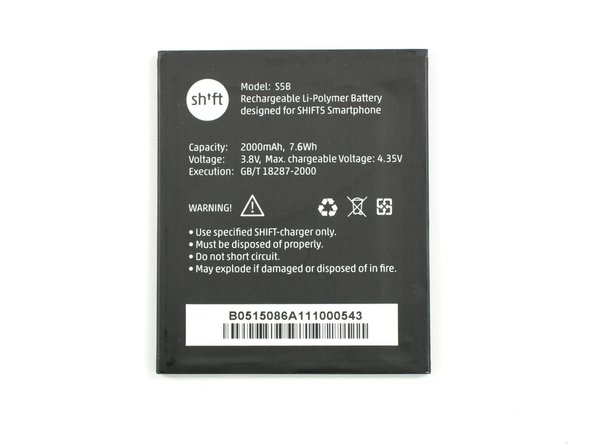
    • 2000 mAh user-removable Li-Polymer battery

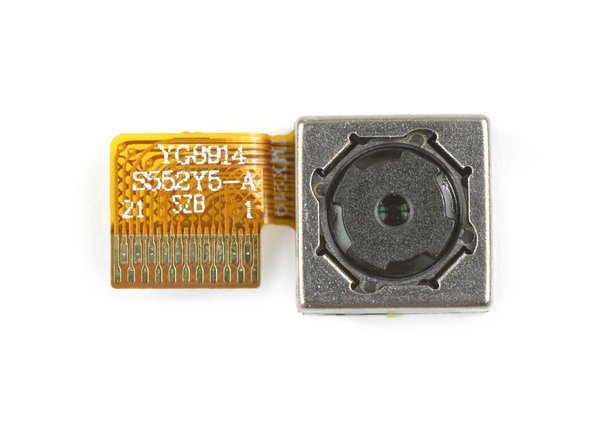
    • 5 MP front and 8 MP rear camera

    • Android​ 5.1 Lollipop

  2. Shift5.1 Teardown: step 2, image 1 of 2 Shift5.1 Teardown: step 2, image 2 of 2
    • The shift5.1 measures in at 144 x 72 x 7 mm and weighs 140 grams.

    • This makes it about the same size as the Fairphone 2. But a lot thinner.

    • For those who did not already know—it holds a small warning on its rear case:

    • smartphones can be timekillers. there is no greater gift for you today, than the next 24hours. use them wisely. people are more important than machines.

  3. Shift5.1 Teardown: step 3, image 1 of 2 Shift5.1 Teardown: step 3, image 2 of 2
    • Having a user-removable battery usually equates to an easily removed back cover.

    • And that's what it is: very easy. We start with a small notch at the lower end of the cover and the flexible black plastic gives way to reveal the battery.

  4. Shift5.1 Teardown: step 4, image 1 of 2 Shift5.1 Teardown: step 4, image 2 of 2
    • Taking the battery out is also easy as pie.

    • The 2000 mAh brings you 7.6 Wh at 3.8V, settling behind the 9.2 Wh from the Fairphone 2 battery.

  5. Shift5.1 Teardown: step 5, image 1 of 3 Shift5.1 Teardown: step 5, image 2 of 3 Shift5.1 Teardown: step 5, image 3 of 3
    • We bring out the Phillips #000 to loosen the seven screws and get further into the shift5.1.

    • A plastic opening tool helps us prying away the plastic frame.

  6. Shift5.1 Teardown: step 6, image 1 of 2 Shift5.1 Teardown: step 6, image 2 of 2
    • Before we take the frame aside we take a short look at the loudspeaker which is embedded with a mild double sided adhesive tape.

  7. Shift5.1 Teardown: step 7, image 1 of 3 Shift5.1 Teardown: step 7, image 2 of 3 Shift5.1 Teardown: step 7, image 3 of 3
    • On the back of the display unit we see the motherboard with a multitude of components mounted on it.

    • We unplug both of the display connectors and peel the volume buttons and power button unit loose from the frame.

    • A single Phillips screw holds the motherboard in place.

  8. Shift5.1 Teardown: step 8, image 1 of 3 Shift5.1 Teardown: step 8, image 2 of 3 Shift5.1 Teardown: step 8, image 3 of 3
    • Now we can careful lift up the motherboard and take away the 8 MP rear camera.

  9. Shift5.1 Teardown: step 9, image 1 of 3 Shift5.1 Teardown: step 9, image 2 of 3 Shift5.1 Teardown: step 9, image 3 of 3
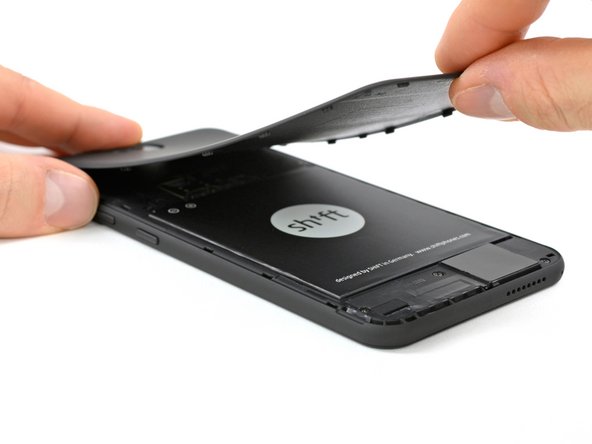
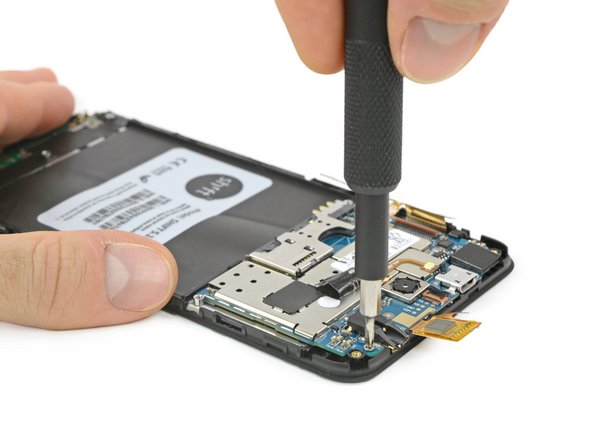
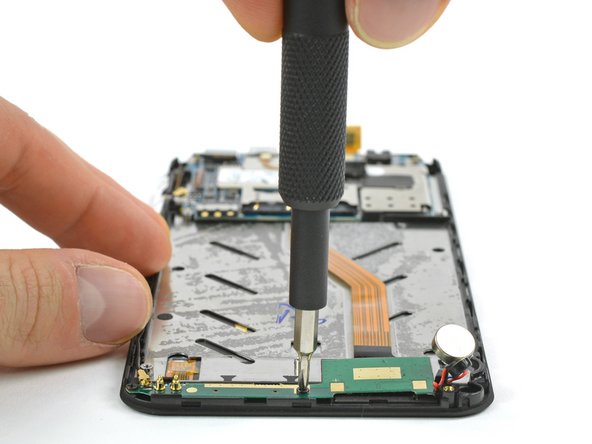
    • In regular teardown fashion, we get to work peeling up the strongly-adhered plastic cover in the base of the battery housing.

    • This huge black adhesive plastic foil hides the interconnect cable running from the motherboard to the daughterboard.

    • Breaking up adhesive is usually a destructive process, and this means that a simple daughterboard may become complicated quickly.

    • There is also a little adhesive tape over the daughterboard.

  10. Shift5.1 Teardown: step 10, image 1 of 3 Shift5.1 Teardown: step 10, image 2 of 3 Shift5.1 Teardown: step 10, image 3 of 3
    • After lifting the vibrator and the microphone carefully out of their recesses we free the daughterboard by loosening two more Phillips screws.

  11. Shift5.1 Teardown: step 11, image 1 of 1
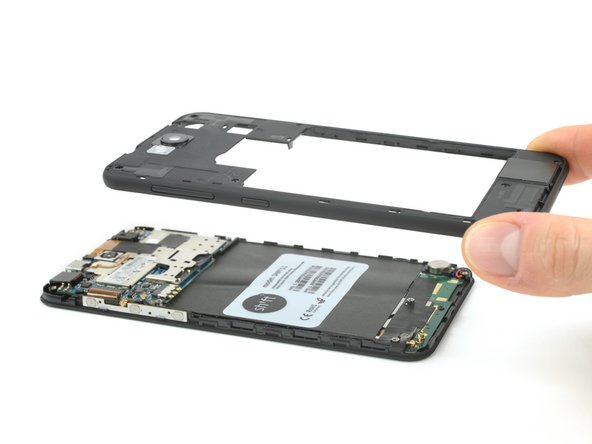
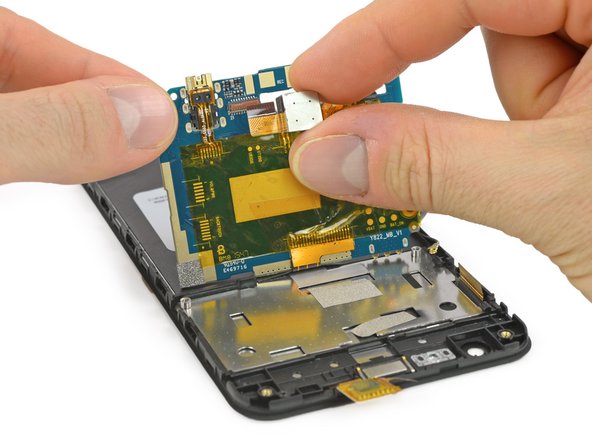
    • And here we have the heart of the shift5.1:

    • Mediatek MT6582 SoC with an ARM Cortex A7

    • Samsung KMR820001M-B609 2GB LPDDR2 memory

    • Mediatek MT6627 Diplexer QVL for WIFI/BT/GPS

    • Mediatek MT6166V RF transceiver

    • Mediatek MT6323GA PMIC

    • AIROHA AP6684 quad-band GPRS front-end module

  12. Shift5.1 Teardown: step 12, image 1 of 1
    • On the flip side we're met with an unfortunate surprise:

    • All the remaining components are soldered to the motherboard, including the front facing camera, headphone jack and the power and volume buttons.

    • While taking a soldering iron to these connections isn't impossible, unskilled users would have trouble replacing these components without damaging their hardware.

  13. Shift5.1 Teardown: step 13, image 1 of 3 Shift5.1 Teardown: step 13, image 2 of 3 Shift5.1 Teardown: step 13, image 3 of 3
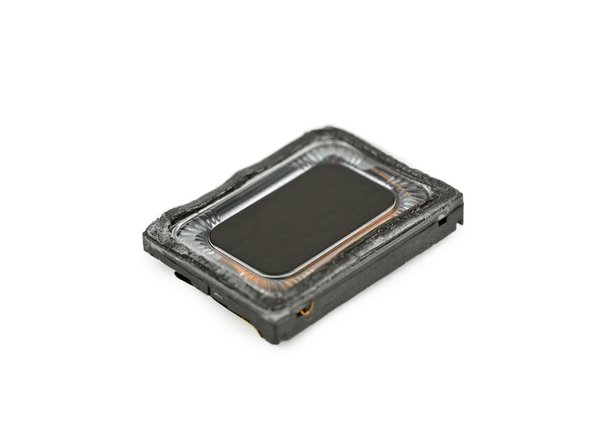
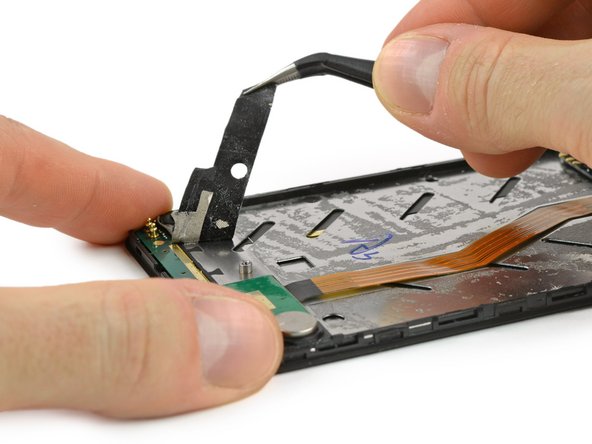
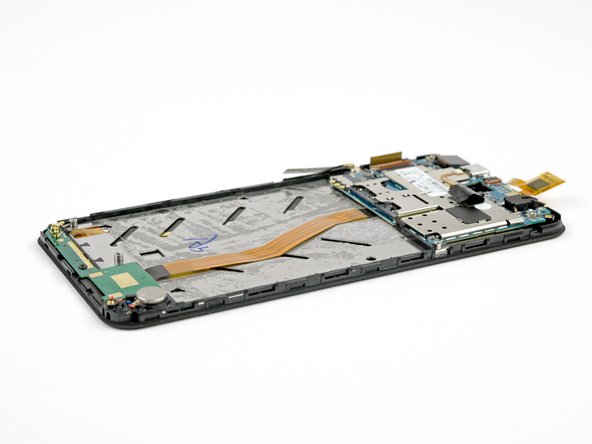
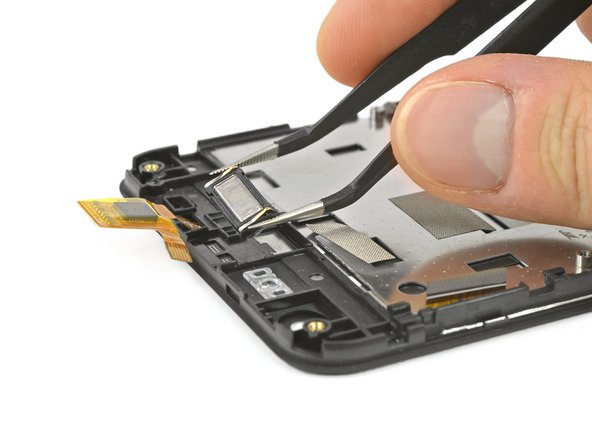
    • Last but not least we have the remaining display which carries the earpiece speaker.

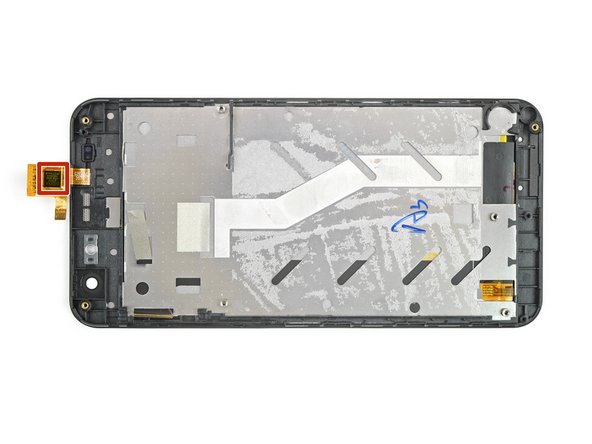
    • Taking it out leaves us with the fused display which carries a GOODiX GT9147 touch screen controller on the flex cable.

  14. Shift5.1 Teardown: step 14, image 1 of 1
    • And here we have the shift5.1 spread out on the teardown table showing us all it has to offer.

  15. Final Thoughts
    • Cover and battery are easy to remove and can be swapped without using tools.
    • No excessive glue and no proprietary screws are used, only Phillips #000.
    • Shift offers a forum and a youtube channel with some information and tutorials (unfortunately only in German).
    • The fused display can be changed but you need to take out everything else reminding us of the iPhone 4 and 4s.
    • Lots of components and connectors are soldered to the motherboard. They could be soldered by hand if needed but this makes repairs more difficult.
    Repairability Score
    6
    Repairability 6 out of 10
    (10 is easiest to repair)

Tobias Isakeit

Member since: 03/31/14

116,496 Reputation

188 Guides authored

Team

Master Techs Member of Master Techs

Community

322 Members

2,495 Guides authored

6 Comments

the display can be changed in 2 ways:

either with the a-frame or without. if changing only display without a-frame, you only need to open 2 connectors and take of the display and stick the new one on with the sticker-set, that comes with the display. this way you do not need to take out the electronics and you will be done much faster ;-).

cwaldeck - Reply

by the way:

You can get any SHIFT spare part you want and need at: support@shiftphones.com

cwaldeck - Reply

I do not unterstand why it have only a 6 I woud take it between 8 and 9

Sven Ulrich - Reply

Only a handful of components aren’t soldered and you have to take a lot apart to change common parts like the display. I understand why it’s not a 8 or 9 but a fully agree I don’t understand why it’s a 6 and not e.g. a 5 or 7. Is there any comparison what has to exist to justify a specific grade?

LastDawn -

jup. we also think a 7 would have been fair.

i think the problem was that the iFixit team took the complicated repair-way. if they followed the instructions from SHIFT for sure it would have been a 7 score. but anyway… this is now long time ago :-)…

cwaldeck -

Add Comment

View Statistics:

Past 24 Hours: 0

Past 7 Days: 3

Past 30 Days: 13

All Time: 6,373