What you need
-
-
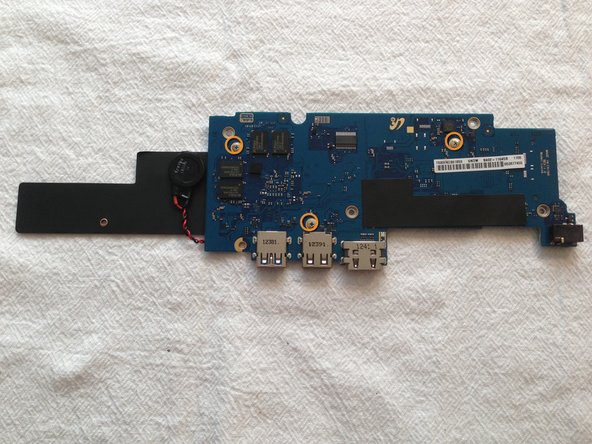
Ports on the side:
-
Headphone Jack
-
SD/SDHC/SDXC card slot
-
Ports on the Back:
-
USB 3.0
-
USB 2.0
-
HDMI
-
40W DC in charging port
-
-
-
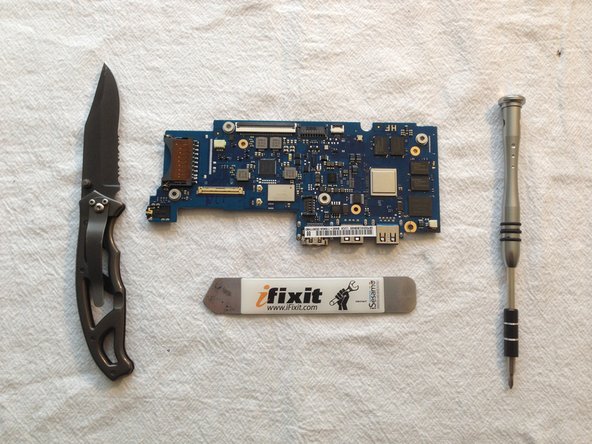
Time to grab the tools and open the case. Nothing fancy needed here, just a simple phillips screwdriver, a knife and a spudger.
-
Remove the 5 visible Phillips #0 screws.
-
Remove the rubber feet from the bottom of the case. This works better if you use your fingernails to go under the feet and pick it out.
-
-
-
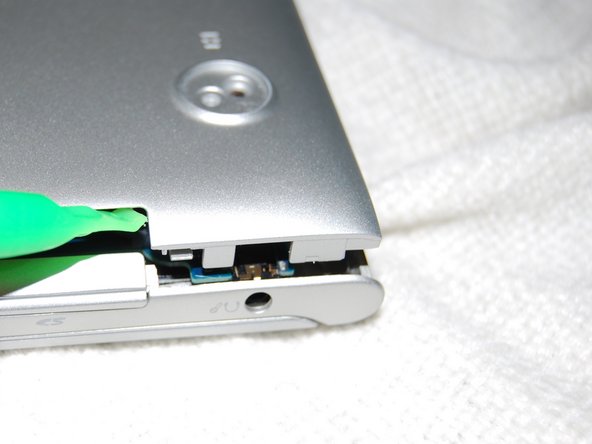
Disassemble this back piece, since it will ease a lot the prying of the bottom part
-
By doing this, you will avoid ending with couple of "clicks" broken, specially during the tear up
-
If you have the 3G model, be sure to remove the SIM card from this slot before going any further.
-
-
-
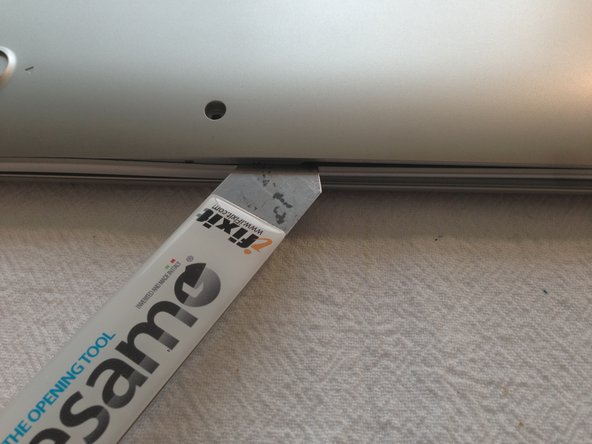
Time for some spudger love
-
Start with all the clicks in the back part, the rest will come out almost without force
-
-
-
-
With the under case set aside, we now have an open case and a preview of the components to come
-
Remove the 6 battery screws then carefully pry the battery connector straight up to remove it.
-
-
-
Battery removed, it's now time to remove the screen and pull the main board
-
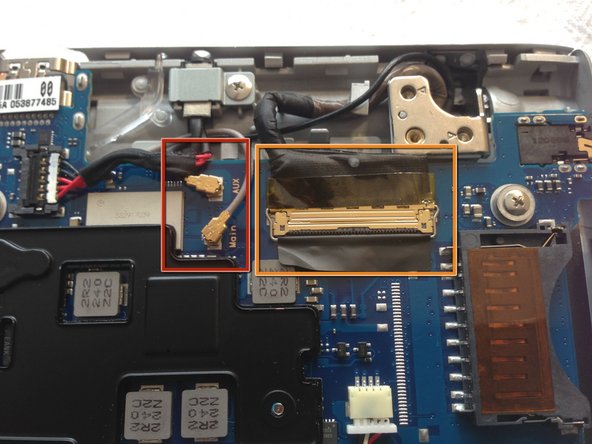
Disconnect the 2 antennae lines from the main board
-
Disconnect the screen cable
-
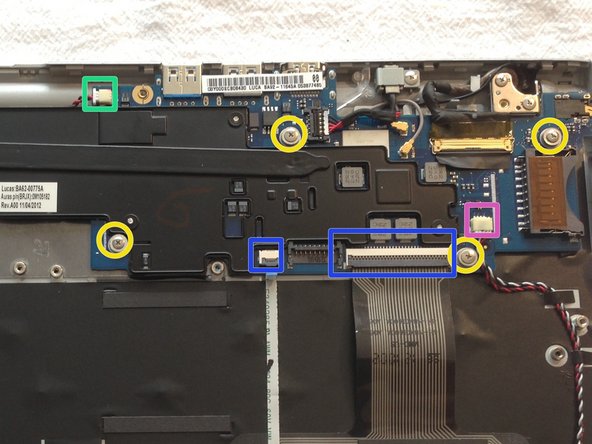
Remove the 5 screws holding the main board
-
Probably a good idea to disconnect the remaining 4 cables as well
-
Keyboard and trackpad ribbon cables
-
Audio cable
-
CMOS Battery Cable
-
-
-
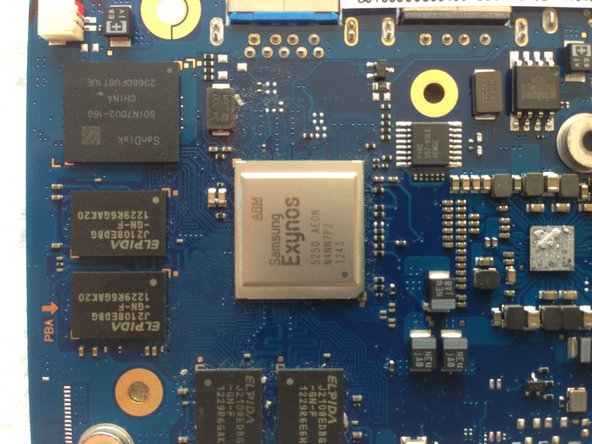
Top of the main board
-
Samsung Exynos 5250 AEON main proc
-
SanDisk SDIN7DU2-16G NAND Flash
-
4 x ELPIDA J2108EDBG-GN-F (4 more on the rear)
-
MAX 77686 EWE 1237
-
TPS65090 TI 291
-
"Servo" dev/debug interface.
-
Connector for 3G daughterboard.
-
-
-
The Embedded Controller, according to Google's documentation is STM32F100R8, although it is marked as "32F100B6"
-
Trusted Platform Module, Infineon SLB9635
-
Not much more on the rear but the rest of RAM
-