Introduction
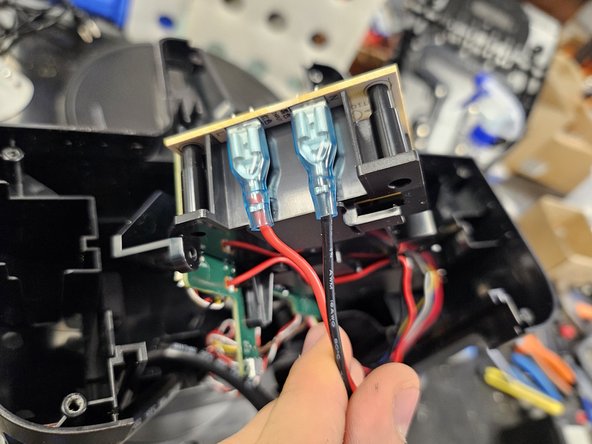
This is a teardown guide for the auto-empty dock, model Onyx3, for Roborock's robotic vacuums.
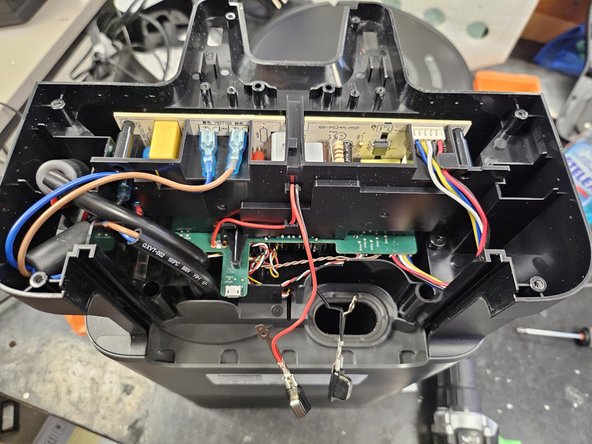
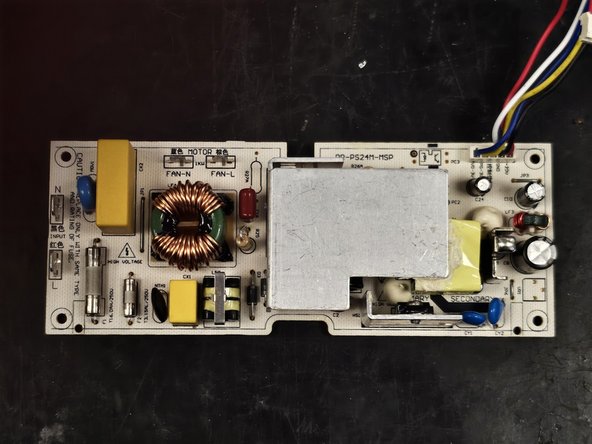
This guide does not show how to get to the suction fan, and mostly focuses on the motherboard/PSU.
I may update it further in the future.
What you need
-
-
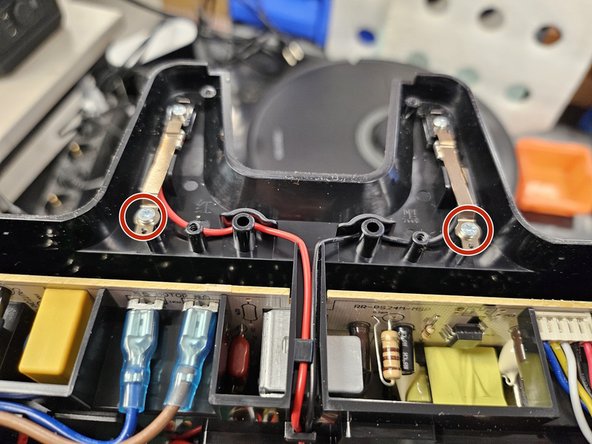
Let's begin by removing its ramp. Flip it on it's head.
-
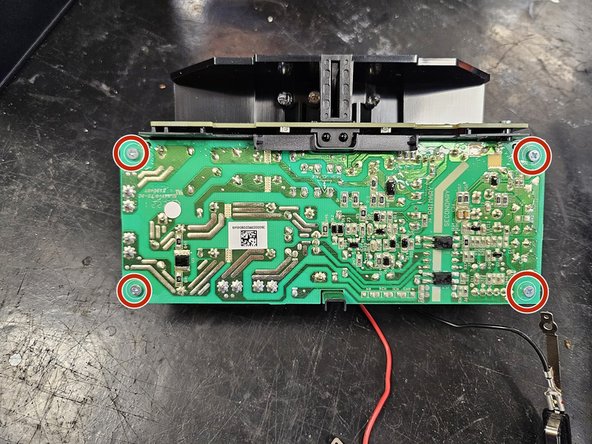
Use a PH2 screwdriver to unscrew the screws, then take the ramp off.
-
-