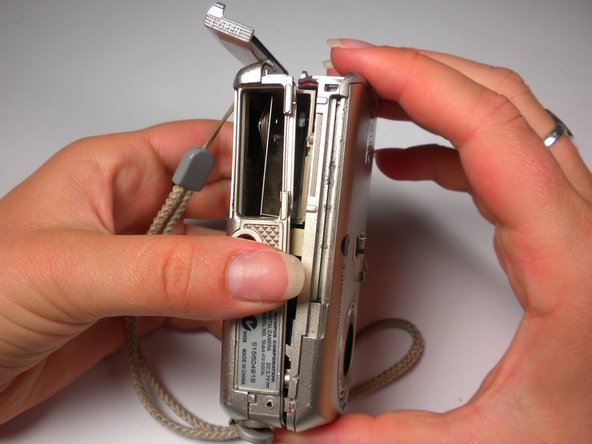
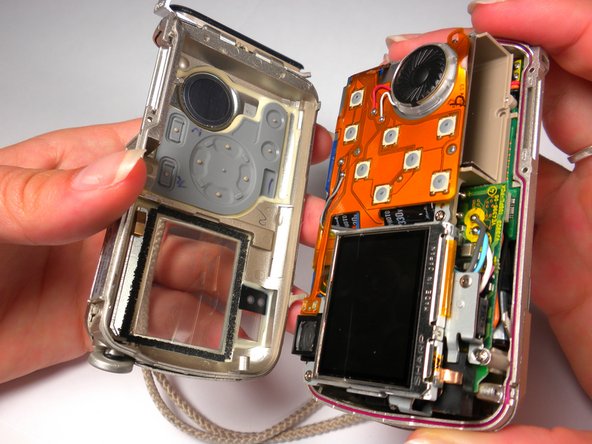
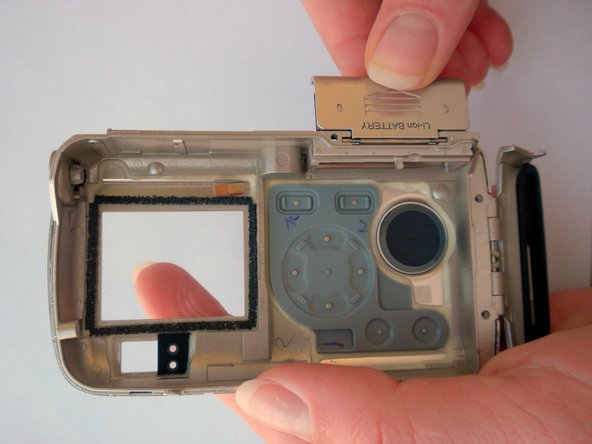
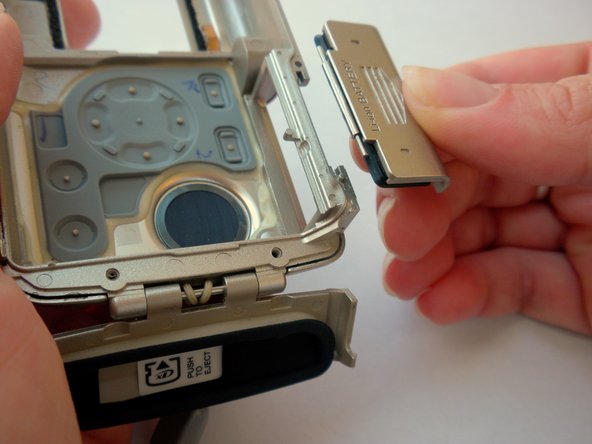
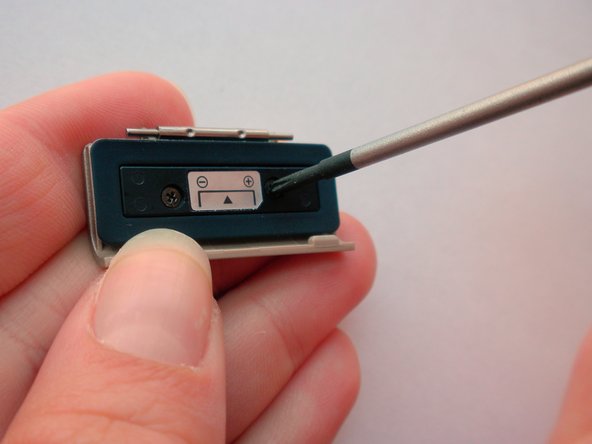
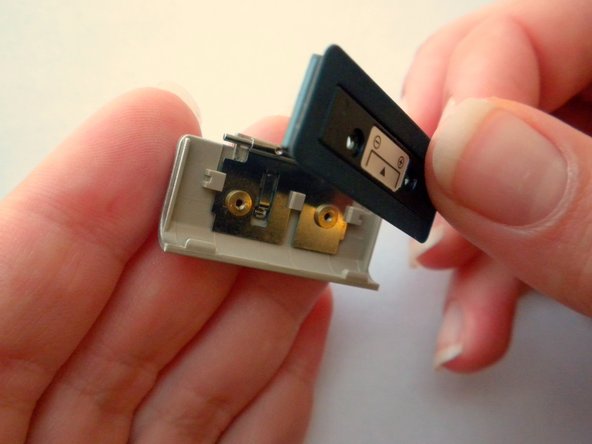
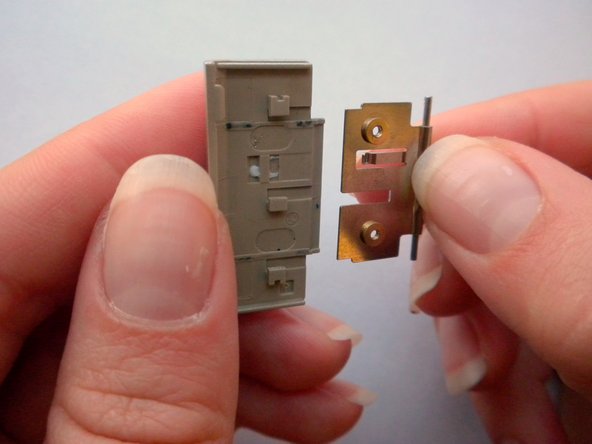
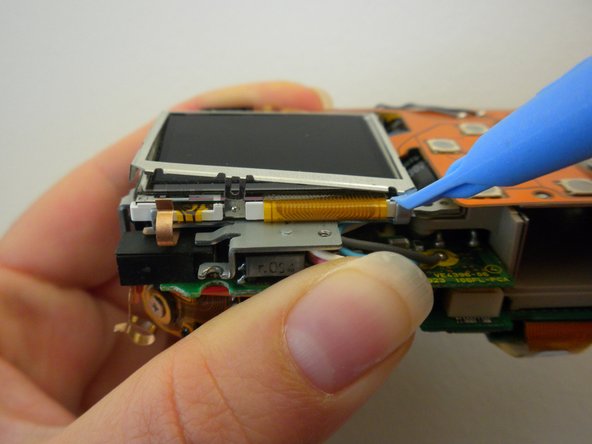
What you need

This teardown is not a repair guide. To repair your Olympus Stylus 410, use our service manual.

  1. Olympus Stylus 410 Teardown, Slider: step 1, image 1 of 1
    • Locate the 2 screws on the bottom of the slider.

    • Remove both screws with a #00 Phillips screwdriver.

  2. Olympus Stylus 410 Teardown: step 2, image 1 of 1
    • Gently pull on the bottom of the slider until it comes off the lower track.

    • There is a little piece that connects the slider to the track. Be sure not to lose this as it is needed to put the slider back on.

  3. Olympus Stylus 410 Teardown: step 3, image 1 of 1
    • Lift the slider up until it comes off the upper track.

  4. Olympus Stylus 410 Teardown: step 4, image 1 of 1
    • The slider should now be free from the body of the camera.

  5. Olympus Stylus 410 Teardown, Outer Case: step 5, image 1 of 3 Olympus Stylus 410 Teardown, Outer Case: step 5, image 2 of 3 Olympus Stylus 410 Teardown, Outer Case: step 5, image 3 of 3
    • Locate the 3 screws on the outer metal band and remove them with a #00 Phillips screwdriver.

  6. Olympus Stylus 410 Teardown: step 6, image 1 of 2 Olympus Stylus 410 Teardown: step 6, image 2 of 2
    • Use the spudger to peel off the outer metal band, starting from the bottom of the camera.

    • The metal band it attached to the camera with glue in addition to screws. Be careful not to bend the band when removing it from the camera.

  7. Olympus Stylus 410 Teardown: step 7, image 1 of 2 Olympus Stylus 410 Teardown: step 7, image 2 of 2
    • The shutter button can now be removed. It is not connected to the camera and can be lifted off.

  8. Olympus Stylus 410 Teardown: step 8, image 1 of 2 Olympus Stylus 410 Teardown: step 8, image 2 of 2
    • Remove the memory card.

    • Locate and remove the 2 screws using a #00 Phillips screwdriver.

  9. Olympus Stylus 410 Teardown: step 9, image 1 of 3 Olympus Stylus 410 Teardown: step 9, image 2 of 3 Olympus Stylus 410 Teardown: step 9, image 3 of 3
    • Use a spudger around the edge of the case to loosen it.

    • Carefully wiggle the back case off. This may require a fair amount of force.

  10. Olympus Stylus 410 Teardown: step 10, image 1 of 1
    • Locate the 3 internal screws holding on the front of the case. Remove them with a #00 Phillips screwdriver.

  11. Olympus Stylus 410 Teardown: step 11, image 1 of 2 Olympus Stylus 410 Teardown: step 11, image 2 of 2
    • While grasping the interior and the front case, gently pull until they start to come apart. Some light wiggling may be required.

    • Be careful not to completely pull the front case off because it will still be connected with wires.

  12. Olympus Stylus 410 Teardown, Flash: step 12, image 1 of 2 Olympus Stylus 410 Teardown, Flash: step 12, image 2 of 2
    • Locate the gray compartment covering the flash.

    • Position your flat head screw driver or small spudger underneath the tab that is keeping the gray cover on.

    • Gently lift the tab so the gray compartment becomes free.

  13. Olympus Stylus 410 Teardown: step 13, image 1 of 3 Olympus Stylus 410 Teardown: step 13, image 2 of 3 Olympus Stylus 410 Teardown: step 13, image 3 of 3
    • Use the spudger around the perimeter of the gray compartment to detach it from the front case.

    • The gray compartment can now be removed from the flash unit.

    • The flash unit can now be removed, and a new one soldered back on.

  14. Olympus Stylus 410 Teardown, Battery Cover: step 14, image 1 of 2 Olympus Stylus 410 Teardown, Battery Cover: step 14, image 2 of 2
    • Open the battery cover and lift it up and off of back camera case.

  15. Olympus Stylus 410 Teardown: step 15, image 1 of 3 Olympus Stylus 410 Teardown: step 15, image 2 of 3 Olympus Stylus 410 Teardown: step 15, image 3 of 3
    • Locate and unscrew the 2 screws with a #00 Phillips screwdriver.

    • Remove the black seal.

  16. Olympus Stylus 410 Teardown: step 16, image 1 of 2 Olympus Stylus 410 Teardown: step 16, image 2 of 2
    • Slide the metal piece off of the battery cover.

  17. Olympus Stylus 410 Teardown: step 17, image 1 of 1
    • This is what the battery cover and back case look like completely disassembled.

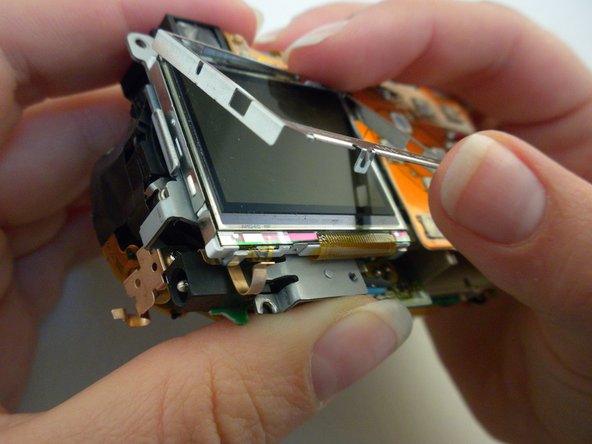
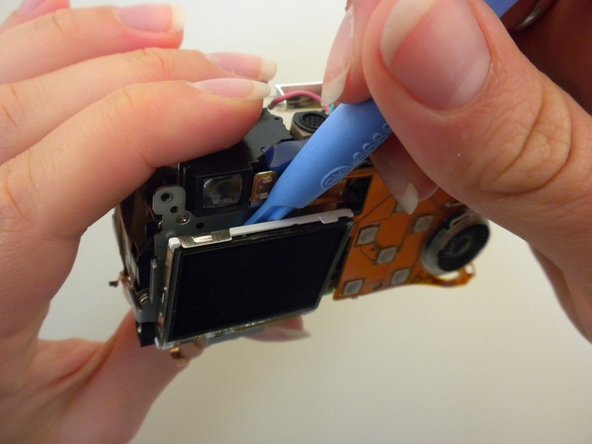
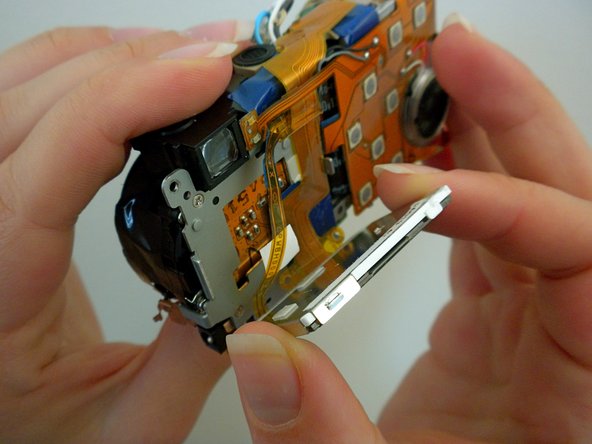
  18. Olympus Stylus 410 Teardown, LCD Screen: step 18, image 1 of 3 Olympus Stylus 410 Teardown, LCD Screen: step 18, image 2 of 3 Olympus Stylus 410 Teardown, LCD Screen: step 18, image 3 of 3
    • Remove the metal frame from the LCD screen using an opening tool.

  19. Olympus Stylus 410 Teardown: step 19, image 1 of 3 Olympus Stylus 410 Teardown: step 19, image 2 of 3 Olympus Stylus 410 Teardown: step 19, image 3 of 3
    • Pry off the LCD screen from the top using an opening tool.

    • Do not pull the screen completely off because it will still be held on by two ribbon cables.

  20. Olympus Stylus 410 Teardown: step 20, image 1 of 1
    • This is what the camera will look like now that the LCD screen is removed.

Rory Aronson

Member since: 04/15/10

46 Reputation

6 Guides authored

Team

Cal Poly, Team 6-13, Maness Spring 2010 Member of Cal Poly, Team 6-13, Maness Spring 2010

CPSU-MANESS-S10S6G13

5 Members

17 Guides authored

0 Comments

Add Comment

View Statistics:

Past 24 Hours: 0

Past 7 Days: 6

Past 30 Days: 11

All Time: 4,817