Introduction
When it rains (gadgets), it pours (gadgets). We've seen a lot of neat devices come out in the past few weeks and have managed to get our hands on B&N's response to the Kindle Fire: the Nook Tablet. Join us as we dig in to see what the newest tablet has in store for us.
Having troubles keeping up with the flurry of new gadgets? We'd be happy to assist, just follow us on Twitter!
What you need
-
-
We present to you the Nook Tablet, the only tablet (other than the Nook Color) cool enough to have a carabiner clip built into it. But what's this? It also has other cool features:
-
1 GHz Dual-Core Processor
-
1 GB of RAM
-
Up to 48 GB of storage (16 GB internal)
-
802.11b/g/n Wi-Fi Connectivity
-
Custom OS (based on Android)
-
Carabiner clip (this is not a spec, but come on...it's a carabiner clip!)
-
-
-
Scanning the sides of the Nook, we are able to locate the headphone jack at the top as well as volume buttons on the side… where's yours, Fire?
-
The Nook has its microSD slot stashed away under a magnetic cover next to the carabiner clip. This could make changing your SD card while rock climbing a bit difficult if you're using the Nook as a tie point.
-
The two small circles by the microSD slot may look like harmless aesthetic pieces, or even buttons, but they actually house insidious screws.
-
-
-
Setting the Kindle Fire and Nook Tablet side by side, we see that the Nook is just about a 1/2" longer than the Fire. Perhaps this is the result of a bulkier case to accommodate the awesome carabiner clip? Or maybe to squeeze in that extra 512 MB of RAM?
-
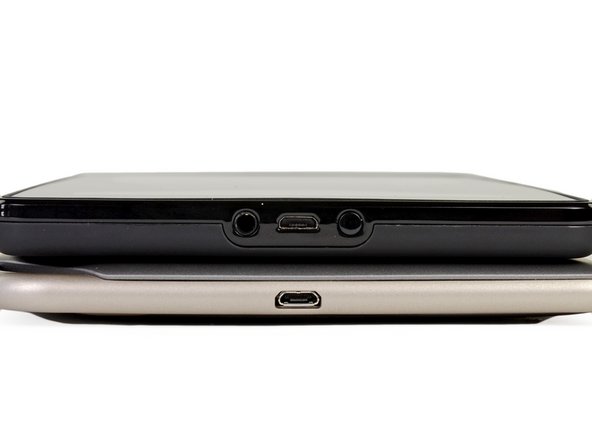
The Nook opted to have its micro-USB port fly solo on the bottom, unlike the Fire, which also placed its catch-all button and head phone jack alongside the port.
-
Hold that pose, fellas. Yep, just what we thought: the rounded sides of the Nook are deceptive. Even though it looks skinnier than the Fire, it's actually a hair pudgier. The Fire measures in at .45", but the Nook is .03 inches thicker, at a mind-blowing .48"!
-
-
-
The Nook Tablet and Kindle Fire both look like tabula rasas next to the BlackBerry PlayBook with all its ports and logos.
-
Though it's been out since April, the PlayBook boasts the same processor and RAM as the Nook Tablet in a similar package (7" multi-touch display, custom OS, native app store). Unlike the Kindle and Nook, though, BlackBerry promised a more complete tablet experience and included front and rear cameras on the PlayBook. Needless to say, the device never really caught on with consumers.
-
The question begs to be asked: was BlackBerry seven months early to the party, or are the Kindle Fire and Nook Tablet ultimately doomed to the same fate as the PlayBook?
-
-
-
-
Removal of those sneaky screws and a little prying allow the case halves to be separated, revealing the battery and a large EMI shield.
-
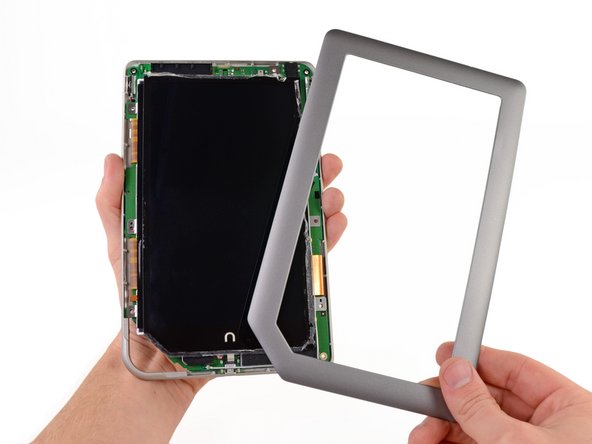
A few twist of our Torx T5 and a bit more prying free the front bezel from a sticky situation.
-
-
-
A pair of adhesive strips refuse to let the battery go. Fortunately, we at iFixit are masters of removal.
-
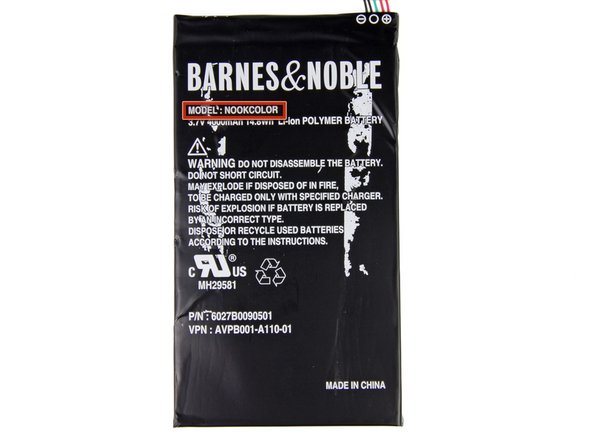
The 3.7 V, 4000 mAh battery provides an advertised 11.5 hours of reading time, which easily beats the Kindle Fire's 8 hours.
-
-
-
A bit more digging and we were able to unearth the following components:
-
Power button assembly
-
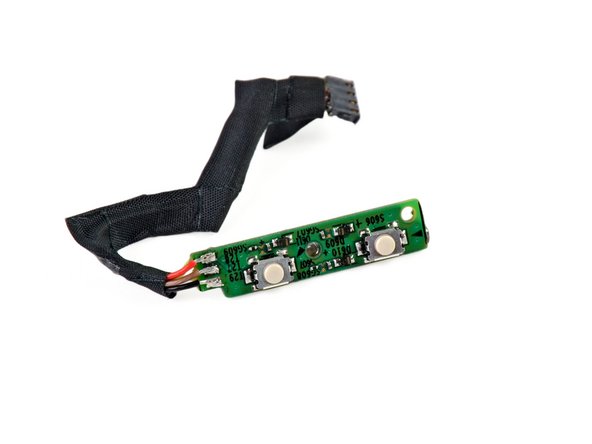
Volume buttons assembly
-
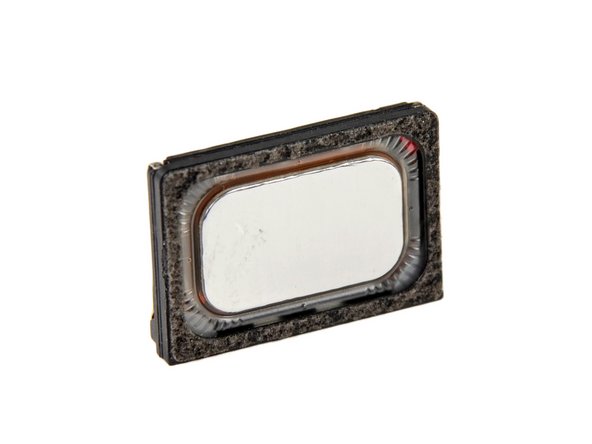
A lonely speaker assembly
-
-
-
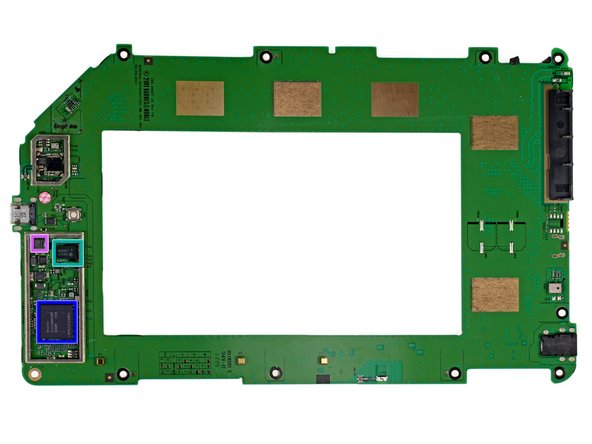
A little wiggling and out comes the
picture framemotherboard. Let's see who we're dealing with: -
SanDisk SDIN5C1-16G 16 GB Flash Memory
-
Texas Instruments 6030B107 Fully Integrated Power Management IC
-
Texas Instruments AIC3100 Low-Power Audio Codec With 1.3 W Stereo Class-D Speaker Amplifier
-
Texas Instruments LVDS83B FlatLink 10-135 MHz Transmitter
-
Hynix H9TKNNN8P 1 GB DDR2 RAM
-
This chip likely covers the Texas Instruments OMAP4 1 GHz dual-core processor, just like the Kindle Fire.
-
Kionix KXTF9 Tri-Axis Accelerometer
-
-
-
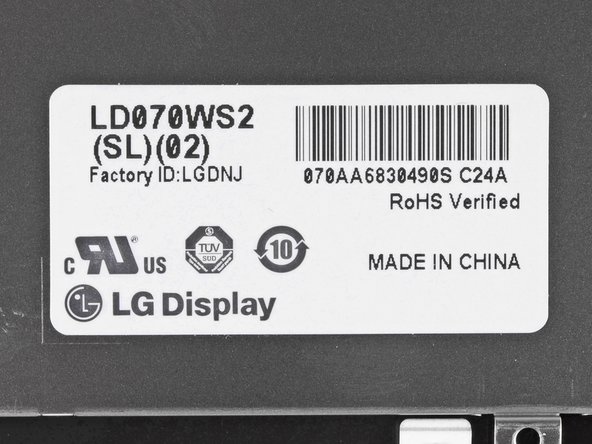
The label on the display ribbon cables and on the back of the display indicate that it was manufactured by LG.
-
The Nook Tablet's 7" IPS display runs at a resolution of 1024 x 600 pixels and produces 16 million colors, just like the Kindle Fire.
-
-
-
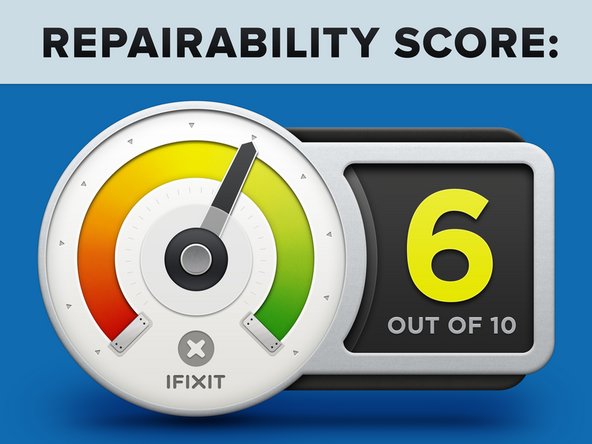
Nook Tablet Repairability Score: 6 out of 10 (10 is easiest to repair).
-
The LCD is not fused to the front panel assembly, making replacement easy, if necessary.
-
Hidden screws prevent removal of rear panel.
-
Excessive amount of adhesive and adhesive strips make disassembly a painfully tedious process.
-
Replacing the battery requires removing the motherboard as well as some serious prying.
-
Components such as the headphone jack, microSD slot, etc. are soldered to the motherboard.
-