Introduction
What does $12.5 billion dollars buy you nowadays? In Google's case, it buys Motorola, Inc. and all of its designs and patents. Is it what we would have spent the money on? Probably not, but the result of the acquisition is Motorola's first smartphone, designed and assembled in the United States—the Moto X.
Keep it goofy with us on Instagram, get serious with our Facebook, or make it short and sweet with a tweet. Your choice.
What you need
Video Overview
-
-
The love child of Motorola and Google is here, and we are dying to crack open the little Motoroogle.
-
Technical Specifications:
-
Dual-core 1.7 GHz Qualcomm Snapdragon S4 Pro processor
-
2 GB RAM
-
4.7-inch 1280x720 pixels AMOLED display
-
16 or 32 GB internal storage
-
Qualcomm Adreno 320 GPU
-
10 MP rear-facing camera
-
-
-
The top of the Moto X houses the centered headphone jack. We haven't seen this placement on too many recent smartphones.
-
Since we tend to have a lot of devices laying around, we might as well do some comparisons! The Moto X is certainly not small, but it is a bit smaller than the S4, and we are fans of the contoured back.
-
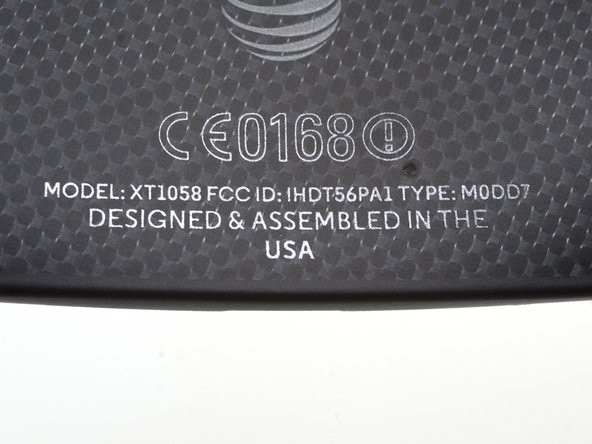
This is the first and only smartphone that's "Designed & Assembled in the USA," to our knowledge.
-
-
-
Snap snap SNAP!
-
The melodious sound of easy teardown access fills our ears as we release clips holding the rear panel in place.
-
What is this? Google! Motorola! How could you do this to us?
-
To our dismay, the unexpectedly flexible rear panel, though clipped to the device, is also adhered. Time to bring in some reinforcements.
-
-
-
Even after defeating Big Blue, the rear panel still does not yield.
-
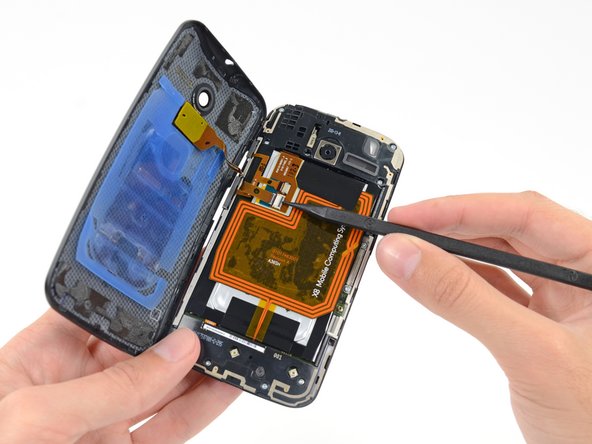
We release the ZIF connector of a big ol' rear-case-mounted flash assembly, and after 6 full steps, we are finally into the device.
-
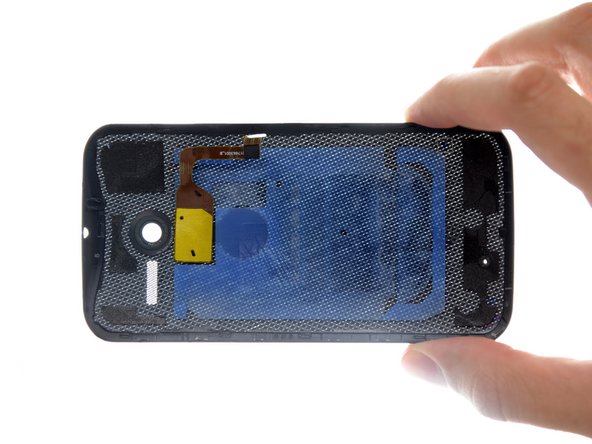
Our "Woven Black" case has a nice weave. While it's probably not actual kevlar fibers, the molding makes for a nice view — you can see right through it!
-
-
-
The pattern of these NFC coils triggers some powerful nostalgia.
-
Snap back to reality, there go the volume and sleep buttons, all on one handy cable.
-
-
-
-
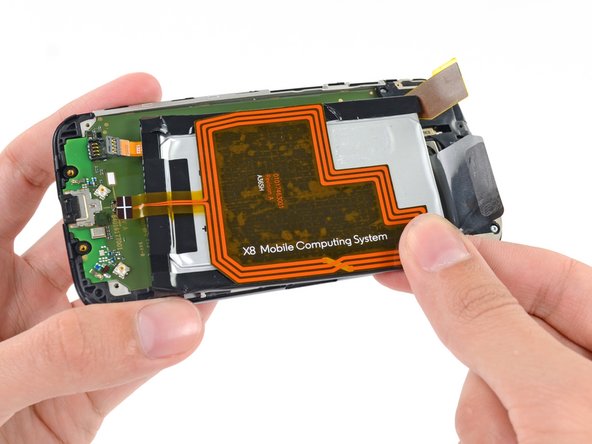
Motorola claims the Moto X battery can power through an amazing 24 hours of "mixed usage."
-
How does the Moto X accomplish such a feat with a 3.8 volt, 2200 mAh Lithium ion battery? The secret is in the X8 Mobile Computing System.
-
Motorola developed a custom system architecture, which, when coupled with eight processor cores, allows for the delegation of processing power:
-
4 graphics processor cores for "stunning clarity"
-
2 application processor cores for "swift action"
-
2 low-power cores—"awaiting your next command"
-
-
-
Out comes the upper midframe panel, housing the speaker, headphone jack, more antennas, and pressure contacts.
-
Yay, pressure contacts! We like spring pressure contacts because they don't require any work to disconnect.
-
This is possibly the most modular headphone jack we've ever seen. It pops right out of the upper midframe panel, spring contacts and all.
-
-
-
A spudger helps us unclip a small microphone board from the earpiece speaker.
-
The microphone assembly clings (like a baby sloth) to the earpiece speaker to maintain a solid connection with the spring contacts below.
-
Naturally, we love design innovation. We can tell that a considerable amount of effort went in to the internal design of this device; the number of clips and contacts we've found so far is a great testament to that.
-
-
-
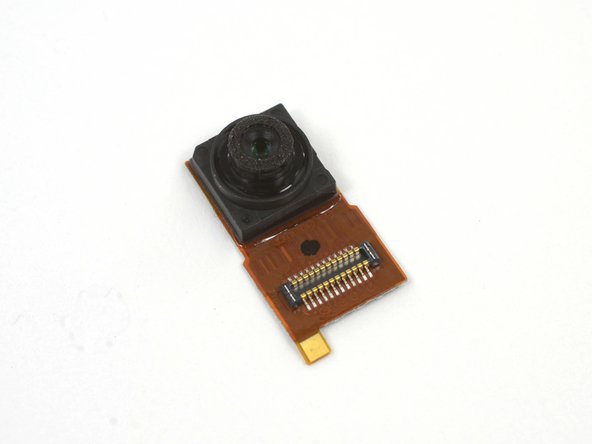
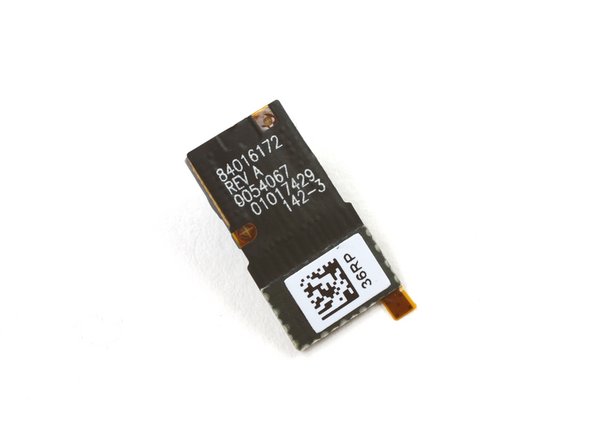
After selecting our favorite pair of precision tweezers, we remove the 2 MP front-facing camera from the Moto X.
-
The front-facing camera is labeled as 84016172 REV A 0054067 01017429 142-3.
-
-
-
The motherboard is ours for the taking, and take we will. Let's just hope there's a little more excitement on the other side of the board.
-
Alas, the streets of this circuit city are looking a little bare. We're going to guess there's a lot more fun to be found under the myriad EMI shields. Only one way to find out…
-
-
-
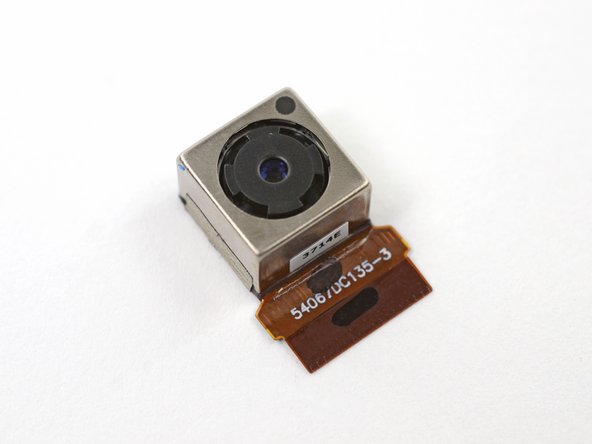
Before we can fully examine the motherboard, though, we must remove the 10 megapixel rear-facing camera.
-
10 MP is 25% more pixels than the camera in the iPhone 5, but isn't quite on the Lumia 1020's level, though we can hardly fault it for that.
-
-
-
Notable ICs on the motherboard:
-
Toshiba THGBMAG7A2JBAIR 16 GB eMMC NAND Flash
-
SK Hynix H9TKNNNBPDAR RAM (we assume that the Snapdragon S4 Pro is also layered under this IC)
-
Qualcomm PM8921 Power Management IC
-
Texas Instruments TMS320C55 Digital Signal Processor
-
NXP 44701 NFC Chip
-
Skyworks 77619-12 Multiband Multimode Power Amplifier Module for Quad-Band GSM / EDGE and Penta-Band (Bands I, II, IV, V, VIII) WCDMA/ HSDPA/ HSUPA/ HSPA+/ LTE
-
Texas Instruments MSP430 F5259 Mixed Signal Microcontroller
-
-
-
Additional ICs:
-
Qualcomm WCD9310 Audio Codec
-
Qualcomm WCN3680 802.11ac Combo Wi-Fi/Bluetooth/FM
-
NXP TFA9890 High Efficiency Class-D Audio Amplifier
-
Skyworks 77737 SkyHi™ Power Amplifier Module for LTE Bands 12/17 (698-716 MHz)
-
EPCOS 7 959 Wireless LAN/Bluetooth Filters (IF)
-
Qualcomm WTR16505L LTE/HSPA+/CDMA2K/TDSCDMA/EDGE/GPS Transceiver
-
-
-
Teardown update: We got ahold of a Verizon version of the Moto-X and played a little game of 'spot the difference' with the motherboard:
-
SanDisk SDIN8DE2-16G 16 GB NAND Flash replaces the Toshiba
-
Samsung K3PE0E00QM-CGC2 2 GB LPDDR2 RAM instead of SK Hynix
-
The Verizon model adds another Qualcomm modem, the WTR1605 (in addition to the WTR1606L, possibly used solely for LTE support on this model)
-
-
-
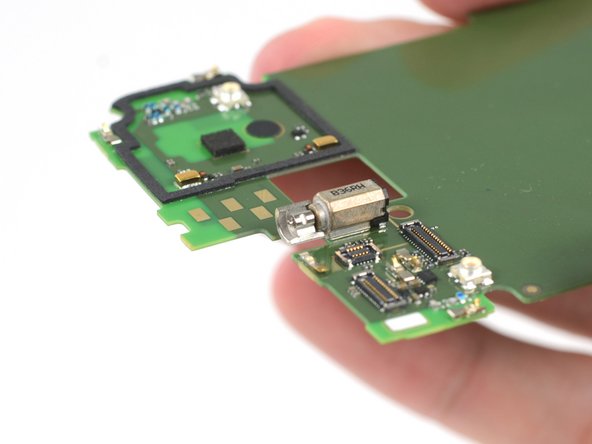
The back of the motherboard may look bare, but upon closer inspection we found two microphones:
-
Wolfson Microelectronics WM7121 Top Port Analogue Silicon Microphone
-
Wolfson Microelectronics WM7132 Bottom Port Analogue Silicon Microphone
-
Motoroogle again shows off its novelty; the X's vibrator motor is soldered right to the motherboard. The wonders never cease.
-
Like any good warrior, we hold onto the
earsEMI shields of our enemies.
-
-
-
The mobo is no mo', and we get to examine the backside of the display assembly, which is adorned by some nice comfy foam.
-
One thing about this device is certain: the design choices are nothing if not unique. The midframe is held in place by pins protruding from the edges of the display assembly bezel.
-
-
-
The hefty display cable assembly is home to the Synaptics touchscreen controller.
-
Rumor has it that there's some magic in this display glass, we don't see anything special, what do your elf eyes see?
-
-
-
Motorola Moto X Repairability Score: 7 out of 10 (10 is easiest to repair)
-
Pressure contacts and cable connectors make the modular components (cameras, buttons, headphone jack and speakers) easy to replace.
-
The Moto X uses a single kind of screw, although it's a fairly uncommon size (T3).
-
The taped-in battery is less accessible than we'd like, but at least it's near the top of the stack once you get the rear cover off (as opposed to the HTC One).
-
The digitizer is fused to the display, increasing repair costs for a cracked screen. But the display midframe can be separated, potentially lowering the cost of the replacement part.
-
Sticky adhesive on the back cover is annoying and will slow opening the phone.
-


35 Comments
Confirmed, the WTR1605L is just to the right of the Toshiba memory, above the NXP NFC and TI MCU devices.
Looks like Avago has LTE band 7 covered with the A5007 device. Just above the SKY77737 and to the left of the EPCOS WLAN/BT filters