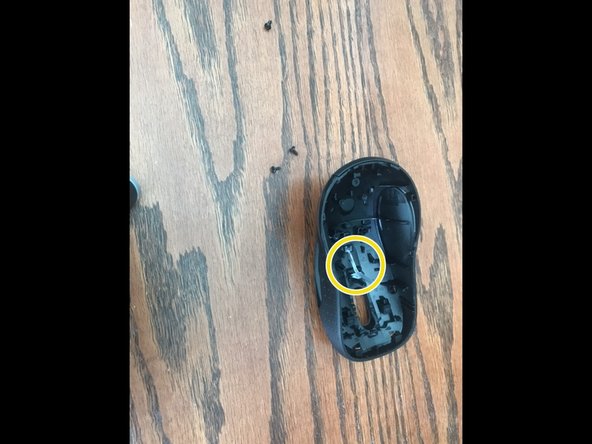
What you need

Video Overview

This teardown is not a repair guide. To repair your Logitech M510, use our service manual.

  1. Logitech M510 Teardown, Logitech M510 Teardown: step 1, image 1 of 1
    • Let's get started!

  2. Logitech M510 Teardown: step 2, image 1 of 1
    • Flip your mouse over

  3. Logitech M510 Teardown: step 3, image 1 of 1
    • Remove the batteries by pulling on the tab.

    • If you do not plan on putting it back together, ensure you dispose of the batteries properly.

  4. Logitech M510 Teardown: step 4, image 1 of 1
    • Take the battery pull tab that is circled in red and tape it to the area that is circled in blue

    • This allows you to access the screws that are hidden by the battery pull tab

  5. Logitech M510 Teardown: step 5, image 1 of 1
    • Unscrew the two screws that are circled in yellow.

  6. Logitech M510 Teardown: step 6, image 1 of 1
    • Remove the tape

  7. Logitech M510 Teardown: step 7, image 1 of 1
    • Now you can easily separate the bottom and the top of the device.(Just give it a little tug)

  8. Logitech M510 Teardown: step 8, image 1 of 1
    • Okay now that we've got it separated we can have a sneak peek inside

    • The scroll wheel.

    • The battery area

    • Mouse buttons

  9. Logitech M510 Teardown: step 9, image 1 of 1
    • Now unscrew the screw that is circled in yellow

  10. Logitech M510 Teardown: step 10, image 1 of 1
    • Now disconnect the cable there is circled in blue by unplugging it from the logic board.

  11. Logitech M510 Teardown: step 11, image 1 of 1
    • We have taken apart the bottom half, So let's take apart the top half.

    • This is the on-off switch.

  12. Logitech M510 Teardown: step 12, image 1 of 1
    • Let's get started disassembling the top half

    • Remove the two screws circled in yellow.

  13. Logitech M510 Teardown: step 13, image 1 of 1
    • Okay now that we've got that done, lets continue

  14. Logitech M510 Teardown: step 14, image 1 of 1
    • Remove the screw circled in yellow

  15. Logitech M510 Teardown: step 15, image 1 of 1
    • Now you can pop out the scroll buttons.

  16. Logitech M510 Teardown: step 16, image 1 of 1
    • Now pop out the piece circled in yellow

  17. Logitech M510 Teardown: step 17, image 1 of 1
    • And there we go we have disassembled the entire mouse.

Xavier

Member since: 04/20/21

352 Reputation

1 Guide authored

Team

X71FS Member of X71FS

Community

1 Member

3 Guides authored

5 Comments

I’ve actually seen a model of this same mouse where optics sensor is MODULAR with a ribbon cable. So much better for repairability!

Giorgi - Reply

I don’t have this mouse, but an LX8 Cordless Laser Mouse. It looked quite similar so gave it a go, and presto! It opened up easily, I could get to all the internal bits quite easily and removed years of cat hair, tobacco grains and human oils which had formed felt mats around the moving parts and gummed it up completely! Now factory fresh and restored to full function - couldn’t be happier! Thanks Xavier!

Adrian Mann - Reply

It says the video is private.

Michael Norton - Reply

The video is private. But the instructions are good without the video.

Note that the front-side of the mouse has tabs that hold the pieces together, so mate the front of the mouse (the button-side) before mating the end closes to the batteries (and the screws)

Adam Goldberg - Reply

Thanks! It would be great if you showed how to take the wheel out - it has to be pried out of its seat in the front of the mouse. FYI for cleaning it only takes steps 1 thru 8 plus taking out the wheel.

PB - Reply

Add Comment

View Statistics:

Past 24 Hours: 23

Past 7 Days: 101

Past 30 Days: 341

All Time: 8,300