What you need
-
-
Before Teardown
-
Condition: Well used
-
Noted issue: static sound when adjusting volume.
-
-
-
Remove back battery panels. There are two: the main panel, and the smaller back up panel behind the main.
-
Remove the 9 phillips screws.
-
-
-
Speakers
-
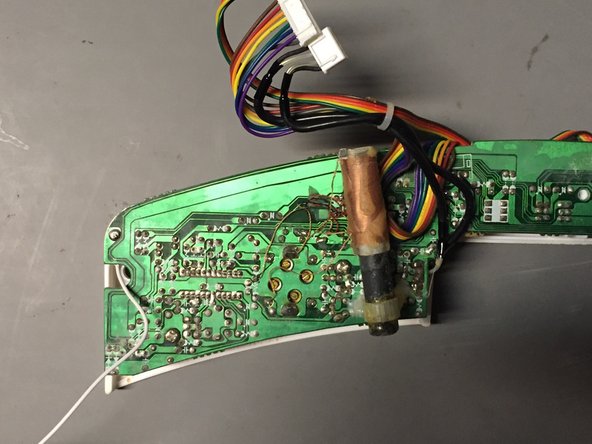
Display & Logic Board
-
Top panel buttons board
-
Audio Jacks
-
DC Power Connector
-
Antenna
-
-
-
-
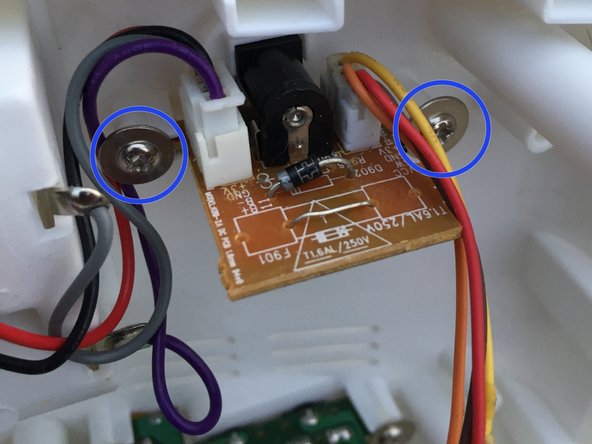
DC Power Board
-
Audio Jacks board
-
Remove the two screws
-
The boards are glued in, so carefully pry them out of the casing.
-
-
-
You can pull the antenna apart without opening the entire case. This is helpful if just part of the antenna is bent.
-
For full removal, remove the screw on the bottom of the box labeled "antenna", and slide the antenna out the top.
-
Coax cable connects the antenna to the tuning circuit on the upper PCB.
-
-
-
Remove three screws holding the three mounting brackets for each speaker.
-
Use a blade to remove the glue holding the speaker wires in.
-
Carefully pry the speakers off their mounting points because they are glued in.
-
-
-
Overall this product was pretty easy to take apart.
-
The internals were pretty easy to identify based on their location and appearance.
-
One drawback was that the speakers were glued in. The glue prevents rattling, but makes the speakers harder to get to. Some glue should be used when replacing the speakers.
-
8/10 repairability
-