
What you need

This teardown is not a repair guide. To repair your Ikea Bekant, use our service manual.

  1. Ikea Bekant Controller Teardown, Overview: step 1, image 1 of 1
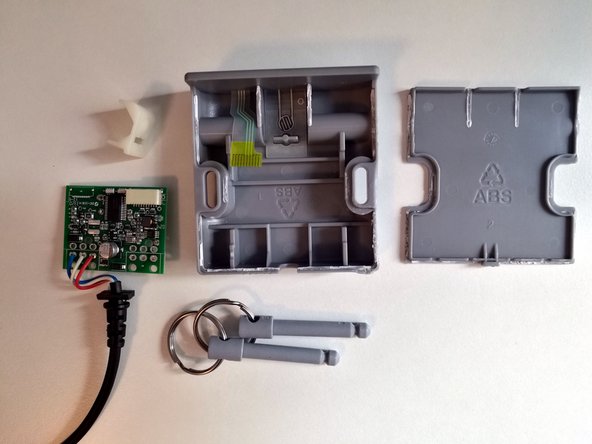
    • The controller consists of a grey case with a black cable and a connector.

    • Plugged into the case is a saftey pin. Shown here with a spare saftey pin dangling on the left.

  2. Ikea Bekant Controller Teardown, opening the case: step 2, image 1 of 3 Ikea Bekant Controller Teardown, opening the case: step 2, image 2 of 3 Ikea Bekant Controller Teardown, opening the case: step 2, image 3 of 3
    • Since the case is glued shut, it needs to be pried open carefully (probably causing some degree of damage). To do so, pry it open at one point with a thin flat screw driver.

    • When the opening is wide enough, a chip card may be used, in order to keep the damage at a minimum.

  3. Ikea Bekant Controller Teardown, extracting the components: step 3, image 1 of 1
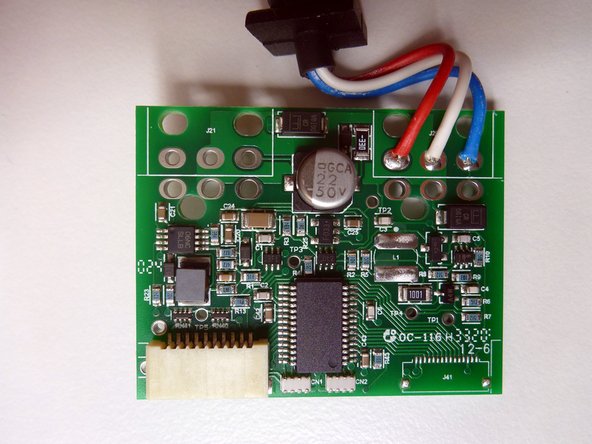
    • Before removing the circuit board one has to unplug the ribbon cable for the buttons.

    • After pulling out the saftey pin remove the white piece of plastic.

  4. Ikea Bekant Controller Teardown, a closer look at the circuit board: step 4, image 1 of 2 Ikea Bekant Controller Teardown, a closer look at the circuit board: step 4, image 2 of 2
    • Finally, a closer look at the circuit board.

Special thanks to these translators:

de en

100%

Curt Seeling is helping us fix the world! Want to contribute?
Start translating ›

Curt Seeling

Member since: 06/26/18

177 Reputation

1 Guide authored

0 Comments

Add Comment

View Statistics:

Past 24 Hours: 0

Past 7 Days: 25

Past 30 Days: 96

All Time: 3,705