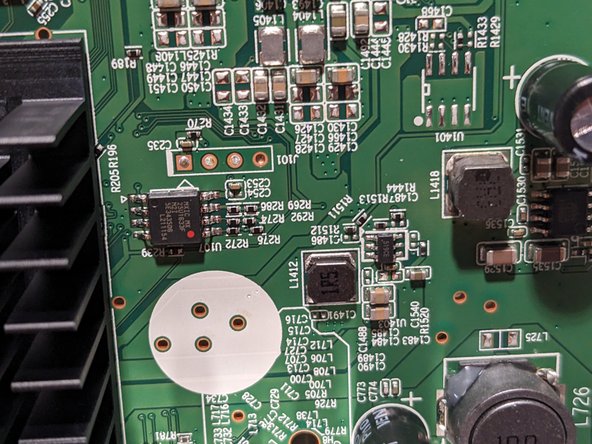
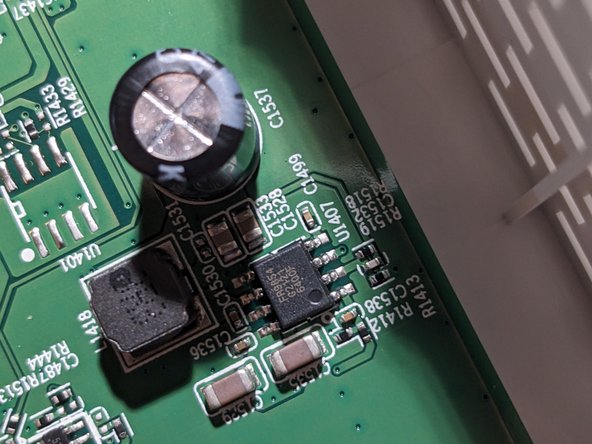
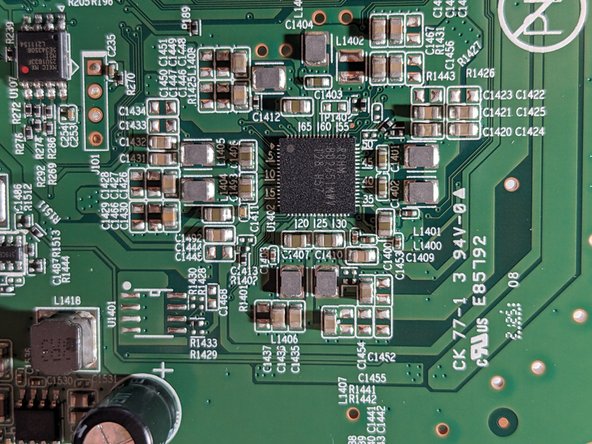
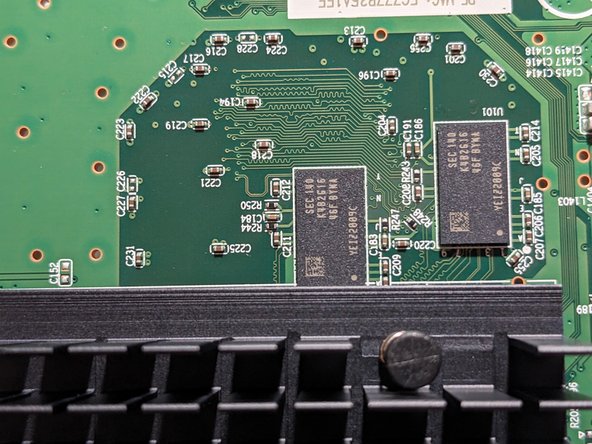
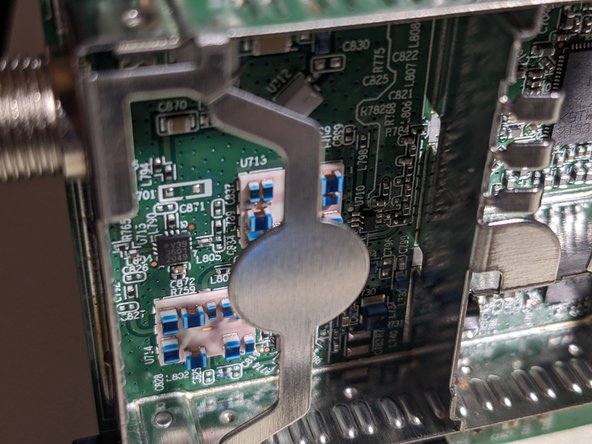
This teardown is not a repair guide. To repair your Hitron CODA, use our service manual.

  1. Hitron CODA Teardown, Remove case screws: step 1, image 1 of 1
    • Remove rubber covers first. Attached with some weak glue, they are relatively easy to pry away. Only the 2 at the back of the device have screws underneath.

    • Use a screwdriver to remove the screws.

  2. Hitron CODA Teardown, Pry open case tabs: step 2, image 1 of 2 Hitron CODA Teardown, Pry open case tabs: step 2, image 2 of 2
    • Plastic tabs line the case where the upper and lower halves meet.

    • I found it easiest to start prying from the sides of the back.

    • Keep prying until the case is fully separated and the top half lifts up/forwards.

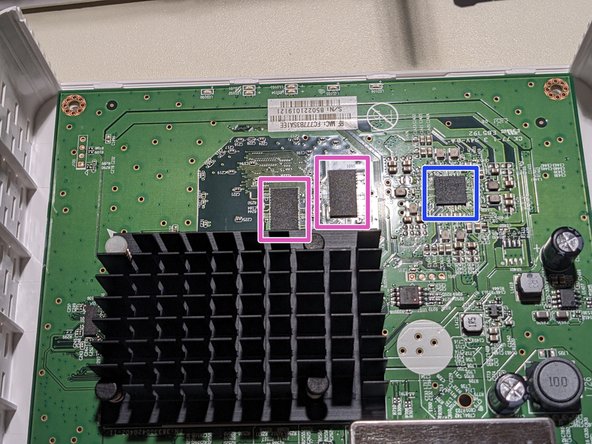
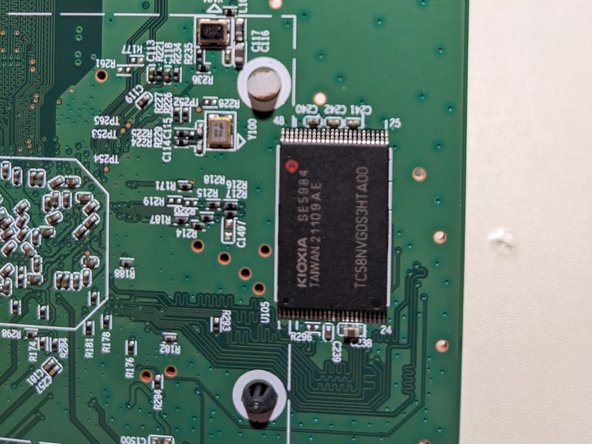
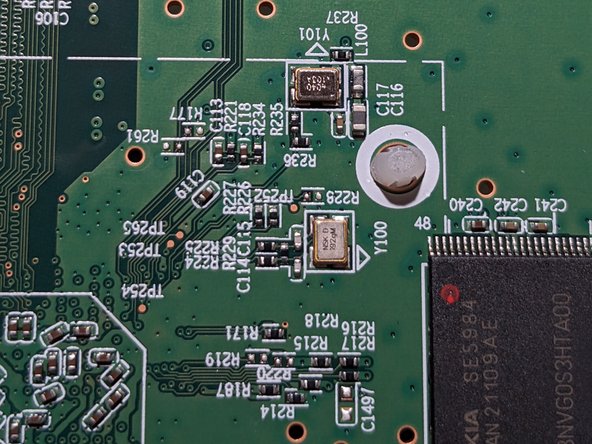
  3. Hitron CODA Teardown, Component identification (top of PCB): step 3, image 1 of 2 Hitron CODA Teardown, Component identification (top of PCB): step 3, image 2 of 2
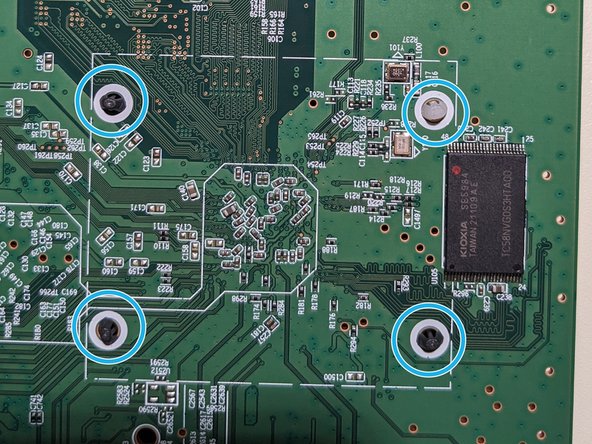
  4. Hitron CODA Teardown, Remove SoC heatsink: step 4, image 1 of 3 Hitron CODA Teardown, Remove SoC heatsink: step 4, image 2 of 3 Hitron CODA Teardown, Remove SoC heatsink: step 4, image 3 of 3
    • Be careful, yanking too hard can damage/disconnect the processor.

    • Squeeze the tip of the heatsink legs (e.g. with pliers) so you can pull them back through the PCB holes.

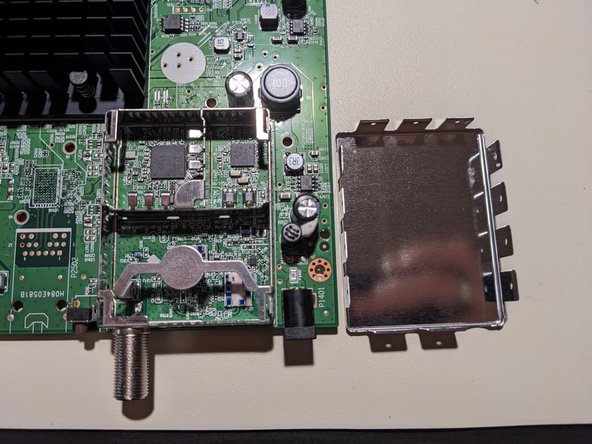
  5. Hitron CODA Teardown, Remove RF shield: step 5, image 1 of 2 Hitron CODA Teardown, Remove RF shield: step 5, image 2 of 2
    • Pry up the tabs around the edge of the shield.

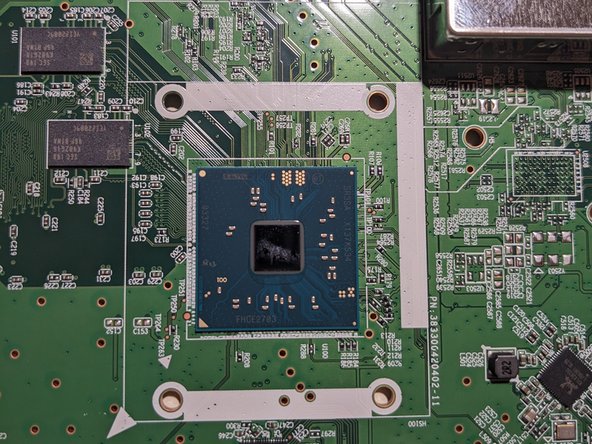
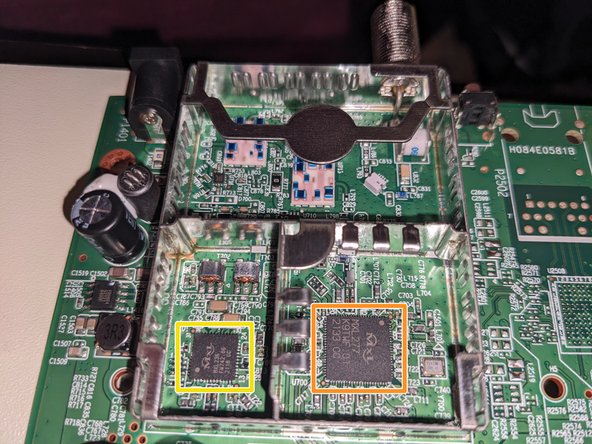
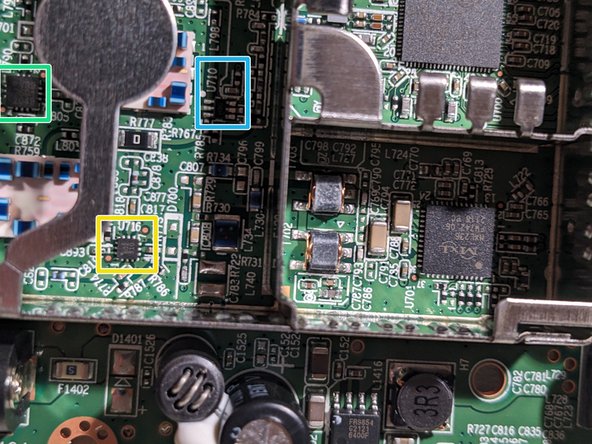
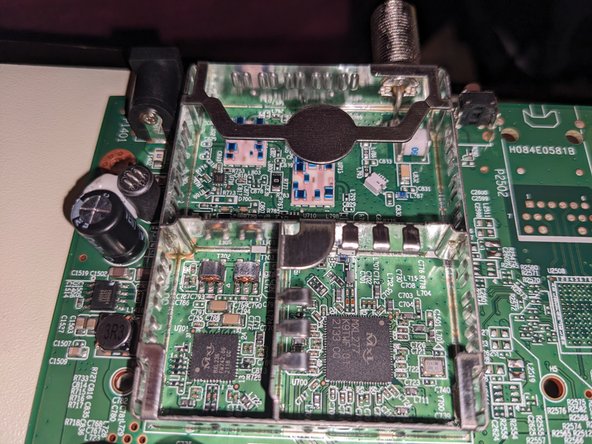
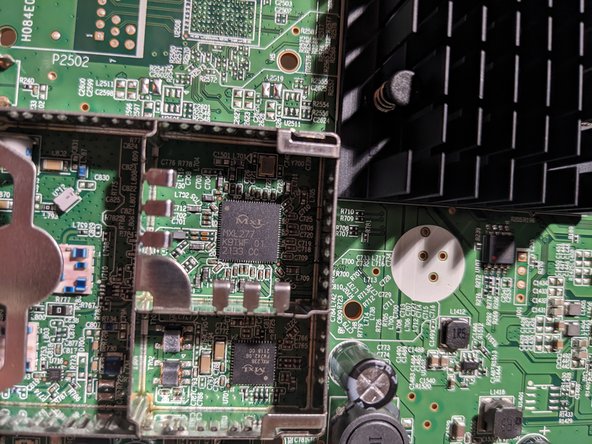
  6. Hitron CODA Teardown, Component identification (top, under heatsink/shield): step 6, image 1 of 2 Hitron CODA Teardown, Component identification (top, under heatsink/shield): step 6, image 2 of 2
  7. Hitron CODA Teardown, Remove PCB from case: step 7, image 1 of 1
    • Use a screwdriver to remove the screws.

    • Lift the PCB away from the case.

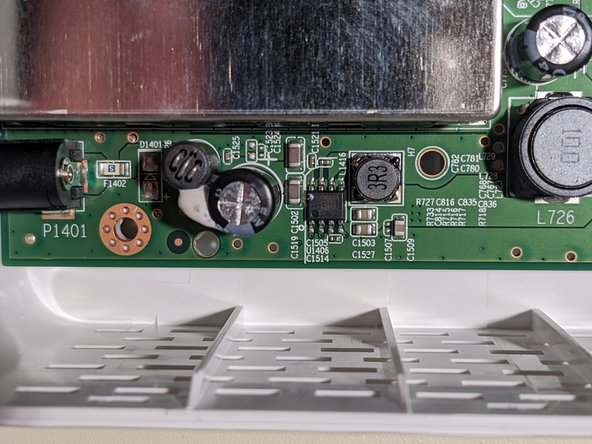
  8. Hitron CODA Teardown, Component identification (bottom of PCB): step 8, image 1 of 1
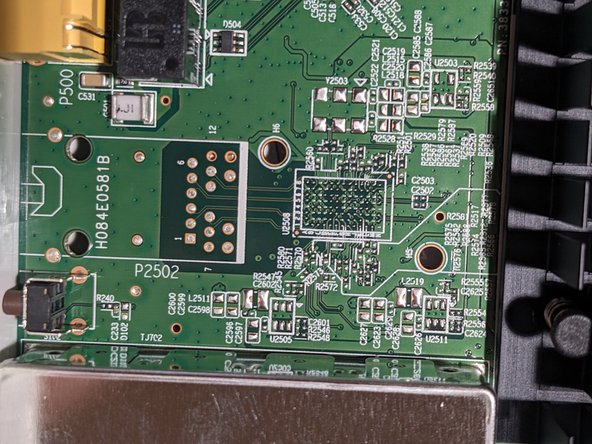
  9. Hitron CODA Teardown, Remaining components to be identified: step 9, image 1 of 2 Hitron CODA Teardown, Remaining components to be identified: step 9, image 2 of 2
    • Product number 383300420402-11

    • Unpopulated connector H084E0581B

    • Various test points (labeled "TPXXX")

    • 602 910

    • V39 3601 2049

    • U710

  10. Hitron CODA Teardown, Further closeups: step 10, image 1 of 3 Hitron CODA Teardown, Further closeups: step 10, image 2 of 3 Hitron CODA Teardown, Further closeups: step 10, image 3 of 3
    • Insert wisdom here.

  11. Hitron CODA Teardown, Further closeups: step 11, image 1 of 3 Hitron CODA Teardown, Further closeups: step 11, image 2 of 3 Hitron CODA Teardown, Further closeups: step 11, image 3 of 3
    • Insert wisdom here.

  12. Hitron CODA Teardown, Further closeups: step 12, image 1 of 3 Hitron CODA Teardown, Further closeups: step 12, image 2 of 3 Hitron CODA Teardown, Further closeups: step 12, image 3 of 3
    • Insert wisdom here.

  13. Hitron CODA Teardown, Further closeups: step 13, image 1 of 3 Hitron CODA Teardown, Further closeups: step 13, image 2 of 3 Hitron CODA Teardown, Further closeups: step 13, image 3 of 3
    • Insert wisdom here.

  14. Hitron CODA Teardown, Further closeups: step 14, image 1 of 3 Hitron CODA Teardown, Further closeups: step 14, image 2 of 3 Hitron CODA Teardown, Further closeups: step 14, image 3 of 3
    • Insert wisdom here.

  15. Hitron CODA Teardown, Further closeups: step 15, image 1 of 2 Hitron CODA Teardown, Further closeups: step 15, image 2 of 2
    • Insert wisdom here.

Kyle Westhaus

Member since: 05/15/20

786 Reputation

3 Guides authored

0 Comments

Add Comment

View Statistics:

Past 24 Hours: 4

Past 7 Days: 12

Past 30 Days: 55

All Time: 356