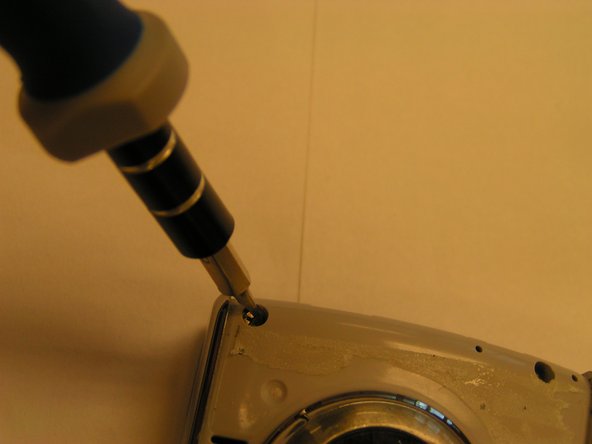
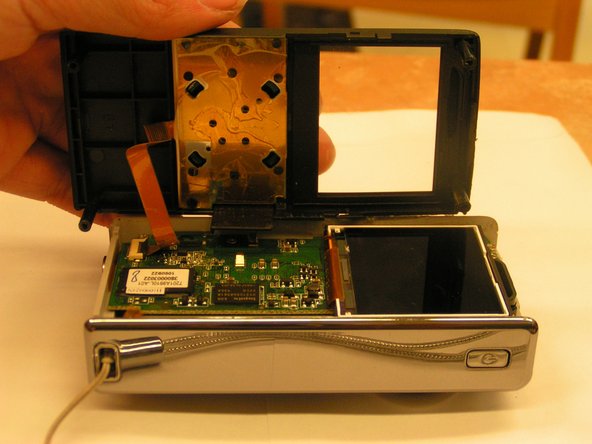
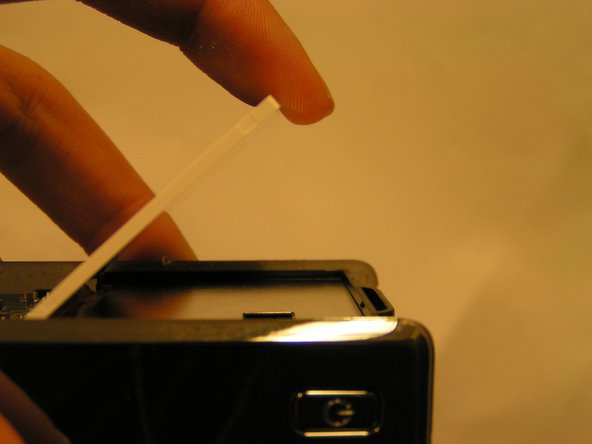
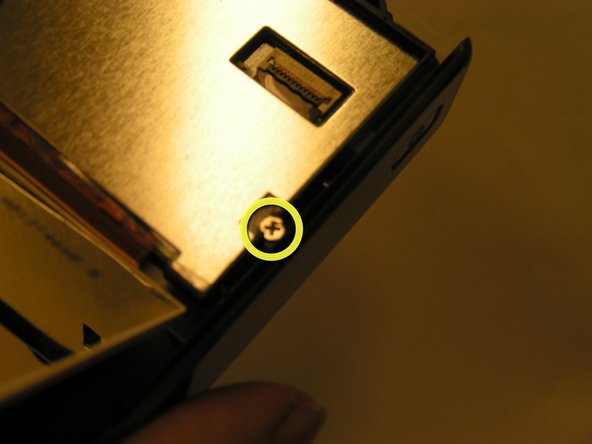
Free Shipping on Domestic Orders $75+

What you need

This teardown is not a repair guide. To repair your Flip Ultra HD, use our service manual.

  1. Flip Ultra HD Teardown, Flip Ultra HD Teardown: step 1, image 1 of 2 Flip Ultra HD Teardown, Flip Ultra HD Teardown: step 1, image 2 of 2
    • Front and back of the Flip Ultra HD

    Ask FixBot

    Add Comment

  2. Flip Ultra HD Teardown: step 2, image 1 of 2 Flip Ultra HD Teardown: step 2, image 2 of 2
    • Locate the lock/unlock latch at the bottom of The Flip Ultra HD 2nd Generation and slide it into the unlock position.

    Ask FixBot

    Add Comment

  3. Flip Ultra HD Teardown: step 3, image 1 of 1
    • Pull down on the large front cover to to expose the battery slots.

    Ask FixBot

    Add Comment

  4. Flip Ultra HD Teardown: step 4, image 1 of 3 Flip Ultra HD Teardown: step 4, image 2 of 3 Flip Ultra HD Teardown: step 4, image 3 of 3
    • Pry off the top of the camcorder with a flat head screwdriver. The cover is glued on with adhesive so it will take some force to dislodge it from the device.

    Ask FixBot

    Add Comment

  5. Flip Ultra HD Teardown: step 5, image 1 of 3 Flip Ultra HD Teardown: step 5, image 2 of 3 Flip Ultra HD Teardown: step 5, image 3 of 3
    • Use a small Phillips head screwdriver to remove the two screws at the bottom of the battery slot and the two screws above the camera lens.

    Ask FixBot

    Add Comment

  6. Flip Ultra HD Teardown: step 6, image 1 of 2 Flip Ultra HD Teardown: step 6, image 2 of 2
    • Gently pull off back cover of the camcorder. Once again, it is glued with adhesive

    Ask FixBot

    Add Comment

  7. Flip Ultra HD Teardown: step 7, image 1 of 2 Flip Ultra HD Teardown: step 7, image 2 of 2
    • Remove the ribbon cable gently and pull the back cover off

    Ask FixBot

    Add Comment

  8. Flip Ultra HD Teardown: step 8, image 1 of 3 Flip Ultra HD Teardown: step 8, image 2 of 3 Flip Ultra HD Teardown: step 8, image 3 of 3
    • Remove all of the screws on the circuit board

    • Make sure to remove the screw behind the display

    Ask FixBot

    Add Comment

  9. Flip Ultra HD Teardown: step 9, image 1 of 2 Flip Ultra HD Teardown: step 9, image 2 of 2
    • There are two wires with white heads connecting the circuit board to the front of the device. Gently pull them from their slots to detach the front casing from the circuit board.

    Ask FixBot

    Add Comment

  10. Flip Ultra HD Teardown: step 10, image 1 of 1
    • The disassembled Flip Ultra HD

    Ask FixBot

    Add Comment

Charlie Tran

Member since: 10/29/11

165 Reputation

1 Guide authored

1 Guide Comment

Where can I buy the usb cable that goes to the flip board?

I botched mine in an attempt to resolder the usb connector back.

mein kampf - Reply Share

Add Comment

View Statistics:

Past 24 Hours: 1

Past 7 Days: 20

Past 30 Days: 75

All Time: 6,117