Introduction
This is a complete teardown of Fitbit surge, let's see what makes this "Ultimate Fitness Super Watch" tick.
What you need
-
-
Fitbit's latest fitness "super watch" has some pretty nice features, including:
-
Built-in GPS
-
Wrist-based optical heart rate monitor
-
Wireless syncing to smartphone or computer
-
7+days of battery life without gps and up to 7h with gps (according to some reviews)
-
-
-
Remove the four screws
-
The bands are glued pretty well so you need to cut your way through to remove them and expose the fibit body
-
Cutting through the middle and lifting sideways worked pretty well
-
-
-
Once you remove the bands scrape away the glue on the top side to expose the GPS antenna
-
-
-
On the other band you'll find the bluetooth antenna which is actually a flexible antenna glued to the inside of the band
-
-
-
-
With the bands out of the way it's time to go inside Fitbit's guts
-
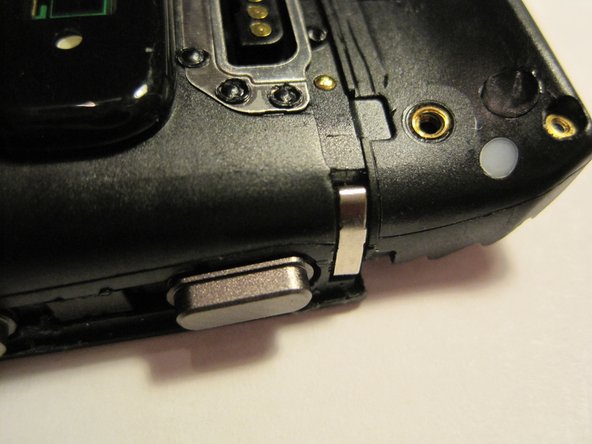
Remove the four metal parts as shown in the photo
-
After that just insert a screw driver or other sharp object into the fissure and voilá
-
-
-
Right after splitting Fitbit into 2 the first component is immediately exposed
-
Cypress CY8CTMA463 touchscreen controller
-
-
-
After removing the large shield on the main PCB the brains of the gadget become visible
-
Silicon Labs EFM32 Giant Gecko (ARM Cortex-M3) EFM32GG395F1024
-
Micron Serial NOR Flash N25Q064A11ESEA0F
-
(Cypress touchscreen controller still visible here plugged into the main PCB)
-
-
-
After removing the battery holder the main PCB can be carefully dislodged from the plastic body
-
Texas Instruments Battery Charger BQ24232H
-
MediaTek GPS Receiver MT3339 (couldn't find any datasheet, just a press release on it)
-
Texas Instruments Bluetooth Controller CC2564
-
-
-
The LCD is secured with 3 very visible screws on the bottom side
-
Sharp TFT-LCD LS013B7DH01
-