Introduction
This server was developed for quick and easy disassembly, but not in all components
What you need
Featured Document
-
-
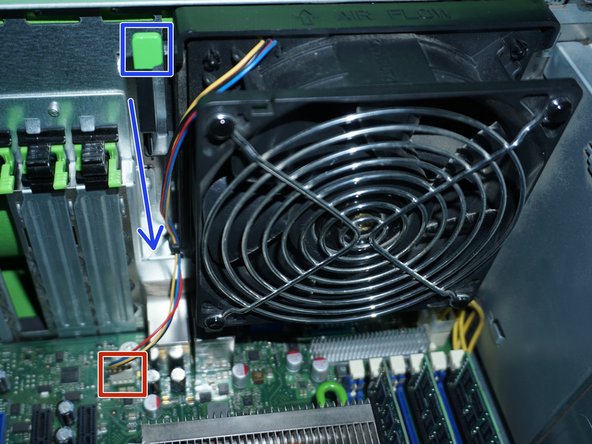
Press the two green tabs and pull up the fan on the CPUs.
-
-
-
To remove the second fan you have to pull the green tab and pull the fan up.
-
-
-
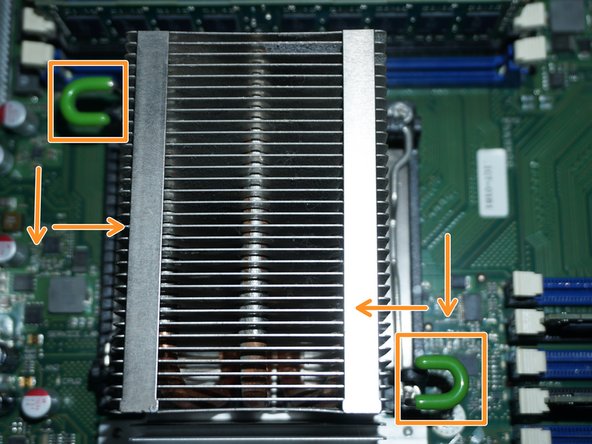
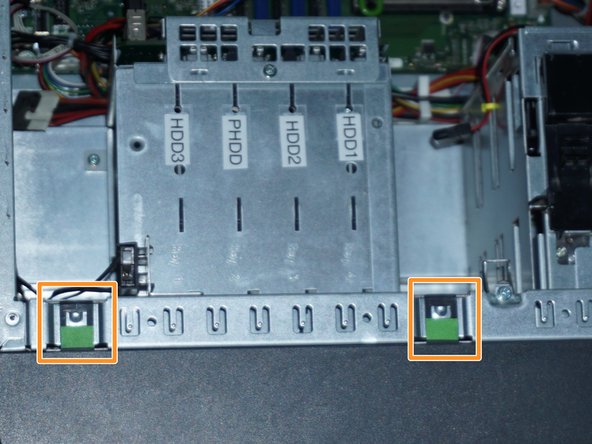
Press down and at the same time move the two green tabs in (in orange).
-
Lift the heat sink.
-
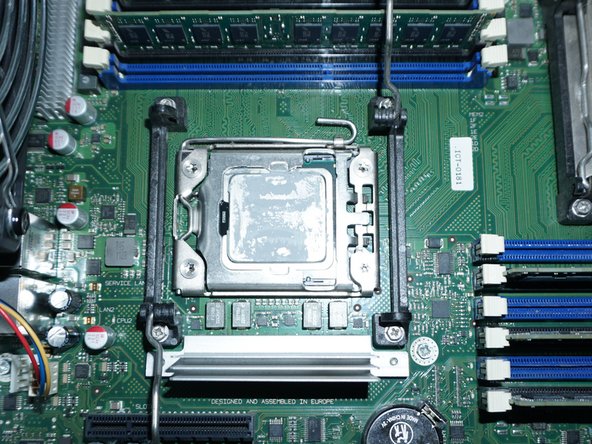
Repeat the procedure to open the socket.
-
Repeat the procedure to open the socket.
-
-
-
-
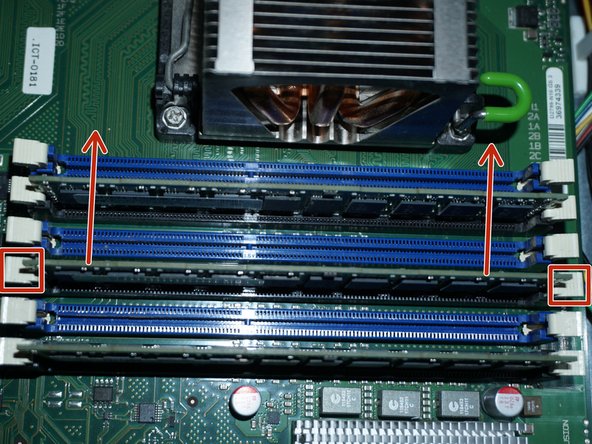
To remove a RAM bank you have to press hard on the white clips.
-
Repeat the procedure for all desks.
-
-
-
Pull out the 3 green tabs (in orange) and open slowly as if it were a door.
-
-
-
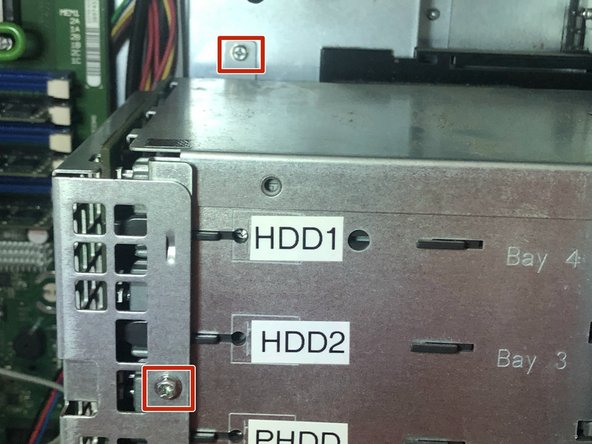
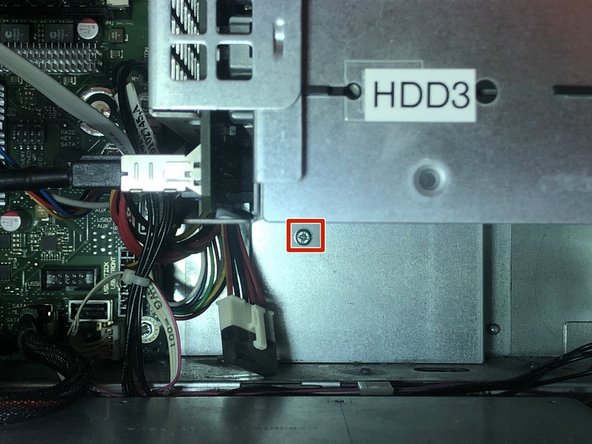
Unscrew the three screws as shown in the photo.
-
Disconnect and the cables and pull out the front of the caddy.
-
-
-
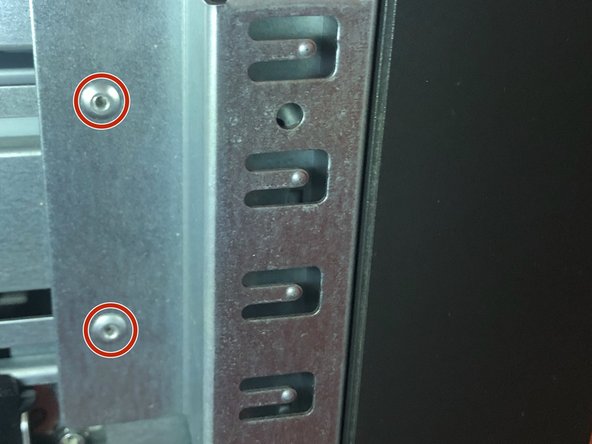
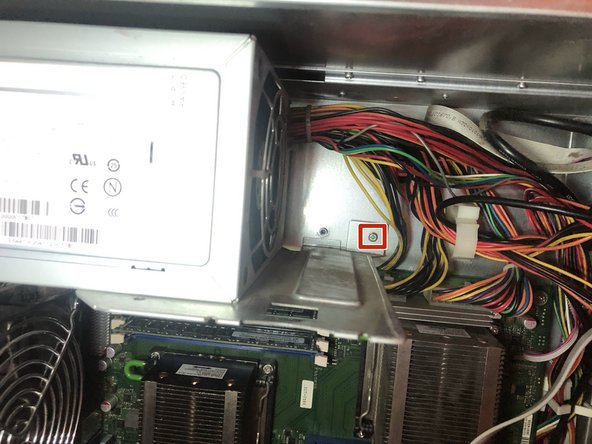
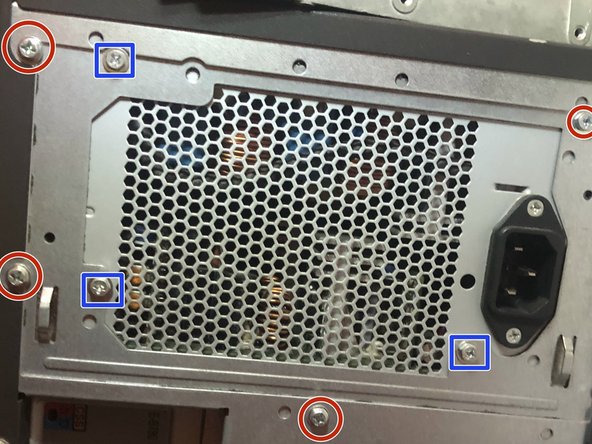
Unscrew the screw inside the case and the screws placed on the outside.
-
The external screws (in blue) secure the power supply to its caddy and are to be removed once out of the case.
-
Slide the power supply inward and pull it out.
-


Special thanks to these translators:
100%

Marc developer is helping us fix the world! Want to contribute?
Start translating ›

