Introduction
Airplane lift vests have a pull to inflate option as well as a blow to inflate backup. This teardown will show the simple mechanism to deploy the CO2 bottle in the vest. Each vest has two airbags, two inflator regulators and two valve to manually inflate.
What you need
-
-
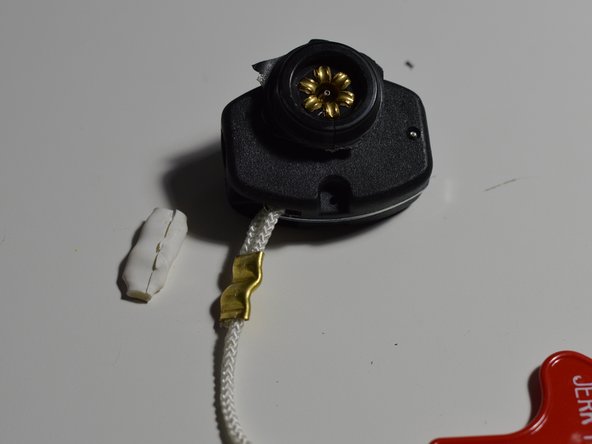
First picture shows whole life vest, on the bottom one red pull tag can be seen
-
Blue circle shows the inflation regulator, typically a CO2 bottle would be attached here
-
The purple square shows one of two manual inflation tubes
-
-
-
The inflator was cut from the jacket for ease of disassembly
-
The second picture shows how the inflator sealed with the inside of the airbag
-
This was further cut away for better pictures
-
-
-
To inflate the tab is pulled which moves a lever, which in turn pierces the CO2 bottle (more in the next step)
-
A shear pin going through the main body and lever prevents the lever from falling open. To break the pin a "jerk" is recommended
-
The second picture shows heat shrink over a crimp, this is to prevent any abrasion against the inflated life jacket
-
-
-
-
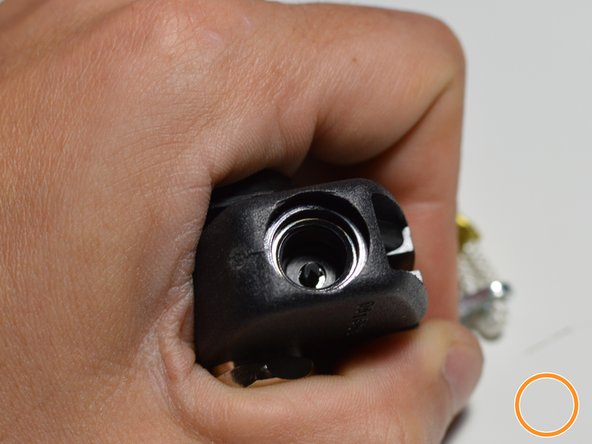
Prior to pulling lever:
-
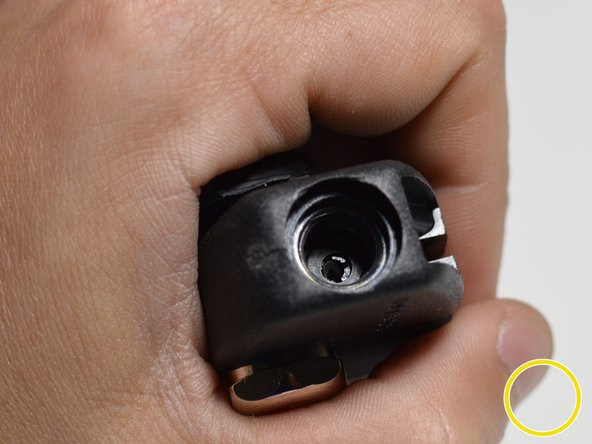
Mid pull on lever
-
Full pull on lever
-
When pulling lever a piercing pin goes from retracted, to fully extended, to retracted again. This opens the CO2 bottle and then clears the opening to allow quick inflation.
-
-
-
The lever is installed with one pin pressed into place
-
A cam can be seen on the end of the lever, this causes the pin to only be fully extended in one position
-
-
-
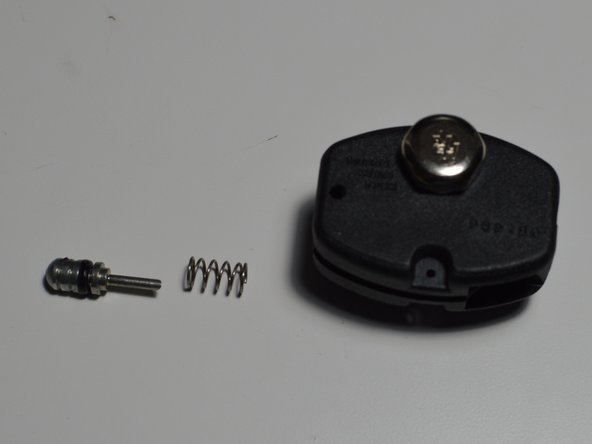
The piercing pin is installed going through the entire body of the inflator.
-
With a scribe it can be removed. There are 3 pieces: the pin, a spring (causing the pin to return after use), and an O-ring to only allow the air one path into the airbag.
-
With the pin removed a path is visible from where the CO2 bottle mounts to the lever.
-
-
-
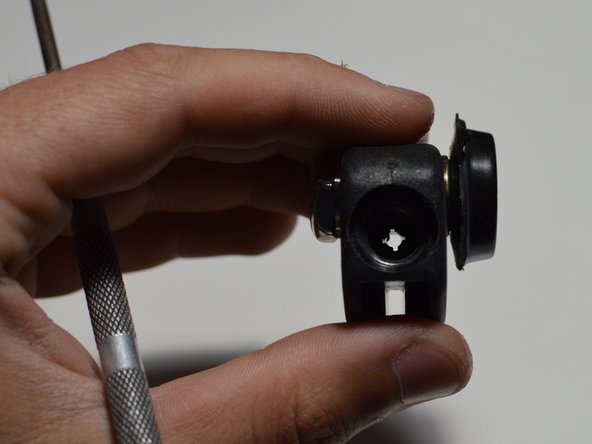
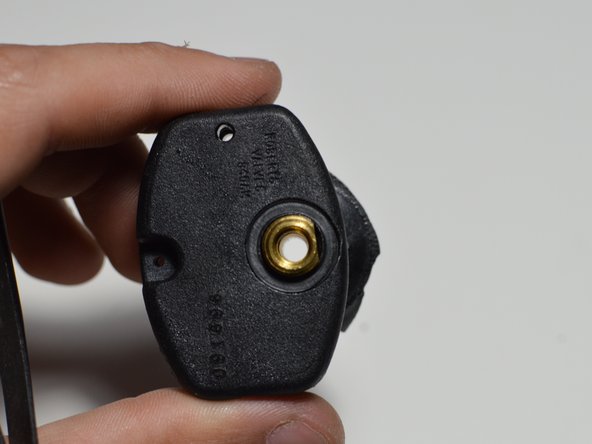
A top cap can be removed to reveal a Schrader valve.
-
Schrader valve is used to allow only one way inflation into the airbag.
-
With valve removed a path from CO2 bottle to the airbag can be seen.
-
-
-
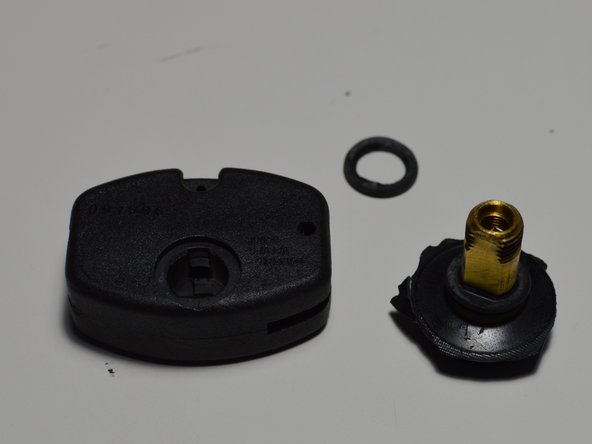
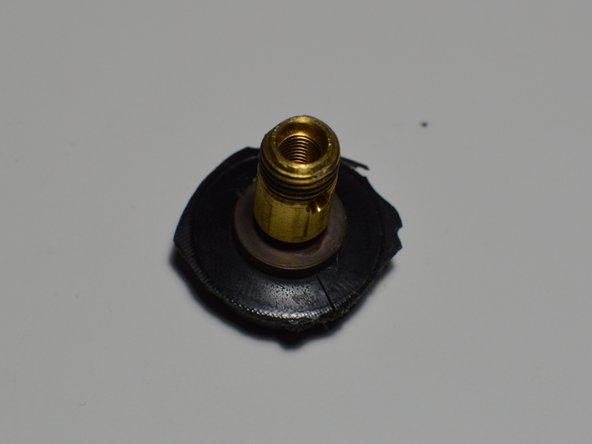
With all other components removed the penetration into the airbag can be removed from the body.
-
This penetration is sealed into the airbag on its initial construction.
-