Free Shipping on Domestic Orders $75+

What you need

This teardown is not a repair guide. To repair your PlayStation, use our service manual.

    1. (TC) PlayStation Teardown, (TC) PlayStation Teardown: step 1, image 1 of 1
      • Flip the unit upside down to access the six screws on the bottom.

      • Remove the six screws indicated with a Phillips-head screwdriver. All the screws are of the same length.

      Ask FixBot

      Add Comment

    2. (TC) PlayStation Teardown: step 2, image 1 of 1
      • Turn the unit back over, and pull the top half up and away from the device.

      Ask FixBot

      Add Comment

    3. (TC) PlayStation Teardown: step 3, image 1 of 1
      • Unplug the laser assembly's power cable and ribbon cable from the main board.

      • Remove the two screws on the memory card/controller port, disconnect the ribbon cable, and lift it out of the case.

      Ask FixBot

      Add Comment

    4. (TC) PlayStation Teardown: step 4, image 1 of 2 (TC) PlayStation Teardown: step 4, image 2 of 2
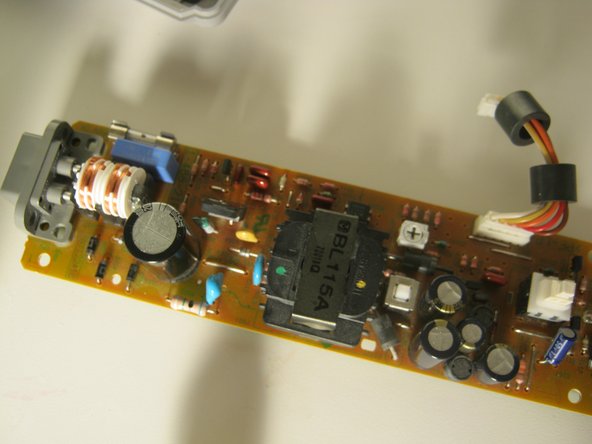
      • To remove the power supply, disconnect the cable and remove the two screws, then lift it out of the case.

      Ask FixBot

      Add Comment

    5. (TC) PlayStation Teardown: step 5, image 1 of 2 (TC) PlayStation Teardown: step 5, image 2 of 2
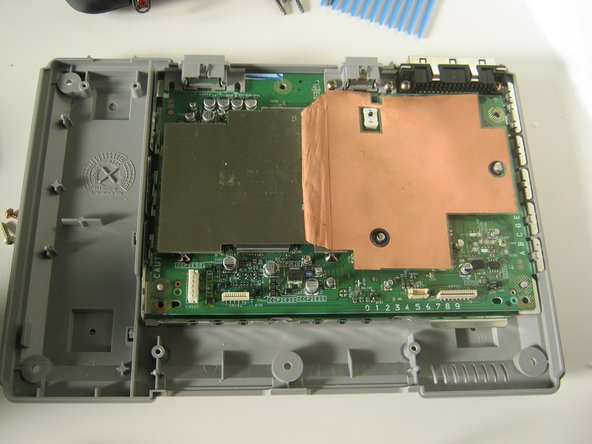
      • Remove the 3 screws from the shield.

      Ask FixBot

      Add Comment

    6. (TC) PlayStation Teardown: step 6, image 1 of 2 (TC) PlayStation Teardown: step 6, image 2 of 2
      • Remove the 5 Phillips screws.

      • You can now lift the main board out of the case.

      Ask FixBot

      Add Comment

    7. (TC) PlayStation Teardown: step 7, image 1 of 2 (TC) PlayStation Teardown: step 7, image 2 of 2
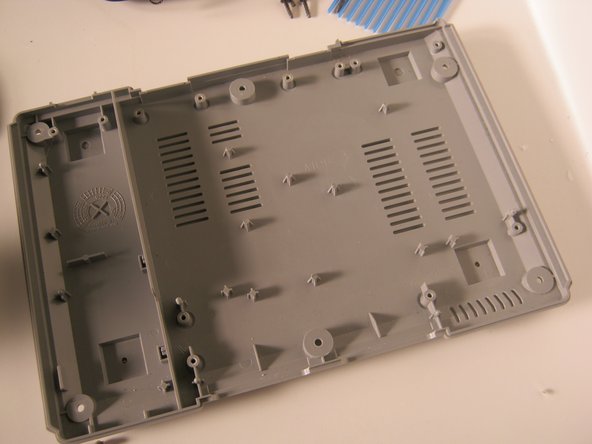
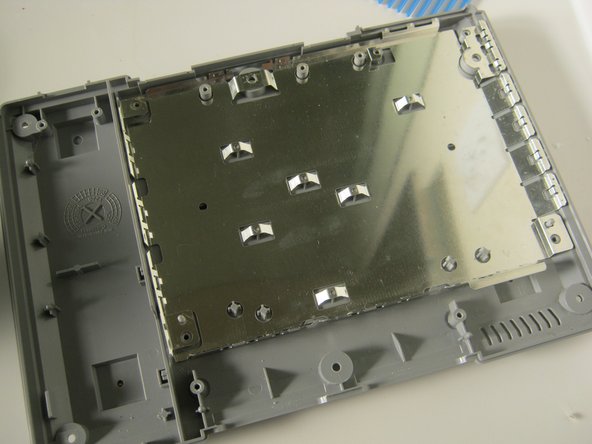
      • Lift the RF shield out of the case.

      Ask FixBot

      Add Comment

    8. (TC) PlayStation Teardown: step 8, image 1 of 2 (TC) PlayStation Teardown: step 8, image 2 of 2
      • Reinstall the RF shield by dropping it in and lining up the slots and tabs.

      Ask FixBot

      Add Comment

    9. (TC) PlayStation Teardown: step 9, image 1 of 2 (TC) PlayStation Teardown: step 9, image 2 of 2
      • Replace the main board. Only install the screws indicated in red.

      Ask FixBot

      Add Comment

    10. (TC) PlayStation Teardown: step 10, image 1 of 1
      • Replace the top shield, and secure with the 3 screws indicated.

      • Reinstall the memory card / controller module. Connect the ribbon cable and replace the 2 screws.

      Ask FixBot

      Add Comment

    11. (TC) PlayStation Teardown: step 11, image 1 of 1
      • Align the optical drive assembly with the three pegs.

      • Reconnect the power and data cables for the optical drive.

      Ask FixBot

      Add Comment

    12. (TC) PlayStation Teardown: step 12, image 1 of 1
      • Slide the cover on the system in the same way you took it off and replace the black screws indicated.

      Ask FixBot

      Add Comment

    13. (TC) PlayStation Teardown: step 13, image 1 of 1
      • Plug in the console and turn it on.

      • Thanks for looking at my teardown!

      Ask FixBot

      Add Comment

Nick

Member since: 11/10/09

105,983 Reputation

72 Guides authored

0 Guide Comments

Add Comment

View Statistics:

Past 24 Hours: 10

Past 7 Days: 49

Past 30 Days: 207

All Time: 46,933