Introduction
If the fan is broken or only works noisily, it makes sense to replace it. A broken fan can lead to severe damage of other components, particularly the processor, which could overheat.
-
-
Turn the computer over.
-
Remove the 6 screws with a 2mm Allen key.
-
Carefully remove the left and right rear panels.
 Ask FixBot
-
-
-
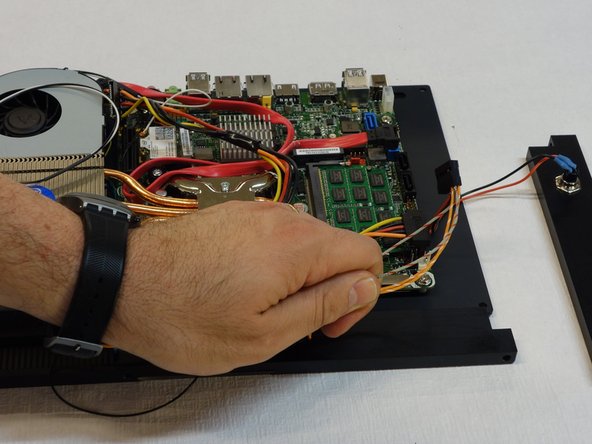
Now open the bottom of the case, to which all the components are attached.
-
-
-
-
Disconnect the cable connecting the front part (with the LEDs) to the power source.
-
Remove the part with the cable.
-
-
-
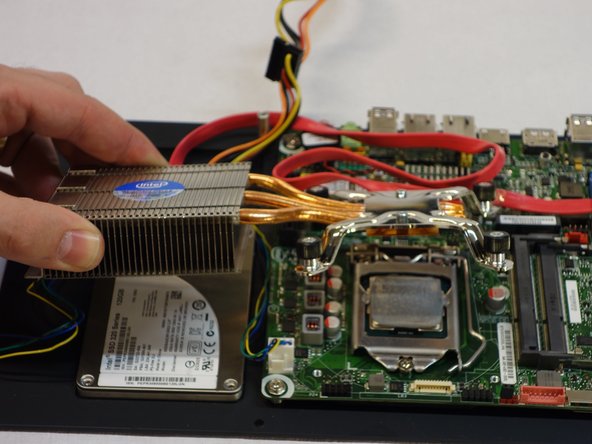
Remove the four screws on the heat sink with a Phillips PH2 screwdriver.
-
Remove the heat sink and lay it to the side.
-
-
-
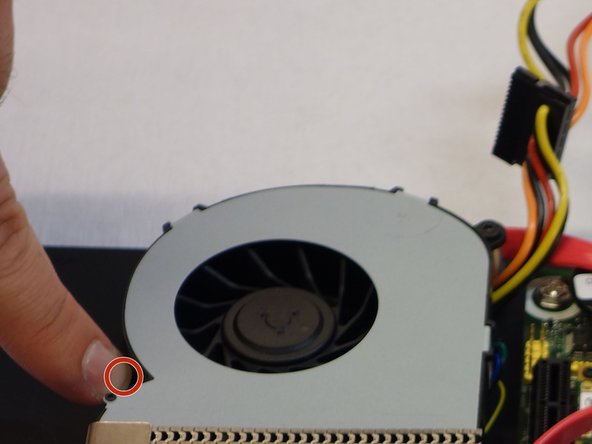
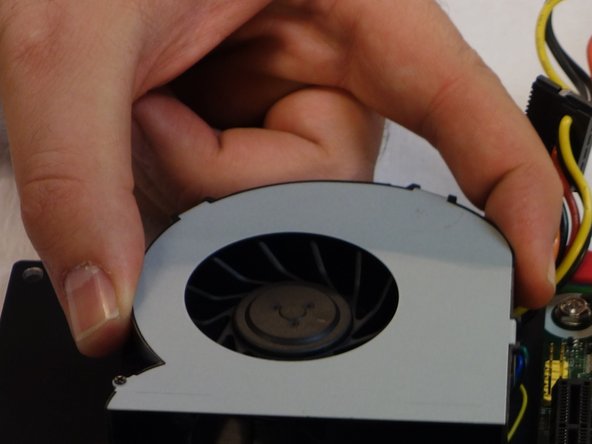
Carefully remove the fan together with its case.
-
Carefully remove the plug connecting the fan to the power source.
-


In order to reassemble your device, follow the steps of this guide in reverse order.
Special thanks to these translators:
100%


These translators are helping us fix the world! Want to contribute?
Start translating ›