
why! W670SZQ1 Keyboard Replacement

What you need

  1. why! W670SZQ1 Keyboard Replacement, The Batteries: step 1, image 1 of 3 why! W670SZQ1 Keyboard Replacement, The Batteries: step 1, image 2 of 3 why! W670SZQ1 Keyboard Replacement, The Batteries: step 1, image 3 of 3
    • Unlock the lock latch on the left.

    • Unlock the lock latch on the right.

    • Remove the battery while holding the lock latch unlocked.

  2. why! W670SZQ1 Keyboard Replacement, Access to Major Components: step 2, image 1 of 3 why! W670SZQ1 Keyboard Replacement, Access to Major Components: step 2, image 2 of 3 why! W670SZQ1 Keyboard Replacement, Access to Major Components: step 2, image 3 of 3
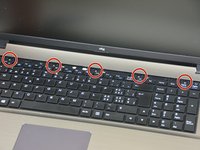
    • Using the Philips # 0 screwdriver, unscrew the 2 screws from the bottom cover.

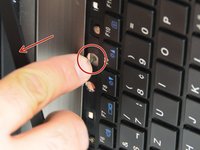
    • Lift the bottom right cover with the iFixit Opening Tool.

    • Lift the lower left cover with the iFixit Opening Tool.

    • Finally clear the bottom cover completely to access the main components.

  3. why! W670SZQ1 Keyboard Replacement, The keyboard: step 3, image 1 of 3 why! W670SZQ1 Keyboard Replacement, The keyboard: step 3, image 2 of 3 why! W670SZQ1 Keyboard Replacement, The keyboard: step 3, image 3 of 3
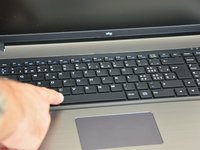
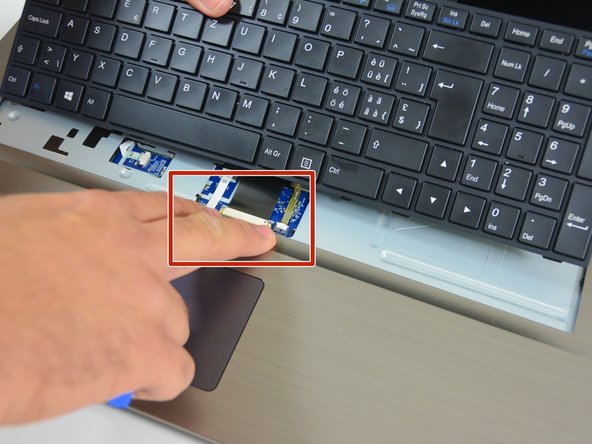
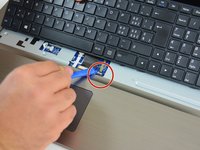
    • Once the bottom cover is removed you can start disassembling the keyboard.

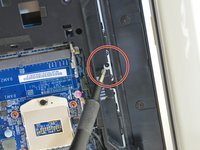
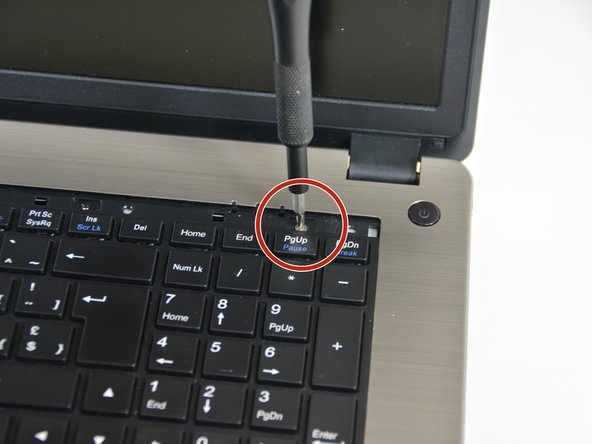
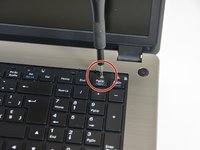
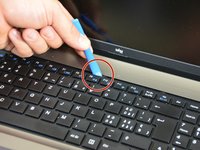
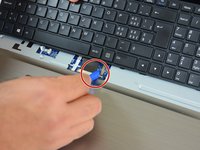
    • Start by turning the computer over and then unscrew the screw shown in image 2 of this step.

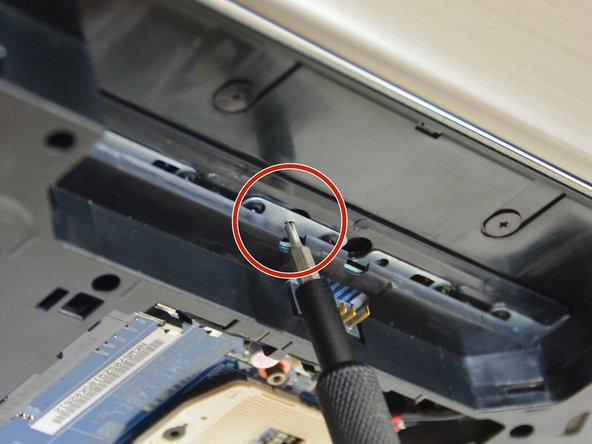
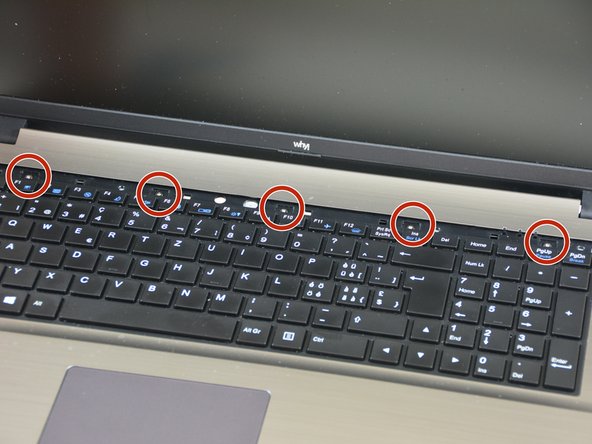
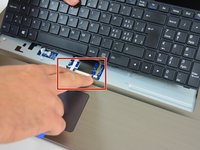
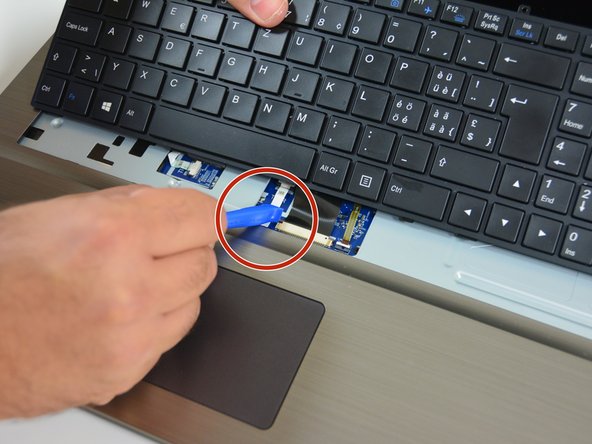
    • Then using the screwdriver unscrew the bar that hides the screws fixing the keyboard.

  4. why! W670SZQ1 Keyboard Replacement: step 4, image 1 of 3 why! W670SZQ1 Keyboard Replacement: step 4, image 2 of 3 why! W670SZQ1 Keyboard Replacement: step 4, image 3 of 3
    • Once the bar hiding the fixing screws of the keyboard is unclipped we see the tip of the screwdriver.

    • Now find the 5 screws fixing the keyboard.

    • Unscrew the 5 screws.

  5. why! W670SZQ1 Keyboard Replacement: step 5, image 1 of 3 why! W670SZQ1 Keyboard Replacement: step 5, image 2 of 3 why! W670SZQ1 Keyboard Replacement: step 5, image 3 of 3
    • Now gently lift the keyboard.

    • Then appear the keyboard connection cable and the keyboard backlight cable

    • Start by unlocking the right latch of the connector securing the backlight cable.

  6. why! W670SZQ1 Keyboard Replacement: step 6, image 1 of 3 why! W670SZQ1 Keyboard Replacement: step 6, image 2 of 3 why! W670SZQ1 Keyboard Replacement: step 6, image 3 of 3
    • Then the one on the left.

    • Do the same with the left latch of the connector securing the main cable.

    • Then with the right latch of the connector fixing the main cable.

  7. why! W670SZQ1 Keyboard Replacement: step 7, image 1 of 1
    • Then remove the keyboard from its location.

Conclusion

To reassemble your device, Follow these instructions in reverse order.

One other person completed this guide.

Special thanks to these translators:

fr en

100%

irlanda is helping us fix the world! Want to contribute?
Start translating ›

Felice Suglia

Member since: 06/15/13

30,731 Reputation

261 Guides authored

0 Comments

Add Comment

View Statistics:

Past 24 Hours: 1

Past 7 Days: 1

Past 30 Days: 3

All Time: 178