This translation was generated by a machine and has not been reviewed by a person yet. Speak this language? Review it.
Introduction
This guide shows you how to replace the power button of a why! L141PU laptop.
What you need
-
-
-
-
-
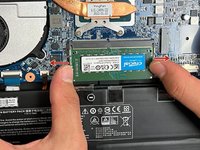
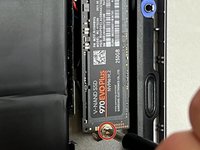
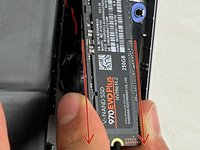
press the plastic latches slightly to the sides (red arrows) to free the memory stick,
-
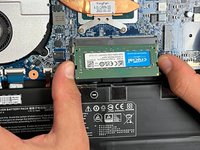
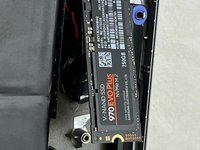
The memory stick will 'pop up' on its own
-
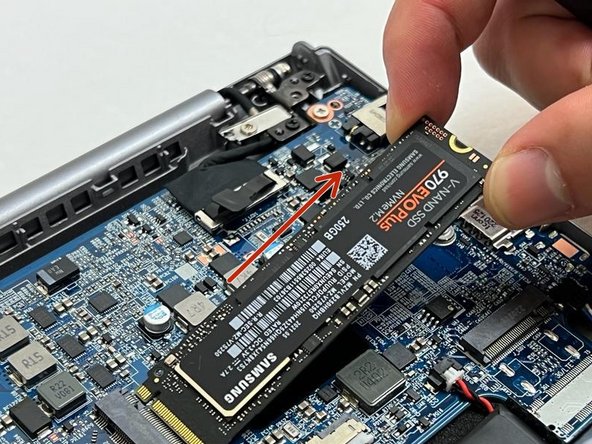
Remove the memory stick.
-
-
-
-
-
-
-
Peel up the label without completely removing it.
-
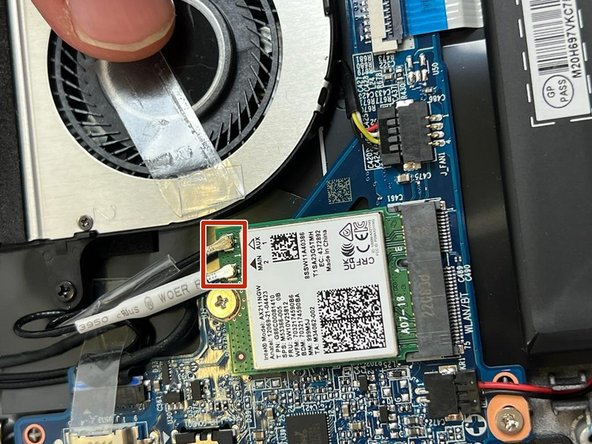
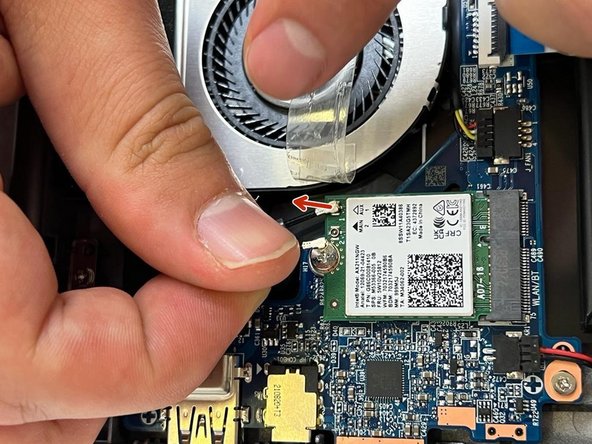
Remove the two antenna leads in the red rectangle. The red arrow might appear to indicate pulling away from the card... NO. they clip on, pry them UP gently. DO NOT pull on the wires, the connectors are delicate.
-
-
-
Remove the screw (red circle)
-
Pull out the WiFi card. (red arrows)
-
-
-
-
-
-
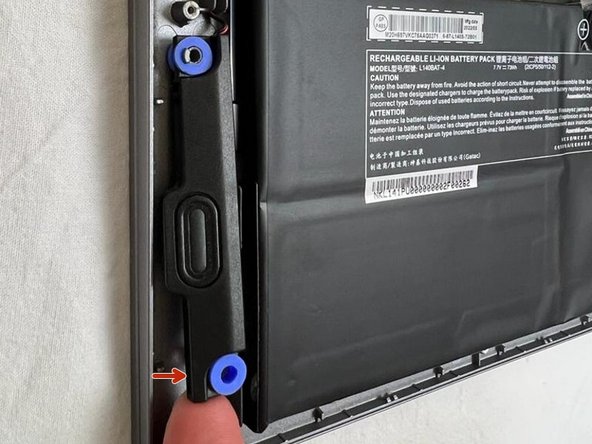
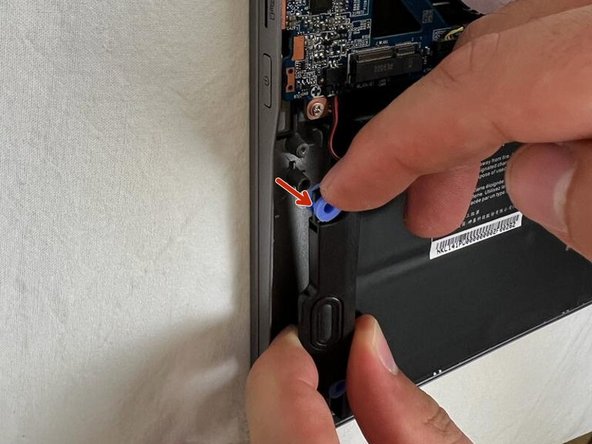
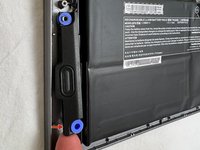
Remove the bottom of the speaker, (red arrow) then the top.
-
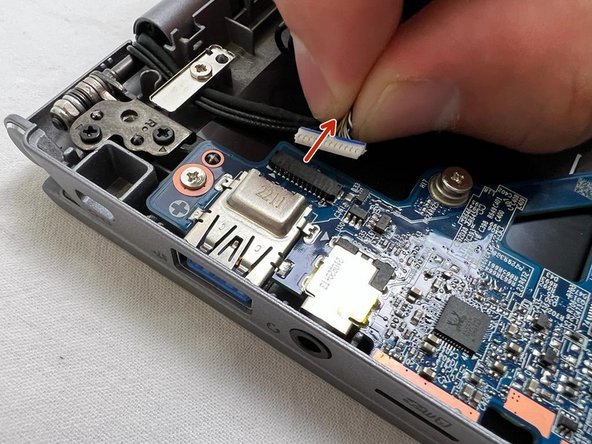
Unplug the connector, third photo, red rectangle
-
-
-
-
-
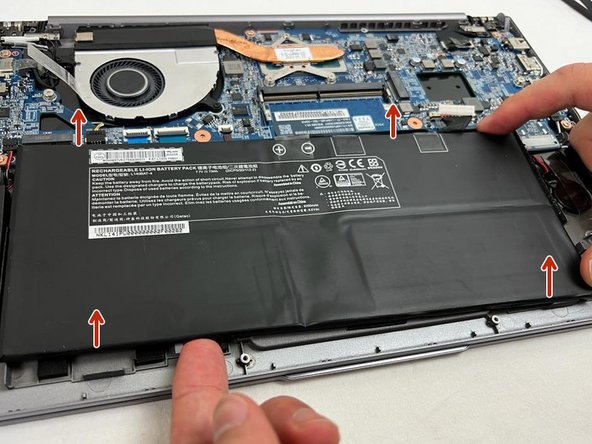
You have to pull gently and steadily as indicated by the red arrows to remove them.
-
-
-
-
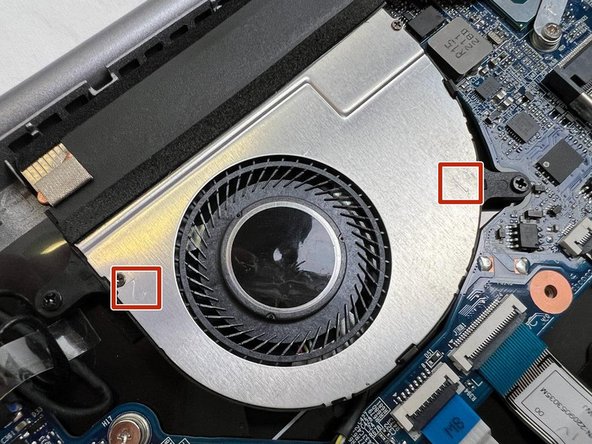
Unscrew the two screws on the fan in numerical order according to the red boxes. (a bit at a time to keep pressure equal on underlying components is best practice)
-
Unscrew the three screws on the radiator in numerical order according to the red boxes. (a bit at a time to keep pressure equal on underlying components is best practice)
-
-
-
Unplug the fan (red rectangle)
-
Remove the Heatsink/Fan Assembly. Pull carefully as indicated by the red arrows. Exercise caution not to damage the fragile cooling fins.
-
-
-
-
-
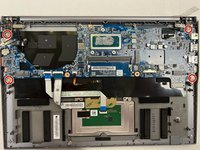
In the first photo the fours screw circled in red must be removed.
-
Next (red rectangles) disconnect the left speaker lead and the CMOS battery connector (red arrow).
-
-
-
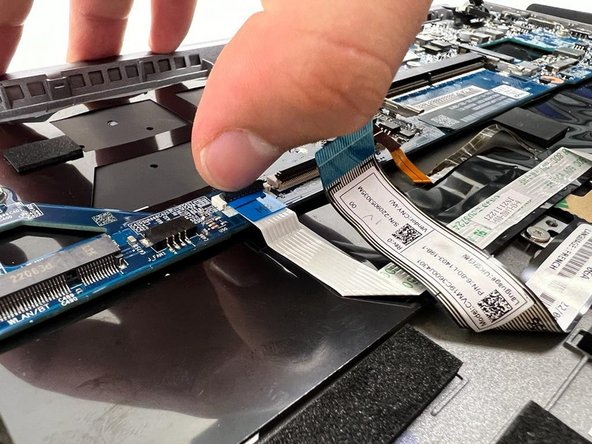
Disconnect the flat ribbon cables for the keyboard and touchpad. (red rectangle) AFTER you open the latches, see below.
-
Carefully lift open the latches in the direction of the orange arrows. Be careful, they are delicate and with increasing age ever more so!
-
Remove the cables in the direction of the red arrows.
-
-
-
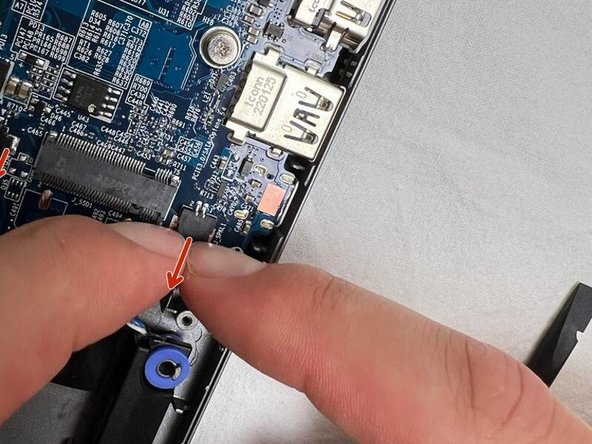
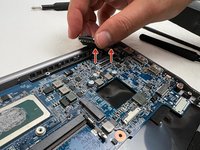
Carefully lift the Mother Board and gently remove it. The red arrows might be a bit ambiguous here... lift, but you may need to pull such things as ports etc, free to enable your lifting...
-
-
-
-
-
Unscrew the screw.
-
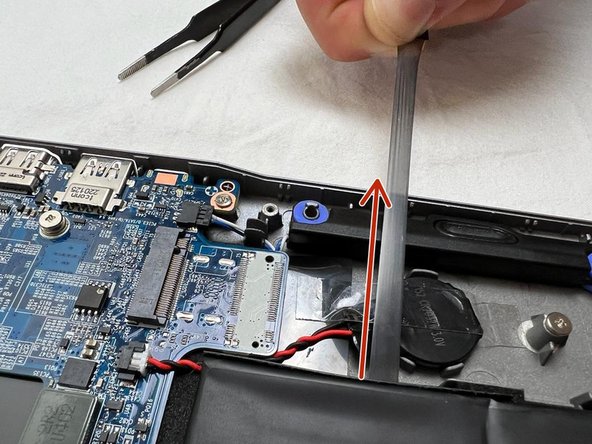
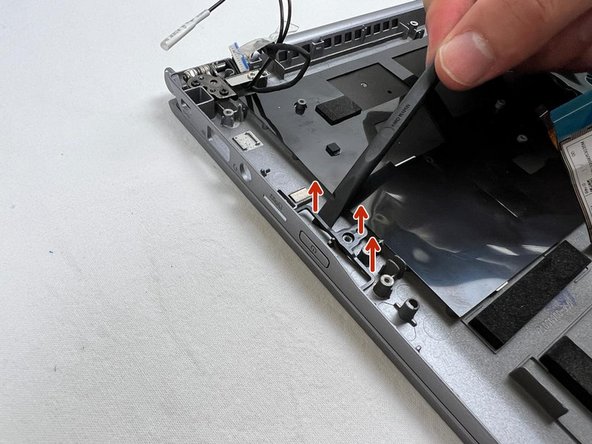
Using the Spudger, pry the part so that you can grasp it with your fingers.
-
Remove the part.
-
-


 Ask FixBot






























To reassemble your device, follow the instructions in reverse order.

