Free Shipping on Domestic Orders $75+

Samsung Galaxy S5 Interior Midframe Assembly Replacement

Prerequisite Only
This is a prerequisite-only guide! This guide is part of another procedure and isn’t meant to be used alone.

What you need

    1. Samsung Galaxy S5 Interior Midframe Assembly Replacement, Interior Midframe Assembly: step 1, image 1 of 1
      • Remove the ten 3.4 mm Phillips #000 screws from the display side of the midframe.

      Ask FixBot

      Add Comment

    2. Samsung Galaxy S5 Interior Midframe Assembly Replacement: step 2, image 1 of 1
      • Flip the phone over and remove the following screws from the battery side of the midframe:

      • Two 4.4 mm Phillips #000 screws near the USB port on the battery side of the phone

      • One 4.4 mm Phillips #000 screw

      Ask FixBot

      Add Comment

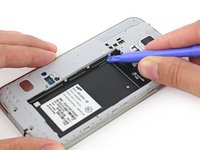
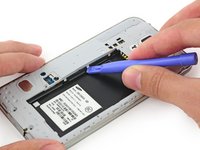
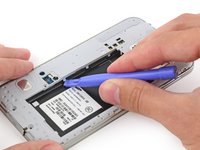
    3. Samsung Galaxy S5 Interior Midframe Assembly Replacement: step 3, image 1 of 3 Samsung Galaxy S5 Interior Midframe Assembly Replacement: step 3, image 2 of 3 Samsung Galaxy S5 Interior Midframe Assembly Replacement: step 3, image 3 of 3
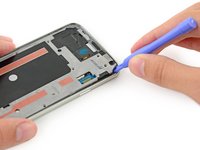
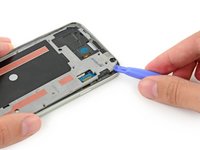
      • Gently run a plastic opening tool down along the left inner side of the interior frame to separate the three white plastic clips.

      Ask FixBot

      Add Comment

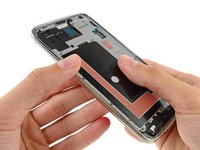
    4. Samsung Galaxy S5 Interior Midframe Assembly Replacement: step 4, image 1 of 2 Samsung Galaxy S5 Interior Midframe Assembly Replacement: step 4, image 2 of 2
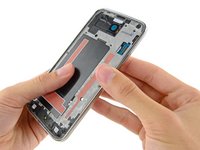
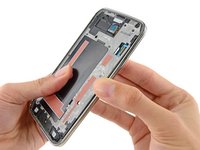
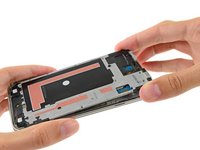
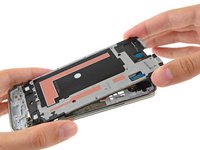
      • The midframe is composed of two halves that encase the motherboard.

      • Gently pull the long sides of the silver bezel out away from the phone to separate the two halves of the midframe.

      • It may be helpful to gently push in from the inside of the battery compartment, but be careful not to flex the interior half of the midframe, as the motherboard is mounted to it.

      Ask FixBot

      Add Comment

    5. Samsung Galaxy S5 Interior Midframe Assembly Replacement: step 5, image 1 of 2 Samsung Galaxy S5 Interior Midframe Assembly Replacement: step 5, image 2 of 2
      • Continue on to the right side of the silver bezel, pulling away from the interior section of the midframe to separate the two halves.

      Ask FixBot

      Add Comment

    6. Samsung Galaxy S5 Interior Midframe Assembly Replacement: step 6, image 1 of 2 Samsung Galaxy S5 Interior Midframe Assembly Replacement: step 6, image 2 of 2
      • Use a plastic opening tool to pry any remaining corners out of the silver bezel.

      Ask FixBot

      Add Comment

    7. Samsung Galaxy S5 Interior Midframe Assembly Replacement: step 7, image 1 of 2 Samsung Galaxy S5 Interior Midframe Assembly Replacement: step 7, image 2 of 2
      • Carefully remove the interior midframe/motherboard assembly from the white inner midframe.

      Ask FixBot

      Add Comment

Conclusion

To reassemble your device, follow these instructions in reverse order.

Cancel: I did not complete this guide.

Sam Goldheart

Member since: 10/18/12

478,424 Reputation

538 Guides authored

Team

iFixit Member of iFixit

Staff

122 Members

72,401 Guides authored

0 Guide Comments

Add Comment

View Statistics:

Past 24 Hours: 0

Past 7 Days: 2

Past 30 Days: 20

All Time: 758