
iRulu AX760 Camera Replacement

Jamison Kritz and
Last updated on May 30, 2018
Views: 467
View statistics:
- Past 24 Hours:
- 2
- Past 7 Days:
- 15
- Past 30 Days:
- 46
- All Time:
- 467
Comments: 0
No one has left comments on this guide. Will you be first?
Go to guide commentsCompleted: 0 1
No one has marked this guide "completed." Will you be the first?
1 person has marked this guide "completed." It's you — great job!
Favorites: 0 1
No one has favorited (and subscribed to) this guide. Will you be the first?
1 person has favorited (and subscribed to) this guide — and that's you!
Introduction
Go to step 1 ↓This guide will teach you how to disconnect the camera of your iRulu AX760 and remove it from the device. You will learn how to disconnect digitizer ribbons in this replacement process.
What you need
Tools


-
-
-
Use a plastic opening tool or metal spudger to free the rear cover.
-
Insert your spudger into the side of your tablet.
-
Crack open each edge and remove the cover.
 Ask FixBot
-
-
-
Take your plastic flat head tool and insert it under the battery.
-
Lift the battery up.
-
Make sure to remove any tape from the battery.
-
-
-
-
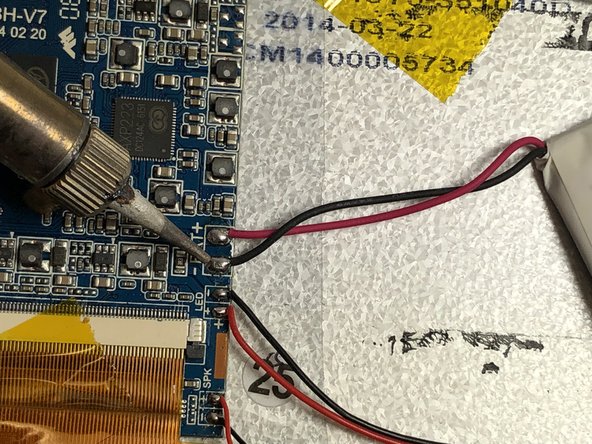
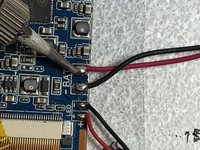
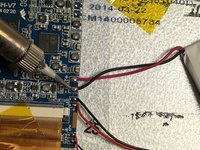
Use a soldering iron to remove the solder that connects the black and red wires of the battery to the motherboard.
-
Keep the wires of the battery taught.
-
The iron should only be pressed to the solder for 2-3 seconds max.
-
Visit this link for information about soldering. How To Solder and Desolder Connections
-
-
-
-
-
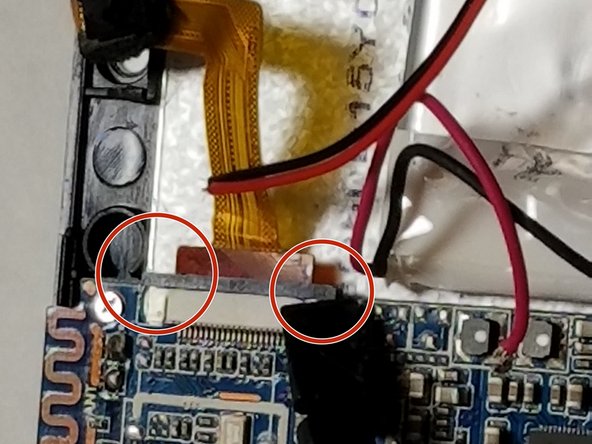
Use the plastic spudger to pry the tabs open on the digitizer ribbon sockets.
-
-






To reassemble your device, follow these instructions in reverse order.

Team

IUPUI, Team S6-G4, Baechle Spring 2018 Member of IUPUI, Team S6-G4, Baechle Spring 2018
IUPUI-BAECHLE-S18S6G4
4 Members
48 Guides authored
