Introduction
The motherboard/battery assembly is sold together.
What you need
-
-
To aid in visualization, the two clips boxed in red are located closest to the headphone jack.
-
-
Tool used on this step:Jimmy$7.95
-
Insert the large iPod opening tool into the seam between the front case and rear panel of the iPod, above the dock connector. The tool's edge should point toward the rear panel to prevent any accidental scratching of the anodized aluminum front case.
-
-
-
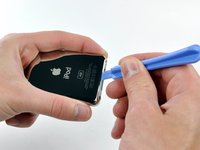
Insert a small iPod opening tool into the seam on the headphone jack side of the Nano, with the edge of the tool pointing toward the rear panel.
-
Gently enlarge the existing gap by pressing/wiggling the small iPod opening tool into the gap near each of the the two tabs attached to the rear case, pushing the clips toward the center of the Nano until both have been freed.
-
-
-
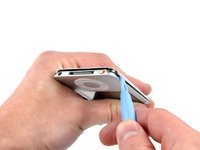
Repeat the same procedure listed in the previous step to free the three clips along the hold switch side of the Nano.
-
-
-
-
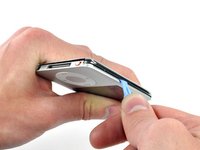
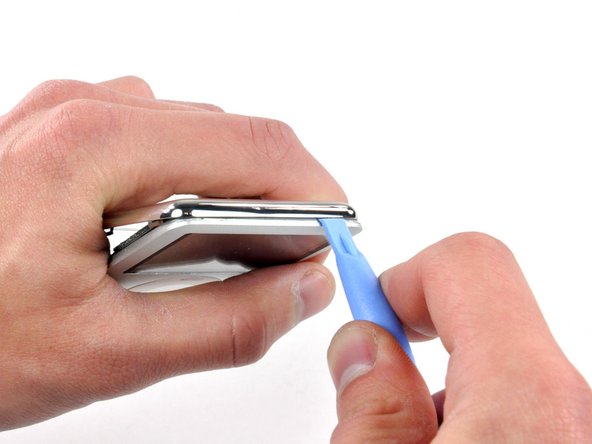
Insert an iPod opening tool into the gap near the top left corner of the Nano and work to free the three clips along the top edge of the rear panel.
-
After ensuring all tabs are free, separate the two halves of the iPod.
-
The rear panel is now free from the iPod.
-
-
-
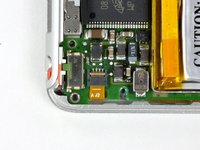
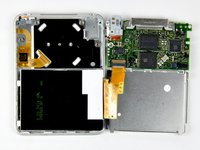
With the rear case removed, the back side of your Nano should now look like this.
-
-
-
Remove the following six screws:
-
One 1.8 mm Phillips.
-
Three 1.9 mm Phillips.
-
One 2.4 mm Phillips.
-
One 2.6 mm Phillips.
-
-
-
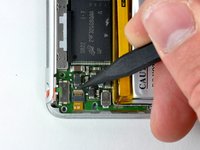
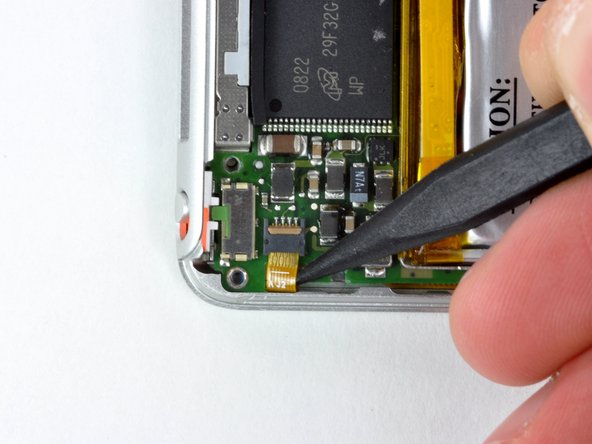
Use the tip of a spudger to slide the click wheel ribbon cable out of its socket.
-
-
-
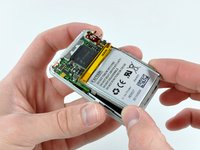
Lift the logic board assembly out of the front case from the click wheel connector side (the cable you just disconnected). Rotate the logic board assembly about the display ribbon cable and lay it next to the front case.
-


To reassemble your device, follow these instructions in reverse order.
Cancel: I did not complete this guide.
33 other people completed this guide.
