What you need
-
-
-
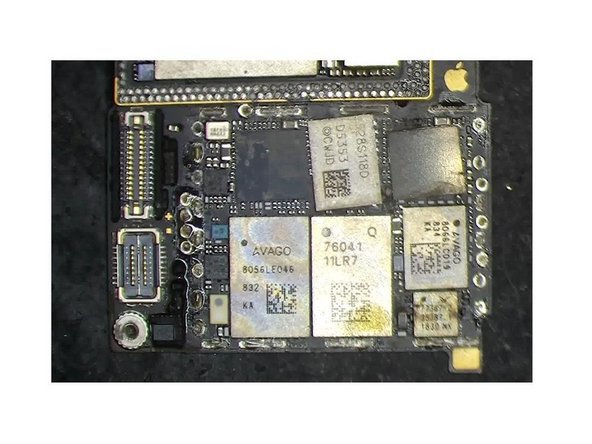
The SIM card reader of the iPhone X is soldered with medium-temperature tin, while the middle layer of the motherboard adopts low-temperature tin. Hence we advise you to separate the motherboard before removing the SIM card reader.
-
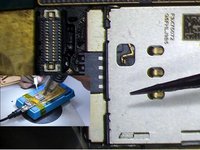
There are other ICs on the SIM card reader.
-
Besides, a plastic part is also in the middle of the SIM card reader.
 Ask FixBot
-
-
-
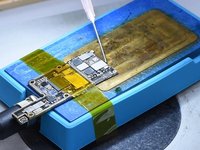
While disassembling and soldering, we need to heat it with rotational air and control the temperature. Attach the motherboard to the PCB Holder. Heat it with a Hot Air Gun at 240℃ and airflow 7. Tear off the sticker on the back of the motherboard.
-
Put the motherboard on the Heating Platform. We only need to heat the SIM card reader part. Fix the motherboard with high-temperature adhesive. Set the temperature of the Heating Platform to 200℃. Heat the edge of the SIM card reader with Hot Air Gun 280℃ and airflow 7.
-
-
-
Tool used on this step:Tweezers$4.99
-
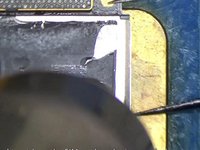
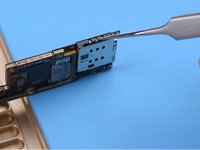
Stir the SIM card reader with tweezers while heating. Remove the SIM card reader when it becomes loose. Please be noted that we need to pick up the SIM card reader in a vertical manner.
-
-
-
Next, we replace the old SIM card reader with a new one. Apply some Paste Flux to the bonding pad of the SIM card reader.
-
Put the new SIM card reader in position. Keep heating it on the 200℃ Heating Platform. Heat the edge of the SIM card reader evenly with a Hot Air Gun 280℃ and airflow 7. Press the SIM card reader gently while heating. Make sure that the SIM card reader is pressed against the PCB.
-
-
-
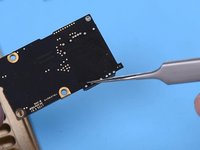
Turn off the power. Cool the motherboard. Check the SIM card reader soldering. The SIM card reader is pressed against the PCB. Every soldering spot has no pseudo-soldering. Solder it again with Soldering Iron if pseudo-soldering happens.
-
Please set the temperature of the Hot Air Gun according to the environment and device brand. The temperature in this article is only for reference.
-
-


To reassemble your device, follow these instructions in reverse order.
Cancel: I did not complete this guide.
One other person completed this guide.
